Happy Halloween, everyone! While it’s not my favorite holiday, I like watching my kids get into it. When we drive down the street, my little one likes to shout out the neighborhood decorations: “Mommy, I just saw a skeleton!!!” “Oh no,” I cower, “I’m scaaaaared!” “Don’t worry Mommy, it’s just pretend!” And they really love seeing jack-o-lanterns.
 |
| Thank you, Rose the Jack-o-Lantern, for your tasty guts! |
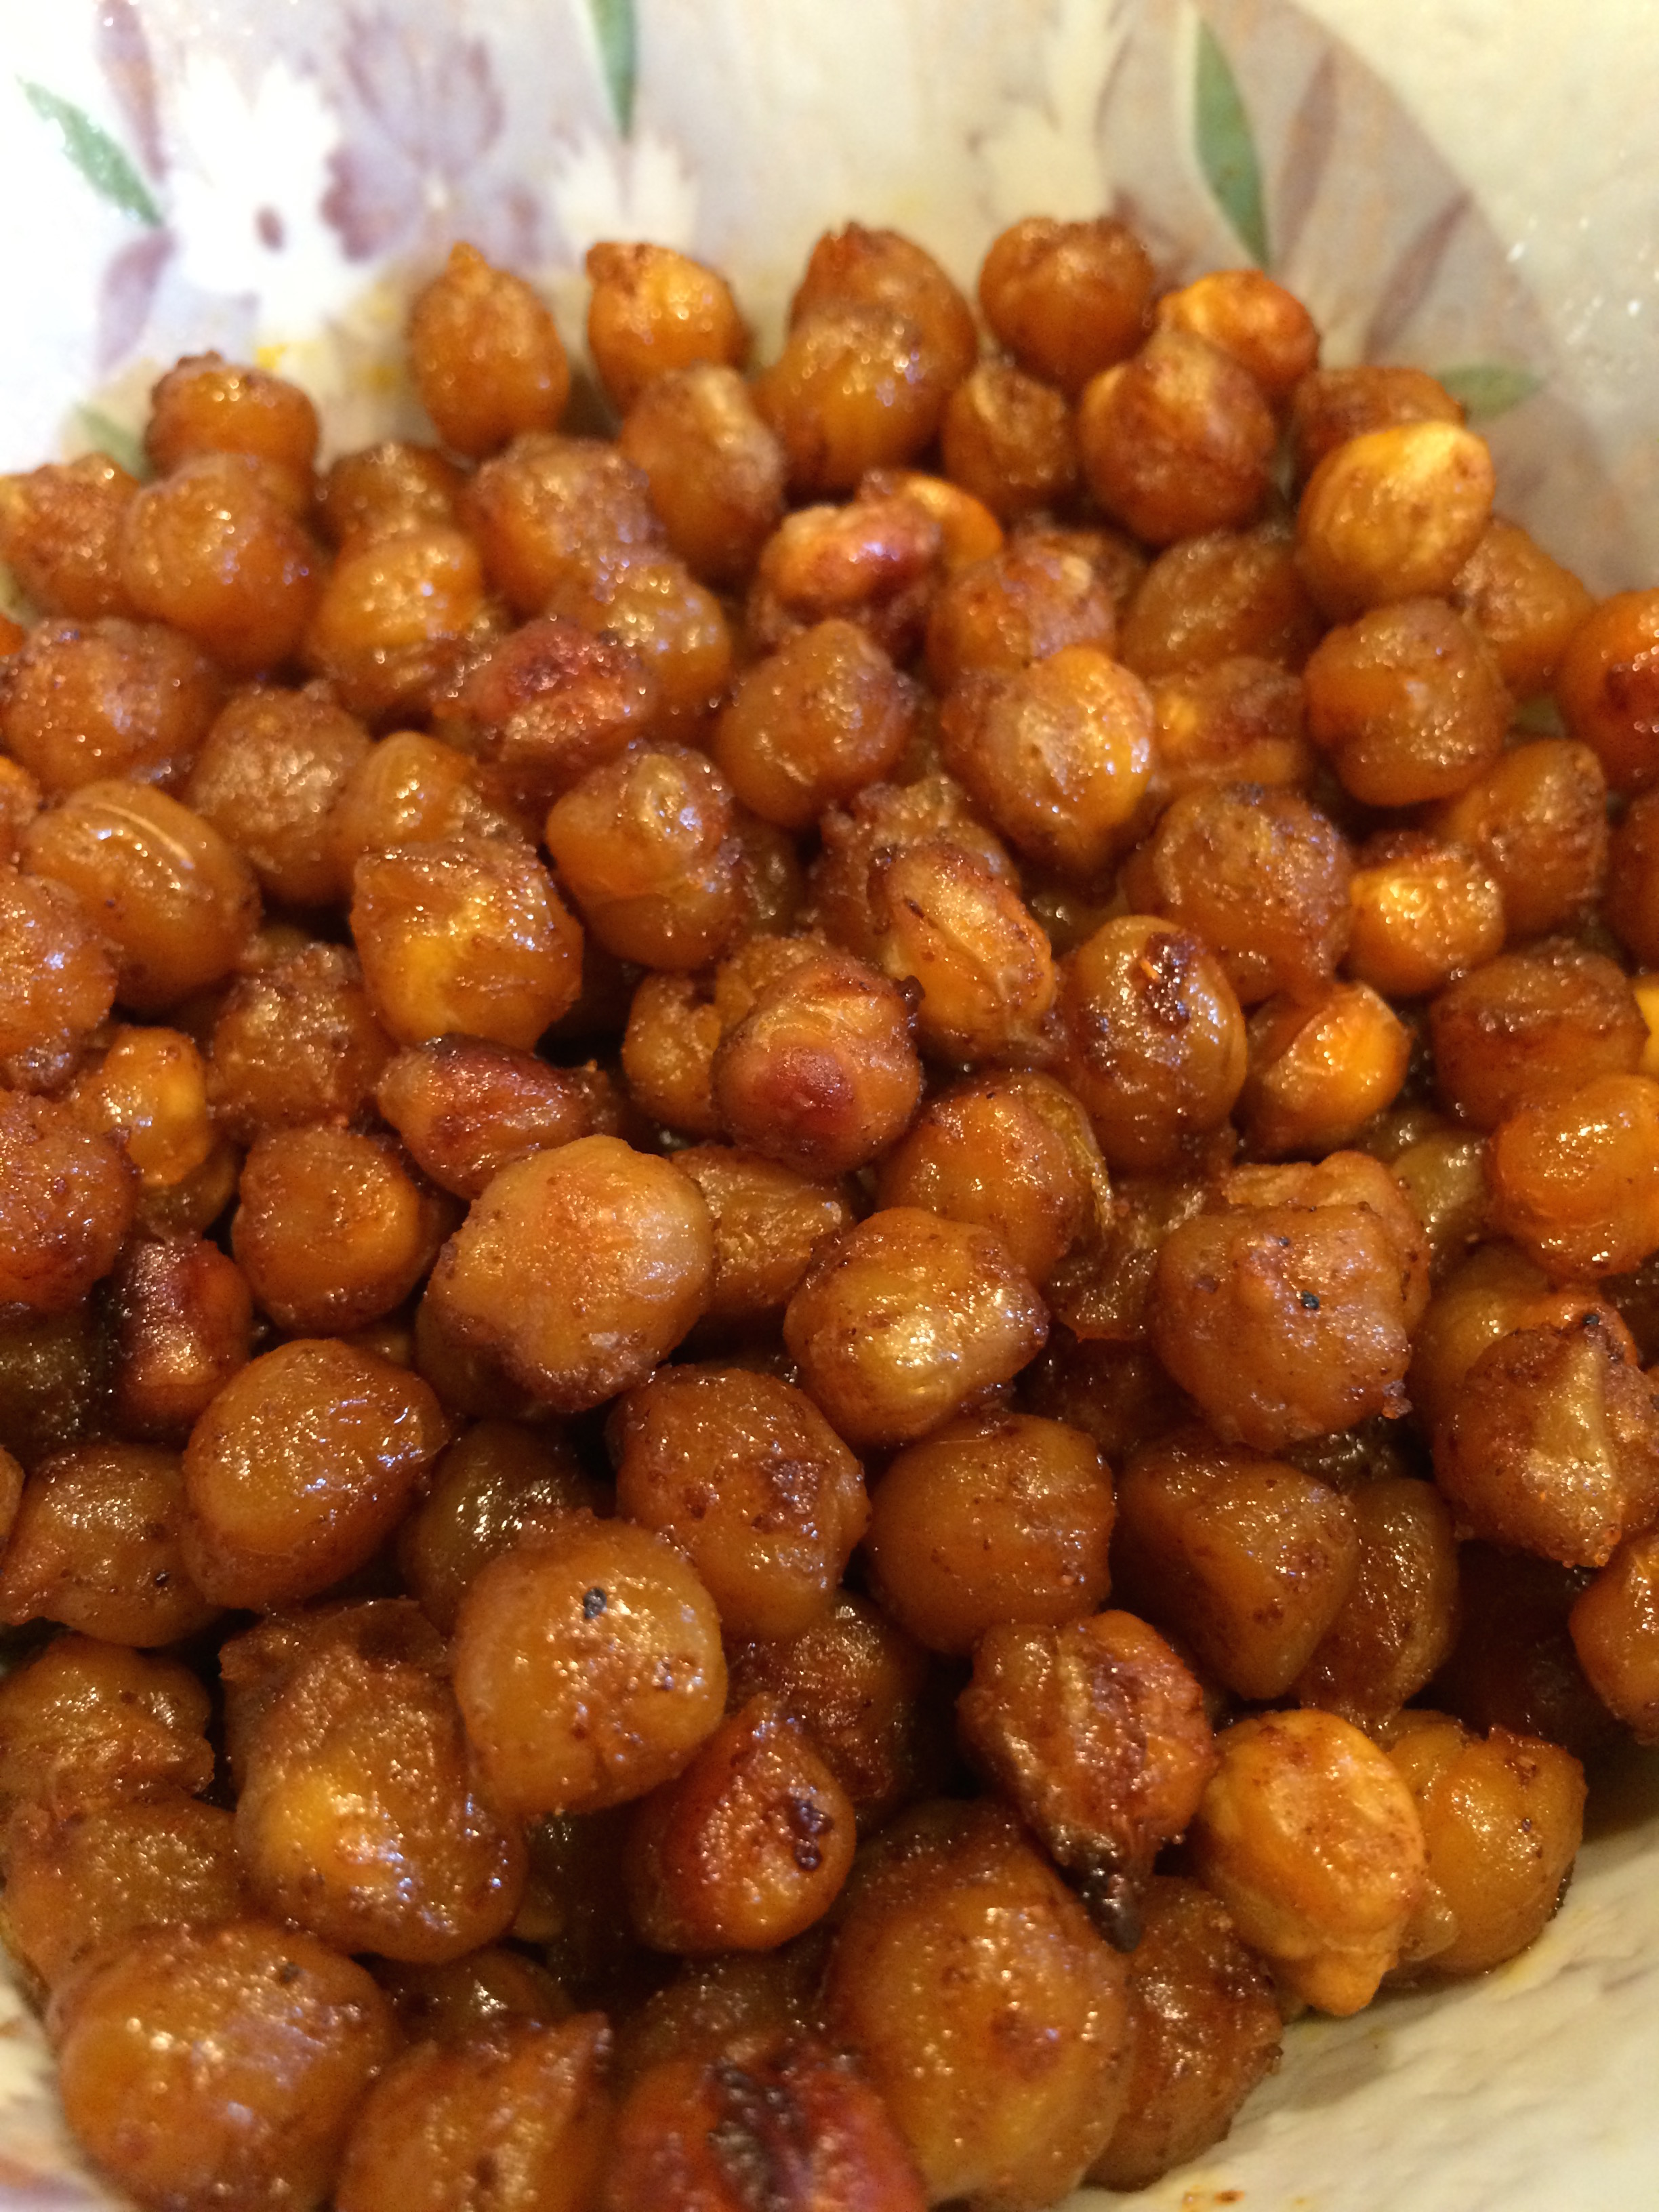
My Mom always toasted the pumpkin seeds for us when we were kids, and I loved them so much! I found a recipe at My Retro Kitchen, which, I think, is the way my Mom made them. Unfortunately, I was all out of Worcestershire sauce! Frugal Girlmet to the rescue – I decided to keep the technique and use a different flavor. Innovate, experiment – voila! Korean Spiced Pumpkin Seeds!
These have everything you want in a snack – crunchy, salty, spicy (but not TOO spicy – unless that’s how you roll, in which case, double the dried chili pepper powder!) and just a bit sweet. These would be a great bar snack (in the name of science, I had to test my hypothesis, and these are fantastic with a cold beer!)
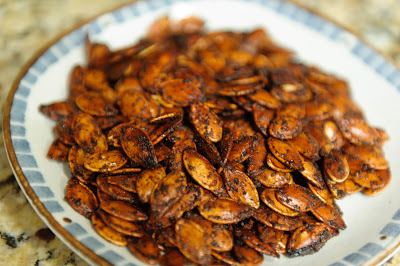
Korean Spiced Pumpkin Seeds
Ingredients:
- 1 1/2 – 2 cups raw pumpkin seeds, rinsed and patted dry
- 1 tablespoon sesame oil
- 1 tablespoon soy sauce
- 1/2 teaspoon sugar
- 1/2 teaspoon granulated garlic (not to be confused with garlic salt!)
- 1/4 teaspoon Korean chili powder (or use Cayenne or sriracha)
Directions:
- Preheat oven to 275 degrees. Line a baking sheet with aluminum foil.
- In a large bowl, mix everything but the pumpkin seeds. Make sure you have no lumps of garlic or sugar. Stir in the pumpkin seeds, then scrape it all out onto the baking sheet. Spread the seeds out on the sheet so they can cook evenly.
- Cook for one hour, stirring every ten minutes. They get a little sticky, so use a silicon spatula. After an hour, remove from the oven and let cool for about an hour. Don’t worry, they’re not sticky anymore. Remove to a bowl and get snacking!