April 19, 2024

Irish Soda Bread

Irish Soda Bread resize

For last week’s recipe, I needed a carton of buttermilk.  I still had quite a bit left, and I knew I wanted to use it all up, so I found a few recipes that fit the bill.  None, however, sounded as tasty as this one for Irish Soda Bread!

A “soda bread” is simply a quick bread that uses baking soda and /or baking powder to rise, as opposed to yeast.  That means you don’t need to wait for it to rise, or worry about the yeast being old and feeble (or killing it with water that is too hot … or not hot enough to wake it up … Have I mentioned lately I hate baking with yeast?!?!)  This recipe comes together in a food processor, but if yours isn’t big enough to fit all the ingredients, or you just like using a pastry cutter, you can certainly put some elbow grease into it and do it the old-fashioned way.

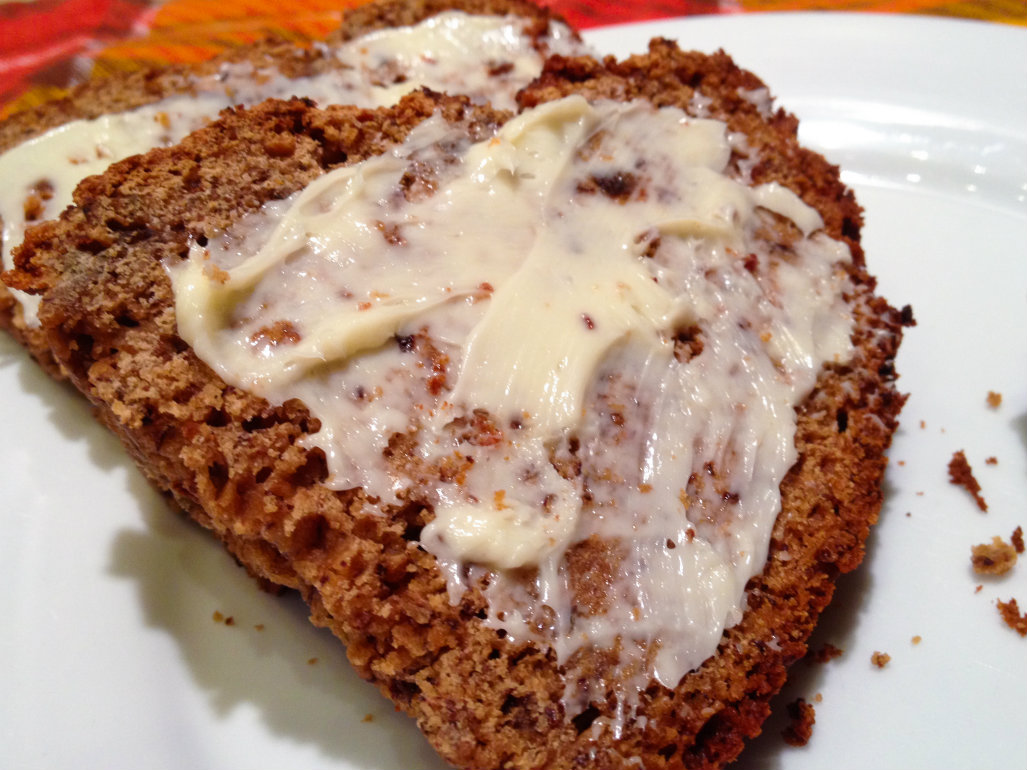
This recipe is based on a Martha Stewart recipe, but I made a few changes.  The biggest change is that, unlike regular soda bread that is kind of bland and dotted with raisins, this one has chopped currants throughout, so it is more of a currant-flavored bread.  Also, the original recipe called for caraway seeds, but I used anise seeds instead.  This bread keeps on the counter, wrapped tightly in plastic wrap and foil, for a few days.  Cut a big slice, cover it with butter, and match it up with your favorite coffee or tea.

Irish Soda Bread

Ingredients:

  • 4 cups flour
  • 1/4 cup sugar
  • 1 teaspoon salt
  • 2 teaspoons baking powder
  • 2 tablespoons anise seed
  • 4 tablespoon cold butter, cubed
  • 1 10-ounce box currants (or use 2 cups of raisins)
  • 1 1/2 cups buttermilk
  • 1 egg
  • 1 teaspoon baking soda
  • 3 tablespoons buttermilk

Directions:

  1. Preheat oven to 350*F.  Butter a large round Pyrex baking dish, all the way to the top.
  2. In the bowl of a large food processor, blend together the flour, sugar, salt, baking powder, and anise seed.  Add the cold butter cubes and pulse to blend.  Add in the currants and blend again.
  3. In a large bowl, beat together the buttermilk, egg, and baking soda.  Add this to the food processor and blend again until thoroughly mixed.  It will be wet and sticky!
  4. Scoop the bread dough into the buttered Pyrex dish and smooth into a mound.  With a brush or the back of a spoon, brush the top with the 3 tablespoons of buttermilk.  Bake for 70-80 minutes, or until a toothpick comes out clean.

Christi’s Homemade Bread Recipe

When it comes to bread, there is nothing better to me than homemade!  I love the way the bread makes my home smell while it is baking in the oven.  I have always been a homemaker at heart, and there is nothing more special to me than to make a couple of loaves of homemade bread for my family.  My hubby works hard each day, for us, and he deserves something special for dinner.  I love a lot of things homemade, but this recipe is my all-time favorite.  I hope you will give it a try and let me know what you think of it!


Homemade Bread

Makes 4 loaves

Homemade Bread

Ingredients:    

 2 (.25 ounce) packages active dry yeast
4 1/2 cups warm water (110 degrees to 115 degrees)
6 tablespoons sugar
2 tablespoons salt
1/4 cup shortening, melted and cooled
12 cups all-purpose flour, divided


Directions

  1. In a large mixing bowl, dissolve yeast in water. Add sugar, salt and shortening; stir until dissolved. Add half the flour; beat until smooth. Mix in enough remaining flour to form a soft dough that cleans the bowl. Turn onto a floured surface. Knead 8-10 minutes or until smooth and elastic.
  2. Place in a greased bowl, turning once to grease top. Cover and allow to rise in a warm place until doubled, about 1-1/2 hours. Punch dough down. Cover and let rise again for 30 minutes.
  3. Divide dough into four parts and shape into loaves. Place in four greased 9″ x 5″ x 3″ loaf pans (I use Pampered Chef Loaf Pans). Cover and let rise in a warm place until just to the top edge of the loaf pan*, about 30 minutes. Bake at 375 degrees F for 30-35 minutes or until golden brown. Remove from pans and allow to cool on wire racks.

*If you don’t want that dry-flour look on the top of your bread (as shown in the picture above), brush butter all over the top of the loaf before removing the bread from the loaf pan.  It not only makes the bread taste delicious, but it also gives the bread a nice golden brown color.

We like a denser bread versus a light and airy bread, so I only allow the bread to rise just to the top edge of the loaf pans before going into the oven.  If you want a lighter, airy bread, you will let it rise a little higher before placing in the oven.  Keep in mind that the bread will rise a bit further during the baking process.


Enjoy!!