April 24, 2024

Lemon Basil Cookies

Lemon Basil Cookies

If your FaceBook newsfeed or email are anything like mine, you’ve got dozens of recipes to view every day.  From pages you ‘liked’ to friends sharing recipes, I’m bombarded with recipes for tasty treats all day long!  However, I saw this recipe for Lemon Basil Cookies on the Elana’s Pantry website, and I said to myself – that’s the one I’m going to make today!

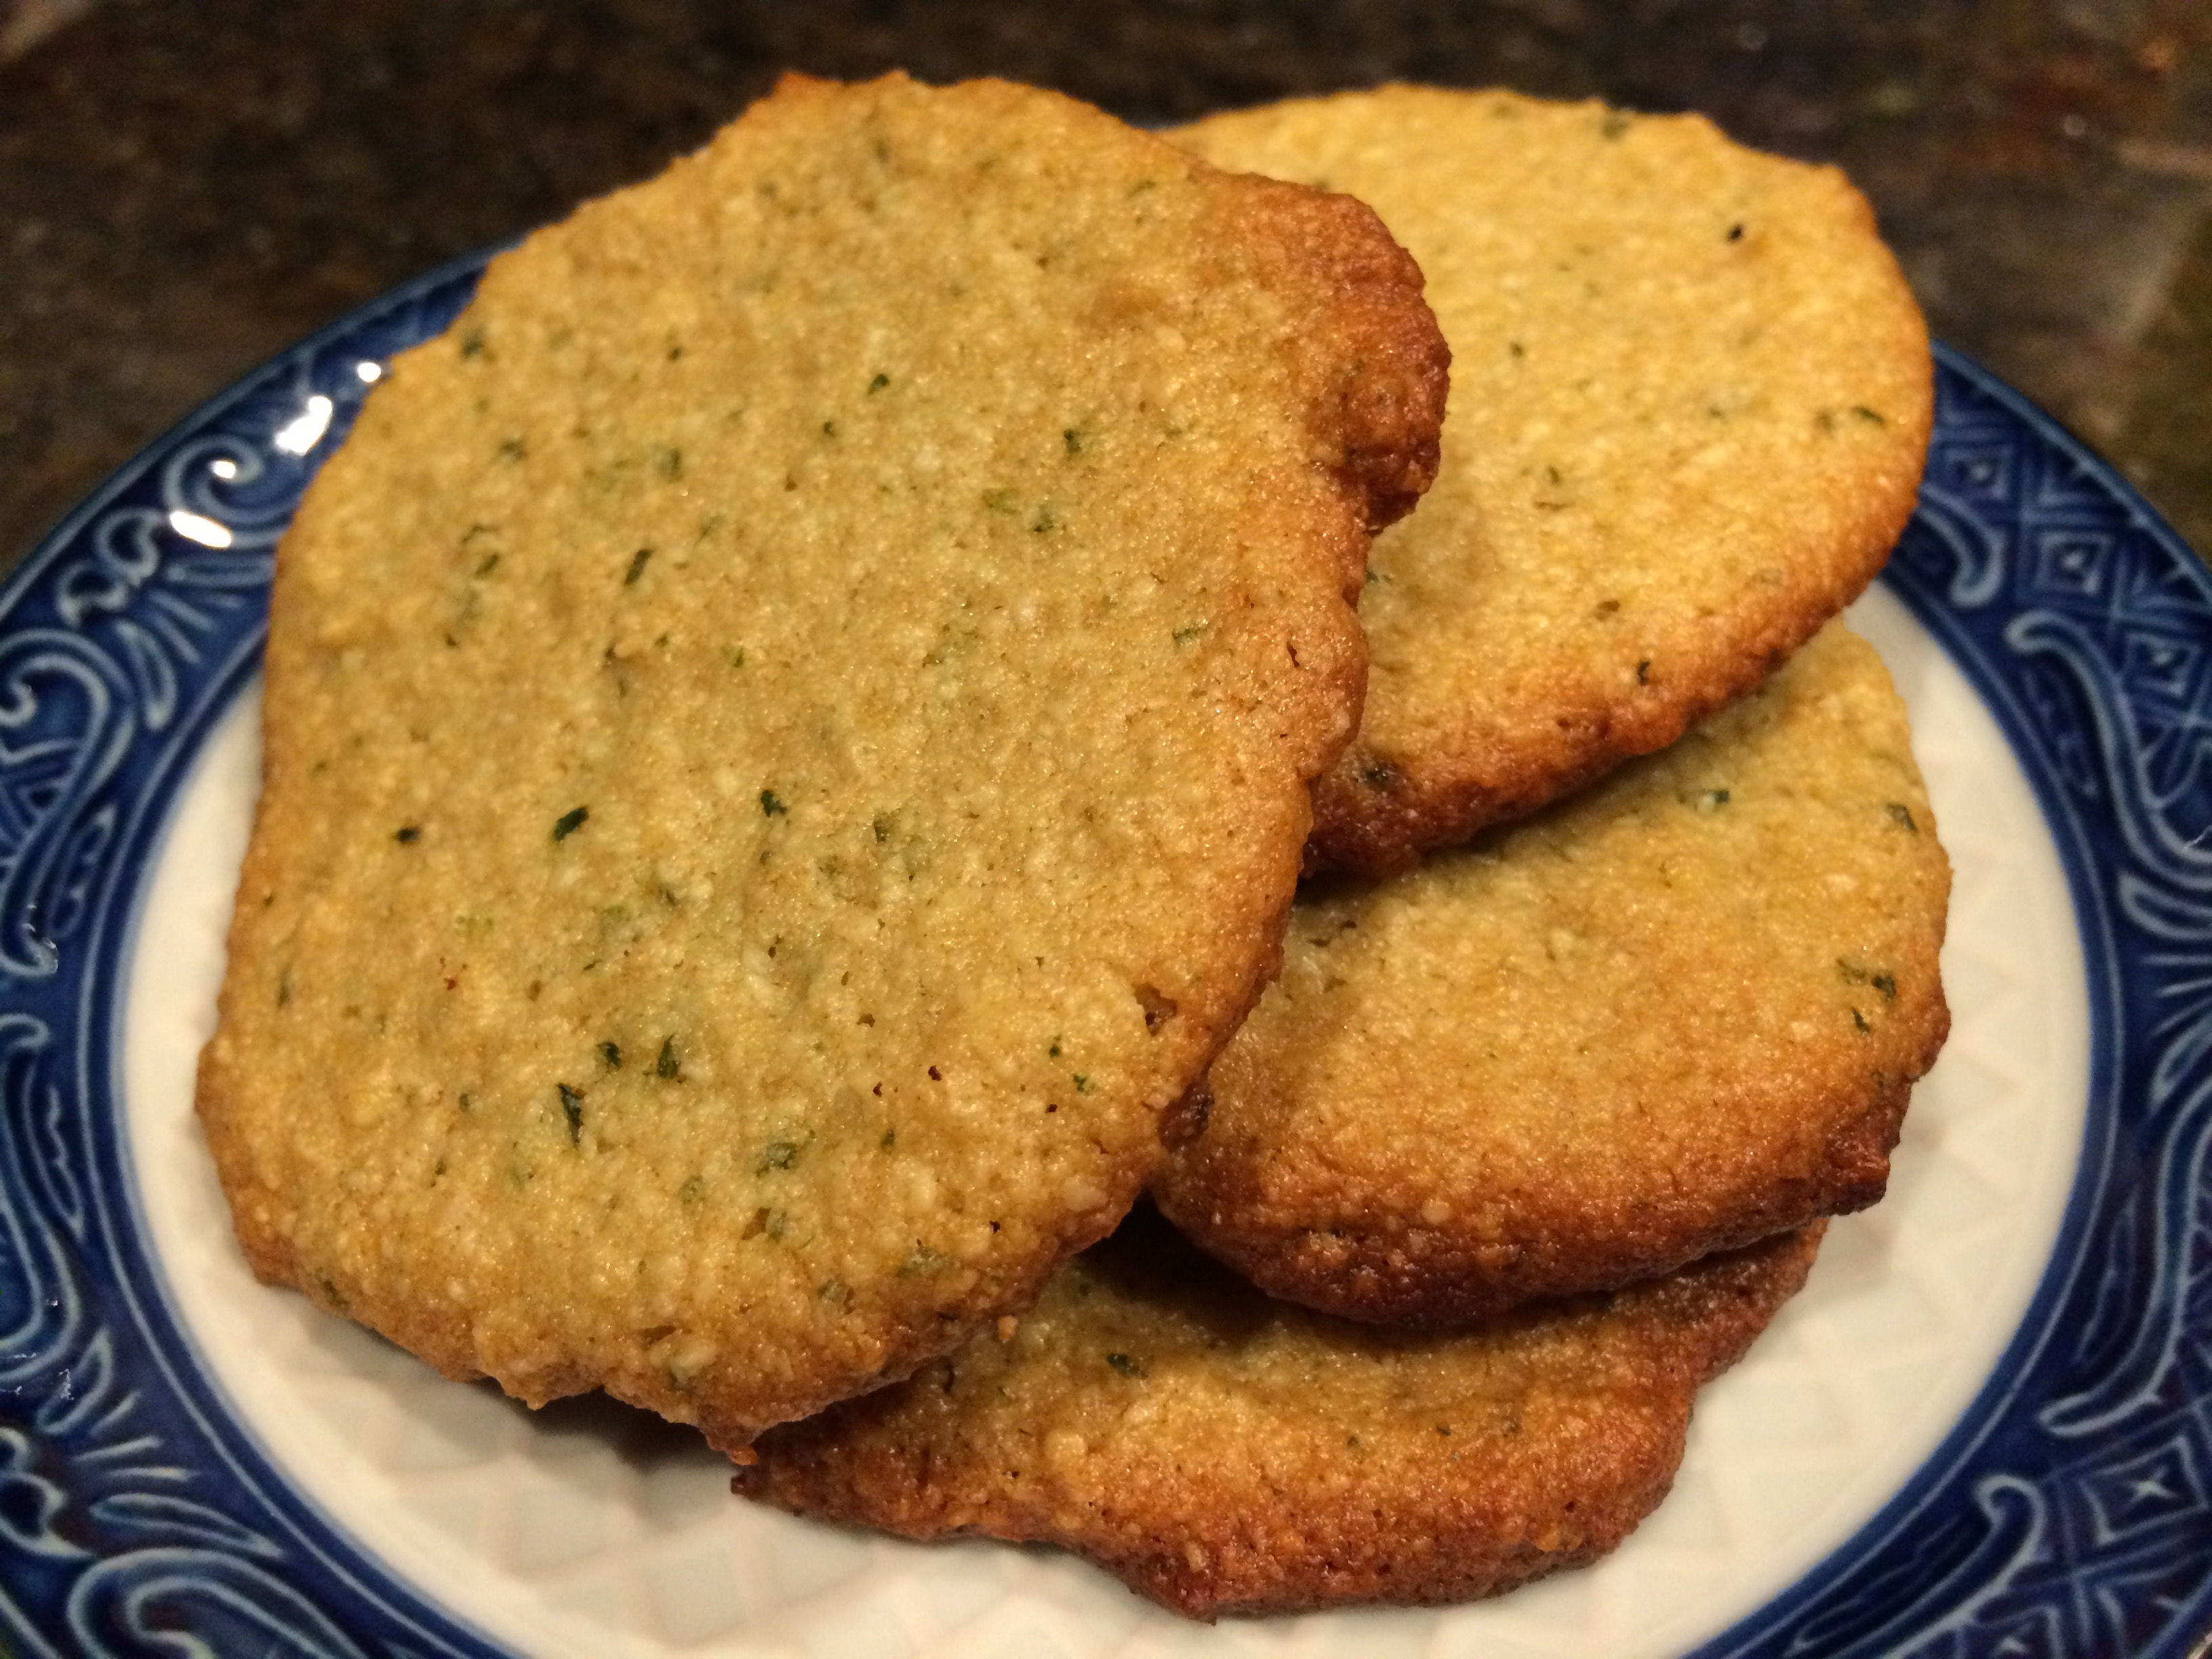
I still have lots of basil growing in my flower bed, so that was handy to come by.  Almond flour is easy to find at the store now, and you can also make your own if you choose.  These cookies are herbal and fresh tasting, with a nice balance of flavors.  In fact, I tasted a bit of salt in mine from the salted butter I used, which offset the sweetness.  You may choose to add another tablespoon of honey, because these cookies are not overly sweet.  Try them and see – perfectly balanced, deliciously different!

Lemon Basil Cookies  (Recipe from Elana’s Pantry)

Ingredients:

  • 2 cups blanched almond flour
  • 1/4 teaspoon salt
  • 1/4 teaspoon baking soda
  • 1/4 cup coconut butter (I used regular butter and they came out great!)
  • 1/4 cup honey
  • 1 tablespoon chopped fresh basil
  • 1 teaspoon lemon zest

Directions:

  1. Preheat oven to 350*F.
  2. In the bowl of a food processor, blend together the almond flour, salt, and baking soda.
  3. Add the butter, honey, basil and lemon zest.  Blend again until a ball of dough forms.
  4. Line baking sheets with parchment paper, or use a Silpat mat.  Scoop a teaspoon full of dough and drop it on the parchment paper.  These cookies spread, so give them some room!
  5. Cook for about 8 minutes.  Remove from the oven and let cool on the cookie sheets for an hour.
  6. Store in a sealed container.  This made about 18 cookies for me.
Explore, experiment, enjoy! — Dana

To view even more of Dana’s unique recipe, you can visit her at Frugal Girlmet

Protein Banana Bread Breakfast Bars

Protein Banana Bread Breakfast Bars

I found this recipe on a website called PaleOMG.  I love their photos on Instagram, and they have great ideas for healthy snacks and things to give your kids.  I changed the recipe a bit, just subbing a few things here and there, and now I present to you:  Protein Banana Bread Breakfast Bars!

That’s a mouthful.  These PBBBBs are just like banana bread, but not cloyingly sweet.  They are made with almond flour and whey protein powder, so you’re getting a good dose of protein in your sweet treat.  These were easy and delicious!  I’m storing mine in the fridge, and hope there is enough left for me to enjoy one with my morning coffee tomorrow!

Protein Banana Bread Breakfast Bars

Ingredients:

  • 2 bananas, mashed
  • 1/4 cup melted coconut oil
  • 1/4 cup maple syrup
  • 1 teaspoon vanilla extract
  • 1 egg, beaten
  • 2/3 cup almond flour
  • 1/3 cup whey protein (vanilla, but I used cinnamon!)
  • 1/4 cup tapioca or arrowroot flour
  • 1/2 teaspoon baking soda
  • 1/4 teaspoon salt
  • 1/3 cup cacao nibs (I used mini chocolate chips)
  • 1/4 cup sliced almonds (I used sesame seeds)

Directions:

  1. Preheat oven to 350*F.  Grease an 8×8 square pan.
  2. Mix all the ingredients together, except for chocolate chips and almonds.  Then fold in cacao nibs or chocolate chips.  Pour into the prepared pan, and cover the top with the almonds or sesame seeds.
  3. Bake for 20-25 minutes until the middle is set.  Cool for 10 minutes before cutting.
  4. I cut mine into 1″x4″ bars, so I had 16 servings.  Store in the fridge, covered.


Explore, experiment, enjoy! — Dana


To view even more of Dana’s unique recipes, you can visit her at Frugal Girlmet!

Korean-Style Tuna Salad

Korean Tuna Salad resize

Now that school is starting up again, it’s time for some lunchbox ideas.  One of my favorites as a kid was tuna salad.  Growing up, I had it only two ways:  with mayonnaise, and the way my Mom made it, which was with mayo and chopped celery.  It wasn’t until I was in high school that I had tuna salad made with mayo and pickle relish.  (Thanks, Mrs. Carson!)  It’s really easy to believe that a food will only taste good if prepared in the way you’re familiar with.  I mean, even 15 years ago, I would have been hard-pressed to believe that I would like tuna salad made without mayonnaise.  But old dogs can learn new tricks, so here I present to you:  Korean-Style Tuna Salad!

My husband asked me to make this for him several years ago, because this is the way he grew up eating canned tuna.  Believe it or not, Koreans do enjoy tuna salad, and even make a dish called Tuna Kimbap with it – tuna salad rolled up in rice and seaweed (kind of a Korean sushi roll.)  In this Korean-style dish, the mayonnaise is gone, replaced by savory sesame oil.  The celery is joined by minced carrot and green onion, and the whole dish is seasoned with a little vinegar and a healthy shake of sesame seeds.  It’s a whole new take on tuna!

Try this wrapped in lettuce or served on crackers for lunch.  Ready to break out of your comfort food comfort zone?  Let’s go!

Korean-Style Tuna Salad

Ingredients:

  • 2 cans tuna, drained
  • 2 green onions
  • 1 large carrot
  • 2 celery stalks
  • 2 tablespoons sesame oil (or more, to taste)
  • 1 teaspoon rice vinegar (or use lemon juice)
  • 2 tablespoons sesame seeds
  • 1/2 teaspoon salt

Directions:

  1. In a mixing bowl, add the tuna.
  2. Finely mince the green onion, carrot, and celery.  Add to the tuna.
  3. Pour in the sesame oil and rice vinegar.  Toss to combine.
  4. In a small bowl, combine the sesame seeds and salt. Crush them together with the back of a spoon until most of the seeds are crushed.  (You can also do this quickly in a mortar and pestle, if you have one.)  Pour the sesame seed salt mixture over the tuna and mix well.  Taste – now you can add more sesame oil, vinegar, or salt.  Refrigerate until ready to serve.

Explore, experiment, enjoy! — Dana


To view even more of Dana’s unique recipe, you can visit her at Frugal Girlmet!


Shrimp with Cilantro Pesto

Shrimp with Cilantro Pesto resize

One thing that will bum me out, without fail, is seeing a wilted, mushy bunch of herbs that I didn’t get to in time.  Just makes me feel terrible.  So I had this nearly full bunch of cilantro in my produce drawer and no clue what to make with it.  Aha!  How about try it in pesto?  This recipe for Shrimp with Cilantro Pesto was a big hit at dinner last night!

You can cook the shrimp however you like.  Here, we just pan-fried them quickly with salt and pepper, and let the pesto do the heavy lifting in the flavor category.  This comes together so quick it’s laughable.  Make the pesto whenever you like – even the day before – and keep in the fridge until you are ready to eat.  We ate this with roasted baby potatoes and roasted broccoli.  The pesto was especially delicious on the potatoes.  Try it and see!

Shrimp with Cilantro Pesto

Ingredients:

  • 1 large bunch cilantro
  • 1/3 cup toasted pepitas
  • 1 teaspoon minced garlic
  • juice of 1 lemon or lime
  • 1/3 cup olive oil
  • salt and pepper
  • 1 pound shrimp, peeled
  • 1 tablespoon olive oil

Directions:

  1. Wash and shake the cilantro and trim about half an inch off the bottom of the stems.  Place them in the bowl of a food processor.  Blend with the pepitas, garlic, lemon juice, and olive oil.  Taste and add salt and pepper to your liking.  Pour into a bowl and store in the fridge until ready to use.
  2. Prepare the shrimp: peel the shell off, remove the tail, and de-vein.  Season with salt and pepper and drizzle with olive oil.  Heat a pan on medium-high, and quickly sauté the shrimp.  They will only take about 2 minutes per side – don’t let them get tough and overdone!  Remove shrimp from pan to a plate and serve with the cilantro pesto (and a squeeze of lemon if you like.)

Explore, experiment, enjoy! — Dana


To view even more of Dana’s unique recipe, you can visit her at Frugal Girlmet!

Broccoli Stalk Soup

Broccoli Stalk Soup Resize

I’m coming in, just under the wire, with a soup recipe to round out January as National Soup Month!  It’s creamy, it’s Paleo, it’s as frugal as can be:  Broccoli Stalk Soup!

I seriously buy about ten pounds of broccoli a week, and I’m ashamed to admit how many stalks have gone to waste over the years.  My girls didn’t want to eat the tougher stalk and will only eat the florets, and to be honest, they do take a little more work to prepare if you want to serve the stalk together with the floret, since you have to peel off the tough outer layer.  But I couldn’t accept throwing all those healthy green vegetables into the compost bin, so I made a broccoli soup out of them.  Hooray – it is delicious and uses up nearly all the stalk.  So much less to compost!

If you don’t follow the Paleo diet, feel free to use one large or two small potatoes in place of the rutabaga.  But I really liked the rutabaga – I think it adds a sweetness, and contributes a creamy texture to the soup when you blend it.  And because you are blending it up, you don’t have to worry about mincing and dicing carefully – just chop up your veggies and cook them til tender.  You can serve this with some shredded cheese on top, or like I did, with a dollop of plain yogurt.  You can also add a little more chicken stock than I did if you want a thinner soup.  But I like it this way:  thick, warm, and truly satisfying!

Broccoli Stalk Soup

Ingredients:

  • 3 tablespoons olive oil or bacon fat
  • 1 large rutabaga, peeled and cubed
  • 3 cloves garlic, minced
  • 1 onion, sliced
  • 2 carrots, peeled and chopped
  • 6 broccoli stalks, plus one head of broccoli
  • 4 cups (or more) chicken or vegetable stock

Directions:

  1. In a very large pot, heat the oil and add the rutabaga, garlic, onion and carrots.  Cook on medium, stirring to keep the garlic from burning, for about ten minutes.
  2. While the other vegetables are cooking, prepare the broccoli.  With a paring knife or vegetable peeler, peel the broccoli stalks.  Cut off the bottom half inch of stalk, and then cut the stalks into smaller pieces.  Chop the head of broccoli and separate the florets.  Add the broccoli to the pot and cook another five minutes.
  3. Add the chicken stock and cover the pot with a lid.  Simmer over medium-low heat for about 20 minutes, or until the vegetables are tender.  Transfer soup to a blender – CAREFULLY! – in batches and blend until mostly smooth.  You can leave a few chunks if you like.  I used an immersion blender and it worked very well.  You can add a little more stock here if you want a thinner soup.
  4. Serve soup hot, garnished with grated cheese or yogurt.

Explore, experiment, enjoy! — Dana


To view even more of Dana’s unique recipe, you can visit her at Frugal Girlmet!