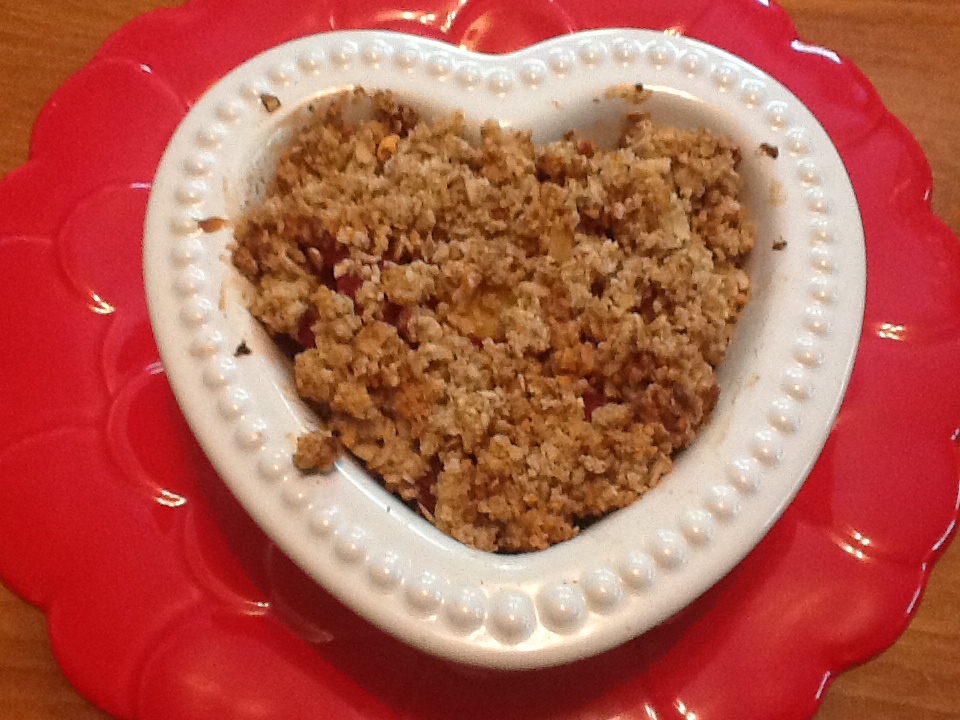
So, I don’t know about your area, but we have had strawberries in abundance here in upstate NY…and they have been beautiful and fragrant and delicious! My granddaughter, Kaylie Joy, just LOVES strawberries! I had made a batch of these muffins and when she tasted one, she asked if we could bake some together…how could i say ‘no’?! We actually doubled the ingredients and it worked very well. And we baked them up as a dozen standard size muffins and 3 dozen mini-muffins. In either size, they baked beautifully!

This recipe (adapted from a similar one over at the Spunky Coconut – one of my very favorite gluten free, refined sugar free blogger/bakers) fits well into our healthy but-oh-so-yummy point of view:
- uses honey or agave nectar and liquid stevia rather than refined white sugar
- are gluten free with protein-rich almond flour and a bit of brown rice flour replacing wheat flour
Strawberry Muffins

ingredients:
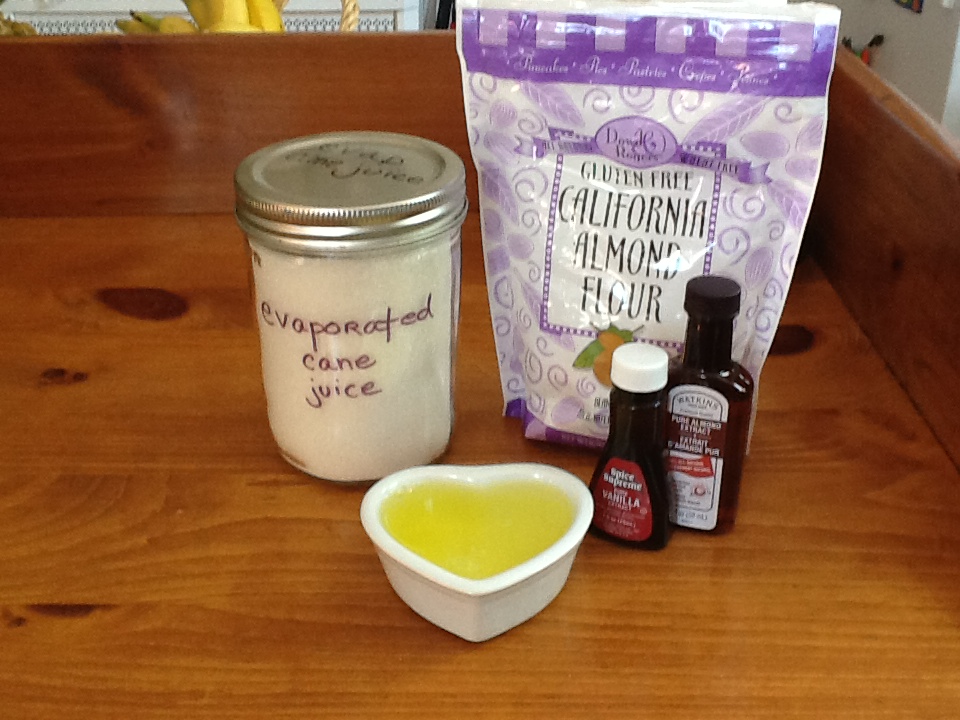
2 cups almond flour
1/2 cup brown rice flour
1/2 teaspoon baking soda
1/2 teaspoon finely ground sea salt
1 cup fresh strawberries
1/2 cup coconut oil, liquified
1/3 cup honey or agave nectar
6-8 drops vanilla liquid stevia
1/2 teaspoon vanilla extract
3 large eggs, at room temperature
directions:
- preheat oven to 350
- line muffin cups with paper liners
- wash and dry strawberries; chop finely (not mushed, but small)
- sift together the dry ingredients; set aside
- pour liquified coconut oil, sweeteners, and extract into bowl
- using electric mixer, beat for one minute, then add eggs one at a time
- slowly add dry ingredients, beating just ’til thoroughly combined
- by hand, gently fold in finely-chopped strawberries
- scoop into muffin cups, filling almost to brim
- bake at 350 degrees for about 25 minutes
- immediately remove from muffin pan onto cooling rack; allow to completely cool
tip: Coconut oil needs to liquify in order to be blended into a batter. Depending on the time of year (summer..no problem; winter…a problem) you might need to warm it up. You could either scoop out the required amount of coconut oil and place it in a glass measuring cup on your stovetop as the oven preheats. Or it can be microwaved for approximately 30+ seconds (depending on the quantity you need) and then stirred. Either way, add it into your mixing bowl and combine with other liquid ingredients prior to adding room temperature eggs.
♥ ♥ ♥ ♥ ♥
God loves you! ♥ (Don’t ever forget that!)
♥ coleen