March 28, 2024

Raspberry-Lemon Cookie Cups (paleo, dairy-free, gluten-free)

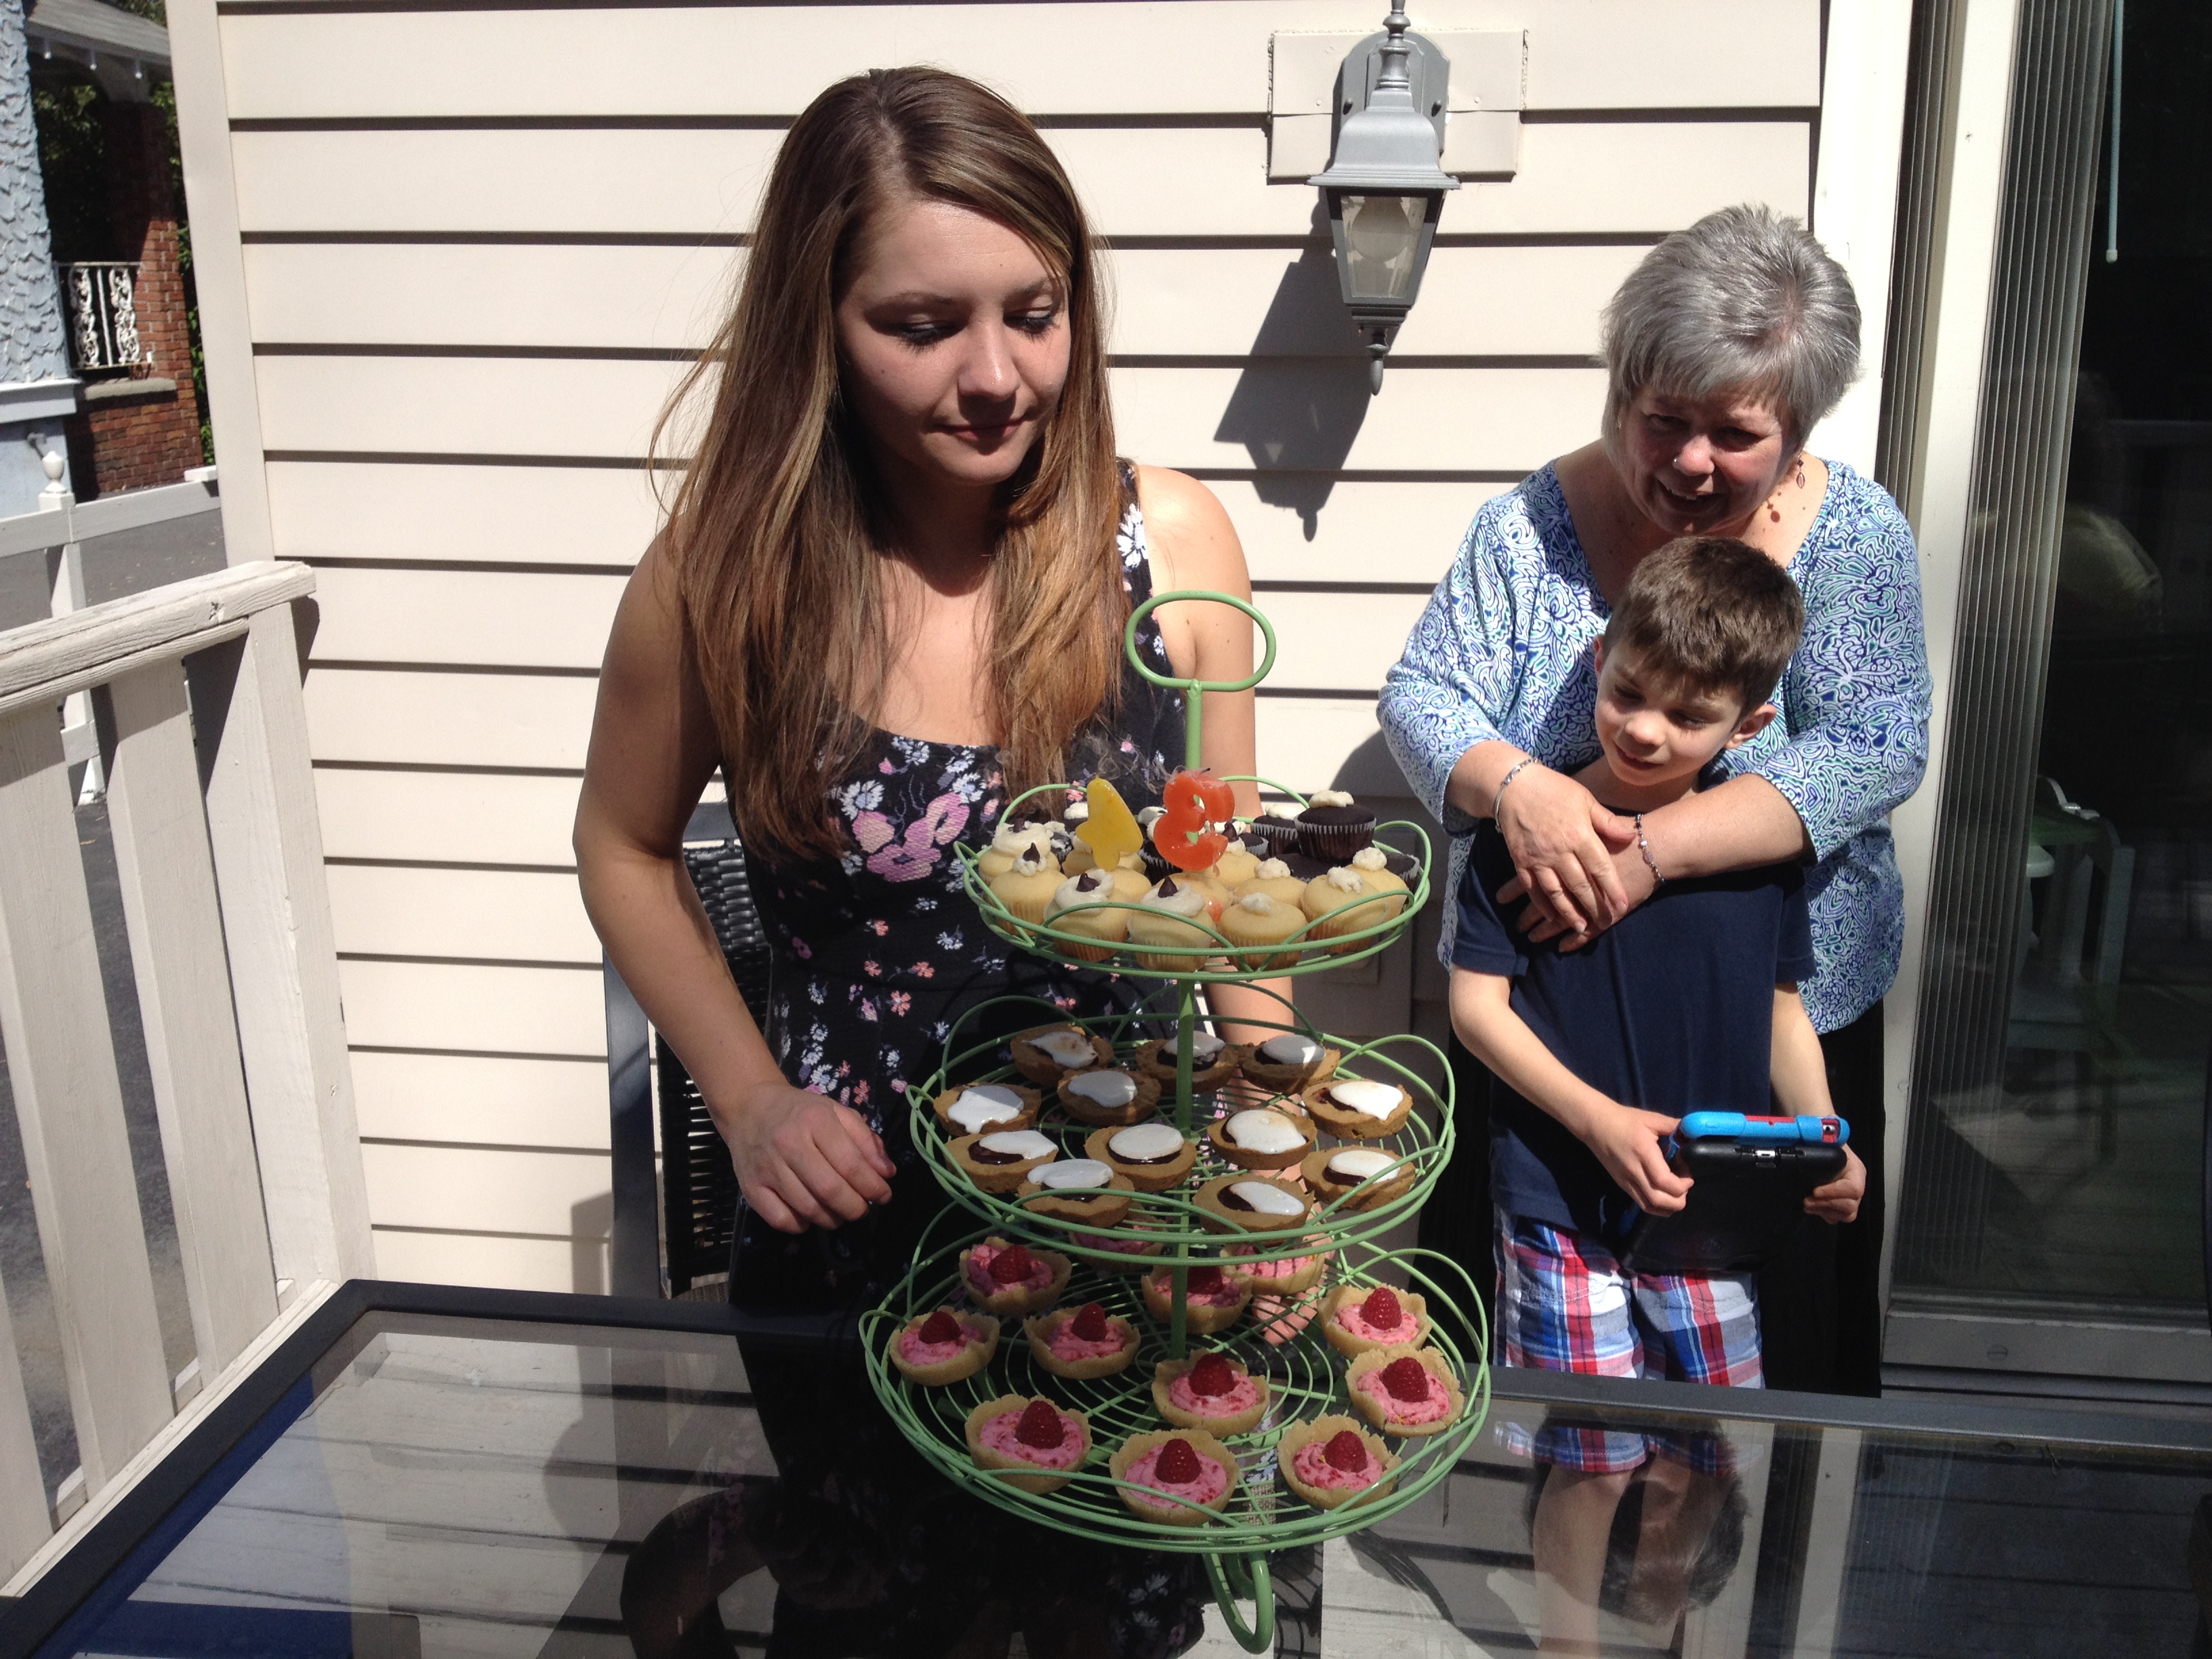
We recently celebrated the birthday of one of my favorite people in the whole world—my daughter, Kassia!  She continually inspires me with her healthy eating lifestyle.  She endeavors to feed her loved ones (and the rest of us!) with the best quality foods she can find.  So I wanted to {attempt} to do likewise for her.  This healthy but-oh-so-yummy dessert is one that she had mentioned looked good* …and it was!

2015-06-07 15.48.38

These cookie cups are raw…but could also be baked if you prefer.  They have no refined sugar in them, nor any dairy, and are also gluten-free.  They fit perfectly into a paleo-style eating plan, too!  And they are vegan!   They are very delicate, though…so keep the shells refrigerated ’til just ready to serve them.  Then pipe (or scoop) the delicious filling into them, top with a lucious fresh raspberry…and serve.

So, next time you find yourself needing to find the perfect dessert that meets the dietary needs & wants of your guests…try this!  We thoroughly enjoyed them.  Hope you do, too!

Lemon-Raspberry Cookie Cups

raspberry

ingredients:

2 lemons, zested and juiced (you will need the zest from both along with 1 tablespoon of juice)

cookie cups:
1 cup almond flour
1/2 cup coconut flour
2 tablespoons 100% maple syrup
2 tablespoons coconut oil, room temperature
2 teaspoons pure vanilla extract
1 tablespoon lemon juice
1/2 of the lemon zest
pinch of salt

raspberry filling:
2 ounces freeze-dried raspberries
1 can (14 ounce) coconut cream, full fat variety
1 teaspoon sweetener of choice (I used maple syrup)
1/2 teaspoon pure vanilla extract
12 perfectly ripe raspberries

directions:

cookie cups:

  • line a standard size (12)  muffin tin with plastic wrap (this is a little tricky and will shift around a bit; that is expected
  • zest and juice the lemons; set aside
  • place all of the ingredients for the cookie cups in your  food processor.
  • pulse ’til well-blended and the mixture starts to come together
  • use a 1-1/2 inch or 2 inch cookie scoop (about 2 tablespoon size) and  divide the mixture up into the lined muffin tin
  • gently press mixture into each cup along the bottom and about halfway up the sides. I used my ‘barely damp’ fingers to do this
  • chill the cookie crust cups in the refrigerator for at least 6 hours (or even overnight)

raspberry filling:

  •  pulse the freeze dried raspberries in your food processor ’til finely ground (you will have a powder); set aside
  • remove the can of coconut cream from refrigerator and drain off any liquid…but not the cream! then scoop out all the thick coconut cream into the bowl of your stand mixer.
  • using the whisk attachment, whisk for about 30 seconds; then add in the sweetener and vanilla. continue to whisk until fluffy (about a minute)
  • (with mixer OFF) slowly add in the raspberry powder using a sifter or small sieve.  you can discard the dried raspberry seeds that remain in the sieve…or add ’em
  • start up mixer again, on medium speed, and whisk ’til well blended and fluffy
  • gently remove cookie cups from muffin tin, using the plastic wrap to lift them.  place on serving dish and pipe or scoop the raspberry filling into each, dividing equally among the 12 cups.  top each with one perfect raspberry and a pinch of the leftover lemon zest
  • (for best texture) serve immediately

♥    ♥    ♥    ♥    ♥

God loves you!  ♥  (Please don’t ever forget that!)

♥  coleen

* I used this recipe as my guideline and made adaptations.


Thumbprint Cookies

It is the season for cookie baskets and cookie exchanges. How many dozen cookies have you made already? How about you, Coleen…(you ask?) Ummmm, zero….well, ‘til these! (I know, I know…better get on it!) Yup, part of my plan for this week. Here’s what I am hoping to accomplish.   I would LOVE to hear what varieties you are making for your loved ones this year!!!

2014-12-14 19.53.53

Mexican Wedding Cookies (Snowballs)
Gingerbread Hearts
Pignoli Cookies (here’s my recipe)
Chocolate Chip Oatmeal
Italian Almond Cookies (Robert’s constant request-here’s my recipe)
Spritz (my all-time, hands-down, yes, please! favorite)

But these are where I started. I just love thumbprint cookies! Most of you know that I bake/cook gluten-free. These also are paleo, dairy-free, and refined sugar-free. (Hope that is helpful to a few of you!) And all of that helps to keep these within my healthy but oh-so-yummy POV!  Enjoy!

Thumbprint Cookies

ingredients:2014-12-14 21.36.14
1/3 cup arrowroot flour
1/3 cup almond flour
1/3 cup coconut flour, sifted
1/4 teaspoon sea salt
5 tablespoons coconut sugar**
1 tablespoon water
1/4 cup coconut oil, melted
1/2 teaspoon vanilla extract
1 egg, room temperature
all-fruit marmalade or jam (I used ginger/orange and raspberry)
1 egg white beaten with 1 tablespoon water, for egg wash
1/2 cup finely chopped nuts (I used walnuts)

directions:

  • preheat oven to 350
  • line baking sheet with parchment paper
  • in a large bowl, whisk together dry ingredients (first 5)
  • in mixer bowl, combine the wet ingredients (next 4) for 1 minute
  • add the dry ingredients to the wet ingredients and combine with mixer
  • take tablespoon-sized balls of dough and quickly roll into a ball
  • dip into egg wash and then run through chopped nuts
  • place on lined baking sheet about 1″ apart
  • make an good-sized indentation with your thumb (or a wooden spoon handle)—but don’t poke through the bottom
  • fill the indentation with about 1/2 teaspoon marmalade/jam
  • bake for approximately 15 minutes ‘til just lightly browned; remove from oven
  • carefully transfer to a cooling rack
    makes 15 to 20 cookies

** NOTE: these are on the not-so-very-sweet side…you may want to add additional sugar!

 ♥  ♥  ♥  ♥  ♥

God loves you!  ♥  (Don’t ever forget that!)

♥  coleen

Chocolate Cranberry Quinoa Biscotti

CCQ Biscotti Close Tray resize

Girlfriends Coffee Hour runs on prayer and  coffee, and sometimes coffee needs biscotti!  If you’ve ever paid $2 for a biscotti at your local coffee shop and thought, “It can’t be that hard to make these,” you are right!  This recipe for Chocolate Cranberry Quinoa Biscotti takes a few extra steps, but if you are looking for a gluten-free, nut-free treat for your afternoon coffee break, read on!

I was looking for nut-free biscotti recipes online, and I found one using quinoa flour, which I’d never heard of or used.  Time to experiment!  It turns out that quinoa flour is incredibly easy to make, and exceeds wheat flour in fiber, protein, and nutrients.  If you don’t want to make your own at home, I understand – you can find it in health food stores and online, and Bob’s Red Mill makes it (I really like and trust their products.)  I used red quinoa, so the biscotti has a darker color, but feel free to use the regular white kind.  To make quinoa flour at home, pour one cup of quinoa on a baking sheet and bake for 12-15 minutes at 300*F.   When cool, grind in a spice grinder, grain mill, or superpowerful blender.  I have a hand-crank grain mill that made short work of the job!  One cup of dry quinoa will yield one and a quarter to one and a third cups of flour.  If you don’t want to go through the trouble, you can use regular or whole wheat flour instead.

Everything else in this recipe is pretty customizable.  Don’t like chocolate chips?  Leave them out or use white chocolate or even butterscotch chips.  Add in any kind of nut, like almonds, pecans or pistachios.  Replace the dried cranberries with cherries, apricots, or just lemon zest.  Drizzle with white or dark chocolate.  These make great gifts, too, because they are pretty hearty and don’t get stale too quickly.  After rigorous and exhaustive testing, I can report that these stand up well to dunking in coffee.  The things I do for you ladies!  😉

If you have a friend who loves coffee, make these as a treat for her (and keep a few for yourself!)


CCQ Biscotti Close up Resize

Chocolate Cranberry Quinoa Biscotti

Ingredients:

  • 1+ 1/3 cups quinoa flour (you can use whole wheat flour instead)
  • 2 tablespoons coconut flour
  • 1 teaspoon baking powder
  • 1/4 teaspoon salt
  • 2 eggs
  • 1/4 cup melted coconut oil (or use butter)
  • 2 teaspoons vanilla extract
  • 3/4 cup coconut sugar (or use brown sugar)
  • 3/4 cup dried cranberries (or cherries or diced apricots)
  • 3/4 cup chocolate chips
  • White chocolate for drizzling (Confession:  I was out of white chocolate, but I found a cookies and cream white chocolate bar that fit the bill.)

Directions:

  1. Preheat oven to 300*F.  Line a baking sheet with parchment paper.
  2. Combine quinoa flour, coconut flour, baking powder, and salt in a bowl.
  3. In a large bowl, combine the eggs, coconut oil, vanilla, and coconut sugar together.  Mix well, then stir in chocolate chips and cranberries.  Stir in the flour mixture a little at a time until thoroughly combined.
  4. Turn the dough out onto the parchment, and using damp hands, mold into a log that measures about 4 or 5 inches wide, one inch high, and about 15 inches long.  Bake until firm, about 25 minutes.
  5. Remove pan from oven, then pick up the parchment with the biscotti log on it, and let it cool on a rack.  You want this cooled to room temperature, so it won’t crumble too much.  With a serrated knife, slice the log into 1/2 inch biscotti.
  6. Place the biscotti back on the baking sheet and bake for about 15 minutes until dry and crunchy.  Let cool completely, then drizzle with white chocolate.  Store in an airtight container to keep them crisp.

Explore, experiment, enjoy! — Dana


To view even more of Dana’s unique recipe, you can visit her at Frugal Girlmet!

At Home with GCH: Strawberry Shortcake (Gluten-Free)


Strawberry Shortcake Whole

Strawberry Shortcake is one of those comfort food recipes that everyone’s Mom or Grandmom makes a version of.  When Spring arrives and berries finally come to the store, what better way to dress up a plain old cake than with sweet, juicy fruit?  I wanted to make a healthier version, so I adapted a recipe for a coconut flour cake, spruced up with orange zest, from Nourishing Days.  Add whipped cream and a basket of berries and you’re in business!


Strawberry Shortcake Cut
Strawberry Shortcake (Gluten-Free)

Ingredients:

  • 12 eggs
  • 1/2 cup coconut oil (or butter), softened
  • 1/2 cup coconut milk (or regular milk)
  • 1/4 cup honey (or more, if you like)
  • 2 teaspoons vanilla extract
  • 1 teaspoon grated orange zest
  • 2 tablespoon orange juice
  • 1 cup coconut flour
  • 1 teaspoon baking powder
  • 1 teaspoon salt
  • 1 cup strawberries, sliced thin
  • 1 pint heavy whipping cream
  • 1 teaspoon vanilla extract
  • optional – 1 or 2 teaspoons sugar (I didn’t use them, since my berries were really sweet.  If your strawberries aren’t as sweet as you’d like, add the sugar to the whipping cream)

Directions:

  1. Preheat the oven to 350*F.  Grease two 8-inch round cake pans, and then cut a circle of parchment paper for the bottom of each pan, and grease that too.  (You can do this without parchment paper, but you will need to be really liberal with the coconut oil / butter / cooking spray on the bottom of the pan.  The cake stuck the first time I made it, so the next time I used parchment paper, and it was perfect!)
  2. In a very large bowl, using a stand mixer or a hand mixer, beat the eggs until frothy.  Beat in the softened coconut oil and milk, blending well.  Mix in the honey, vanilla, orange zest and orange juice.  Beat until foamy again.
  3. In a small bowl, stir together the coconut flour, baking powder and salt.  Then, a little at a time, blend the flour mixture into the egg mixture.  Mix well, making sure there are no lumps.
  4. Divide the batter between the two prepared pans and bake for 35-40 minutes.  When a toothpick comes out dry, remove from the oven and cool for ten minutes.  Remove from pans, and finish cooling on a rack.
  5. While the cake is cooling, place the beaters of your hand mixer and a metal mixing bowl in the freezer for half an hour.  Slice the strawberries and put back in the fridge until ready to use.
  6. When the beaters and bowl are very cold, beat the whipping cream with the vanilla (and optional sugar) until stiff peaks form.  To decorate:  spread a very thin layer of whipped cream on the top of one cake.  Make concentric circles of strawberry slices (use half the strawberries, saving the other half for the top), then cover with a thick layer of whipped cream.  Place the other cake on top of this, cover with the rest of the whipped cream and the rest of the strawberries.  Refrigerate until ready to serve.

This is not a very sweet cake, since it relies on the berries for sweetness.  If your berries are not sweet enough for your taste, you can add more honey to the cake, and the optional sugar to the whipped cream.

Explore, experiment, enjoy! — Dana


To view even more of Dana’s unique recipe, you can visit her at Frugal Girlmet!


At Home with GCH: Coconut Flour Pancakes

coconut flour pancakes

Through my gym, I am doing a Paleo Challenge.  For 5 weeks I am cutting all processed foods out of my diet, as well as some other “irritant” foods, so no sugar, no grains, no legumes, no dairy, and no alcohol.  The goal is to eat the way our “caveman” ancestors ate, with the belief that all the chemicals and lab-created foods we eat are not good for us, and that our bodies work the way they’re supposed to when we only eat meat, vegetables, fruits, nuts, and fats (like olive oil, coconut oil, and avocado).  Just the way God created us!

Does that mean that all the “fun” foods are off limits?  No!  No grains mean no flour, no oatmeal, no corn—and that takes a lot of American food off the table.  Coconut flour, to the rescue!  This is flour made from the dried and ground flesh of the coconut.  It’s full of protein, has lots of fiber, is gluten-free, and is pretty all-around great for you.  It’s much coarser than wheat flour, so when you make these pancakes, they won’t be the cakey, smooth type you get at a diner.  These are more substantial, and they keep and reheat well.  The next day after I make them, I like to nibble on them, slathered in homemade almond butter.  Yum!

Coconut flour can be found at Whole Foods, other health food stores, and online at Amazon.  I like Bob’s Red Mill brand, but there are others out there too.  A one-pound bag will last you a while, so don’t think you’re getting cheated.  Just keep it in a Ziploc bag in your pantry, and stay tuned for more coconut flour recipes from me.  I’m in love with the stuff, and I can’t wait to share.

Coconut Flour Pancakes

(Recipe courtesy paleospirit.com)

Ingredients:

  • 4 eggs, room temperature
  • 1 cup coconut milk (you can use regular milk too!)
  • 2 teaspoons vanilla extract
  • 1 tablespoon coconut nectar (or honey, or 1 packet of stevia)
  • 1/2 cup coconut flour
  • 1 teaspoon baking soda
  • 1/2 teaspoon salt
  • 1/4 teaspoon cinnamon (or pumpkin pie spice!)
  • coconut oil for frying (you can use cooking spray to coat a non-stick pan, too)

Directions:

  1. Beat eggs in a stand mixer (or just whisk mightily!) until frothy.  Mix in milk, vanilla, and sweetener.
  2. In a small bowl combine coconut flour, baking soda, salt and cinnamon.  Mix together.
  3. Whisk flour mixture into egg mixture and blend well so there are no lumps.
  4. Grease pan with coconut oil (my favorite!) or, if you are a using a good non-stick pan, spray with cooking spray.  (Side note:  Trader Joe’s sells both coconut oil in a jar, and coconut oil cooking spray.  Love!)  When the pan is hot, use a large tablespoon to pour out pancakes.  I make mine about 4 inches in diameter.  These are thick, and you may need to smooth them out a bit.  Cook until dry on top, just like regular pancakes, about 2 or 3 minutes, then flip and cook for another minute or so.  Serve hot!

This recipe makes 12-16 pancakes, depending on the size.  Store any leftovers in a Tupperware container in the fridge – they reheat nicely in the microwave, or eat them cold with nut butter, cream cheese, whatever you like.  My older daughter is a traditionalist and likes hers with butter and maple syrup.  My younger daughter likes her with fruit and maple syrup.  I  like them with sliced bananas, walnuts, and some flaked, unsweetened coconut on top – tastes like Hawaii.  😉


Explore, experiment, enjoy! — Dana


To view even more of Dana’s unique recipes, you can visit her at Frugal Girlmet!