 This is a recipe I shared here on GCH 2 years ago. I love it and plan on making it soon. Spring can’t come soon enough for me, and I look forward to farmer’s markets brimming with fresh berries! If you can’t wait either, read on for my Gluten-Free Strawberry Shortcake!

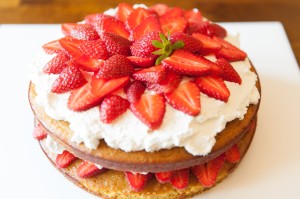
Strawberry Shortcake (Gluten-Free)
Ingredients:
- 12 eggs
- 1/2 cup coconut oil (or butter), softened
- 1/2 cup coconut milk (or regular milk)
- 1/4 cup honey (or more, if you like)
- 2 teaspoons vanilla extract
- 1 teaspoon grated orange zest
- 2 tablespoon orange juice
- 1 cup coconut flour
- 1 teaspoon baking powder
- 1 teaspoon salt
- 1 cup strawberries, sliced thin
- 1 pint heavy whipping cream
- 1 teaspoon vanilla extract
- optional – 1 or 2 teaspoons sugar (I didn’t use them, since my berries were really sweet. If your strawberries aren’t as sweet as you’d like, add the sugar to the whipping cream)
Directions:
- Preheat the oven to 350*F. Grease two 8-inch round cake pans, and then cut a circle of parchment paper for the bottom of each pan, and grease that too. (You can do this without parchment paper, but you will need to be really liberal with the coconut oil / butter / cooking spray on the bottom of the pan. The cake stuck the first time I made it, so the next time I used parchment paper, and it was perfect!)
- In a very large bowl, using a stand mixer or a hand mixer, beat the eggs until frothy. Beat in the softened coconut oil and milk, blending well. Mix in the honey, vanilla, orange zest and orange juice. Beat until foamy again.
- In a small bowl, stir together the coconut flour, baking powder and salt. Then, a little at a time, blend the flour mixture into the egg mixture. Mix well, making sure there are no lumps.
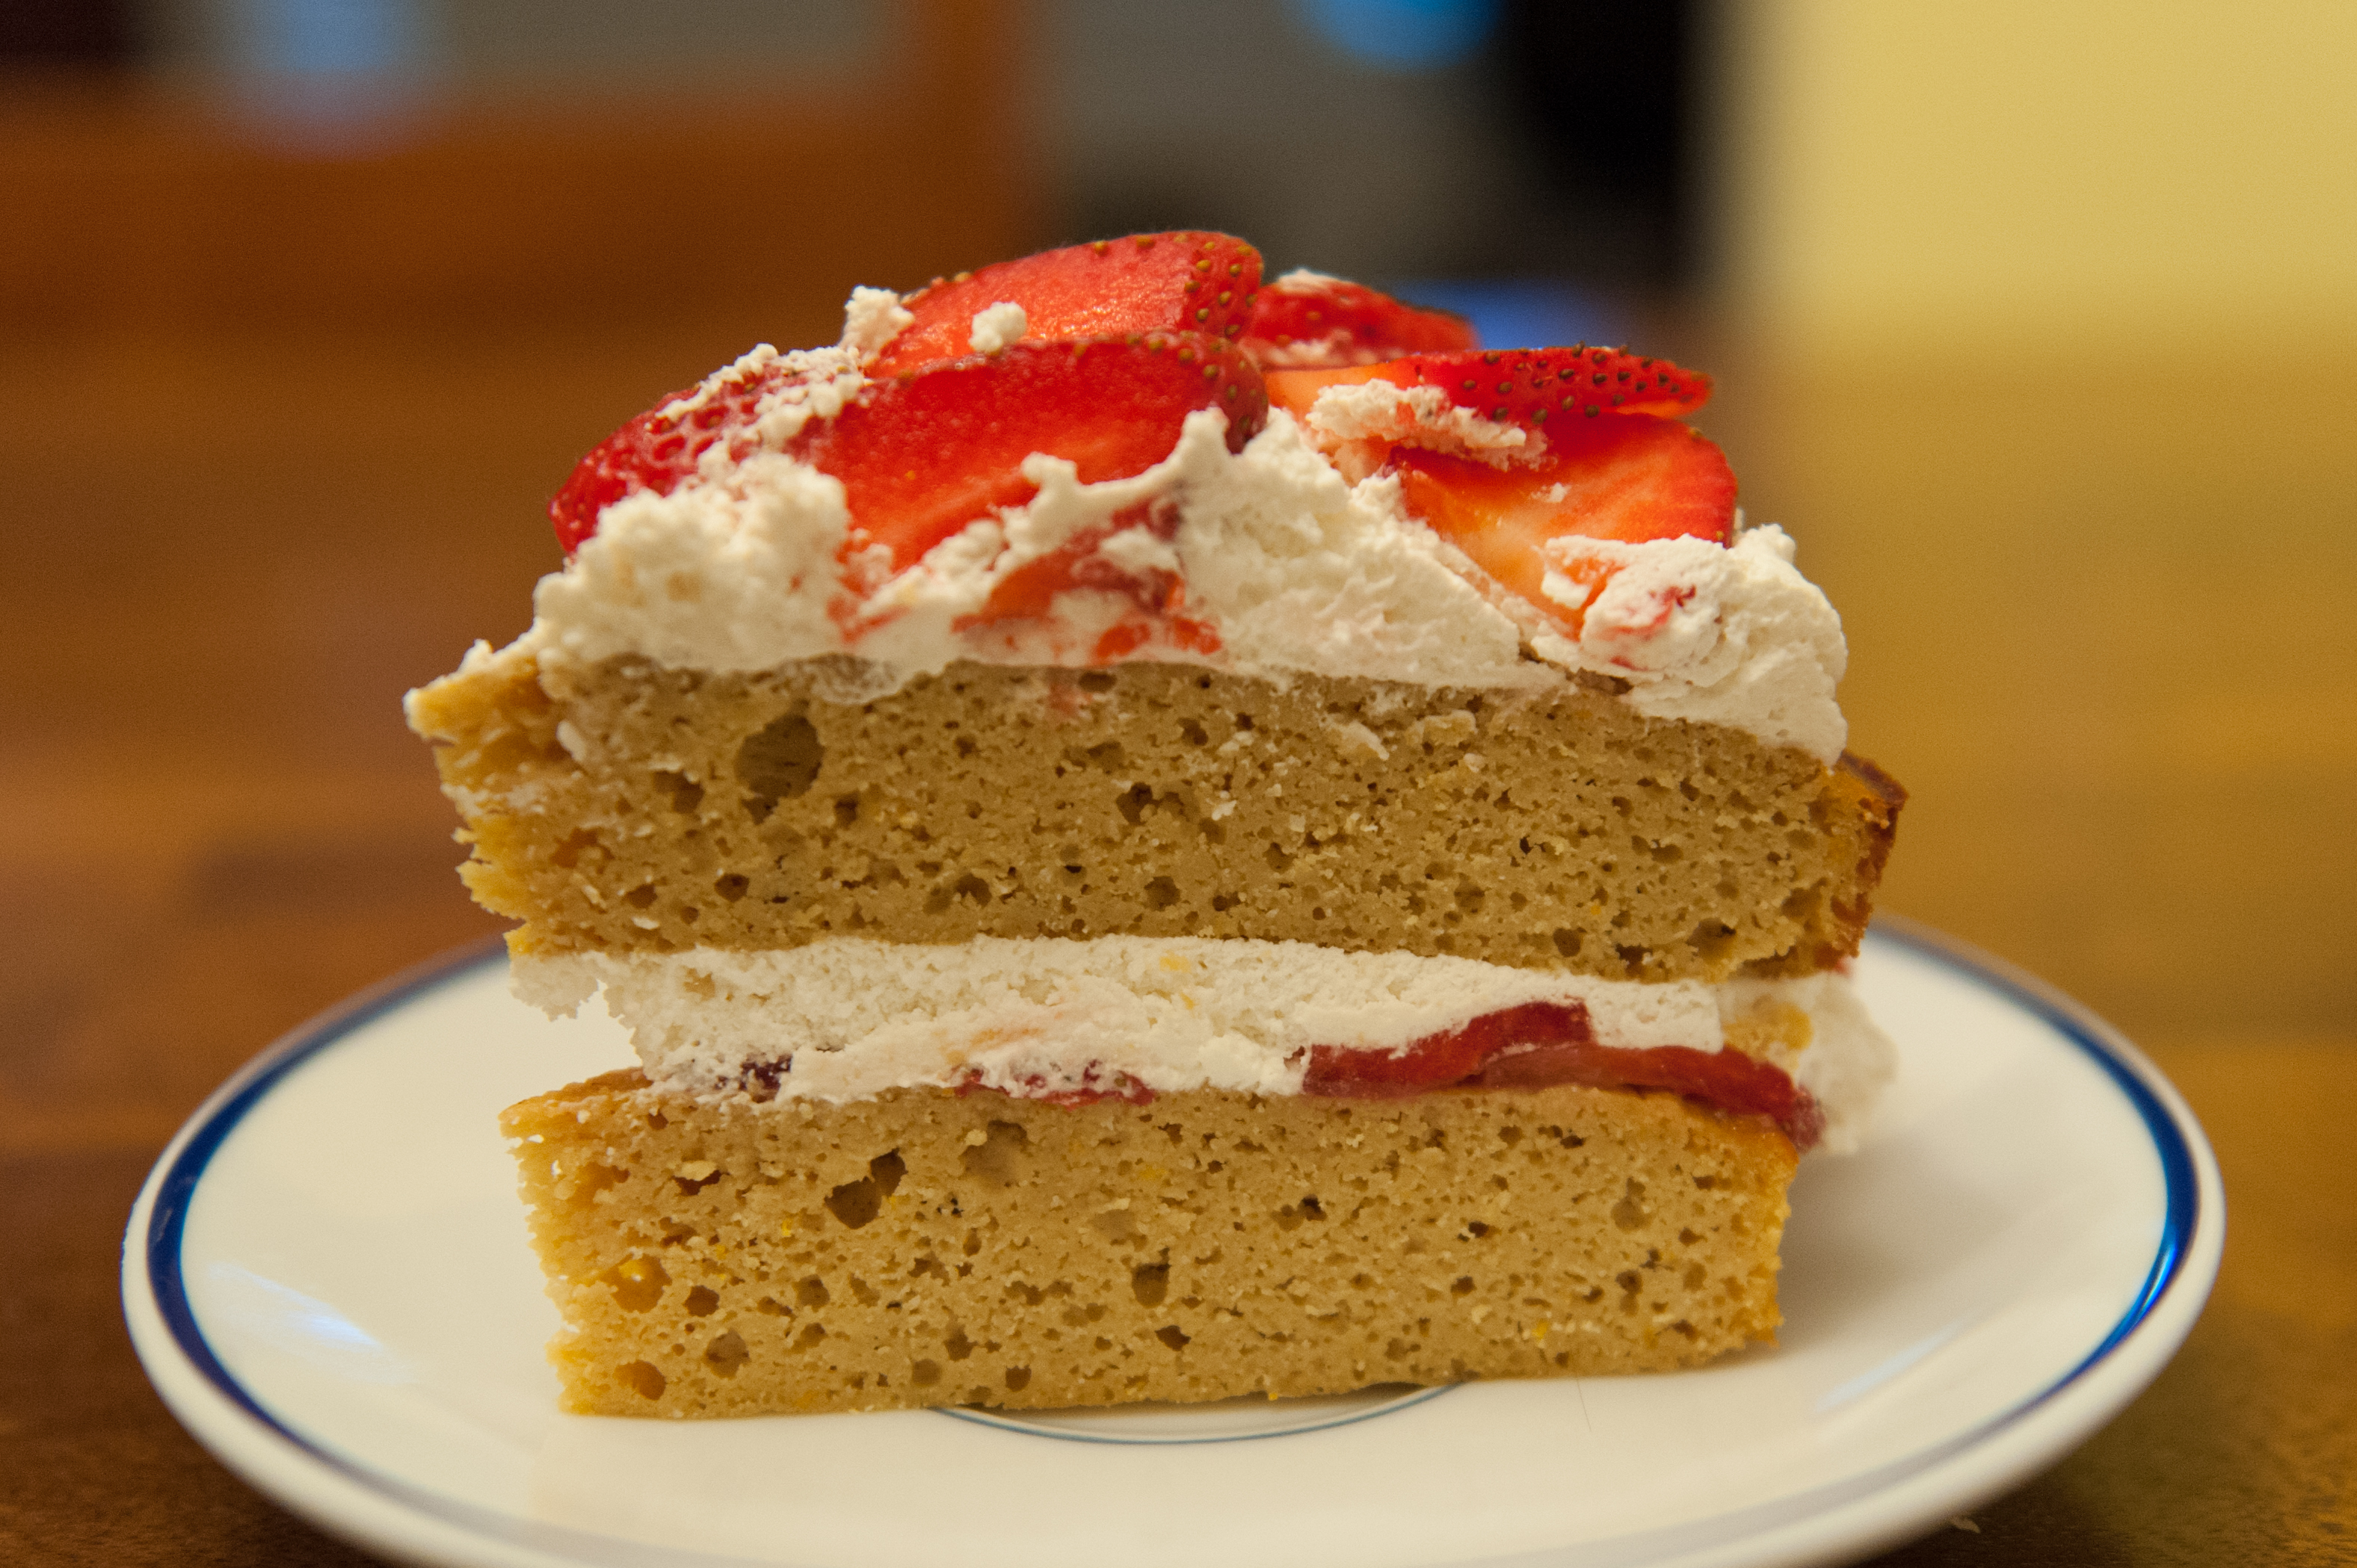
Divide the batter between the two prepared pans and bake for 35-40 minutes. When a toothpick comes out dry, remove from the oven and cool for ten minutes. Remove from pans, and finish cooling on a rack. - While the cake is cooling, place the beaters of your hand mixer and a metal mixing bowl in the freezer for half an hour. Slice the strawberries and put back in the fridge until ready to use.
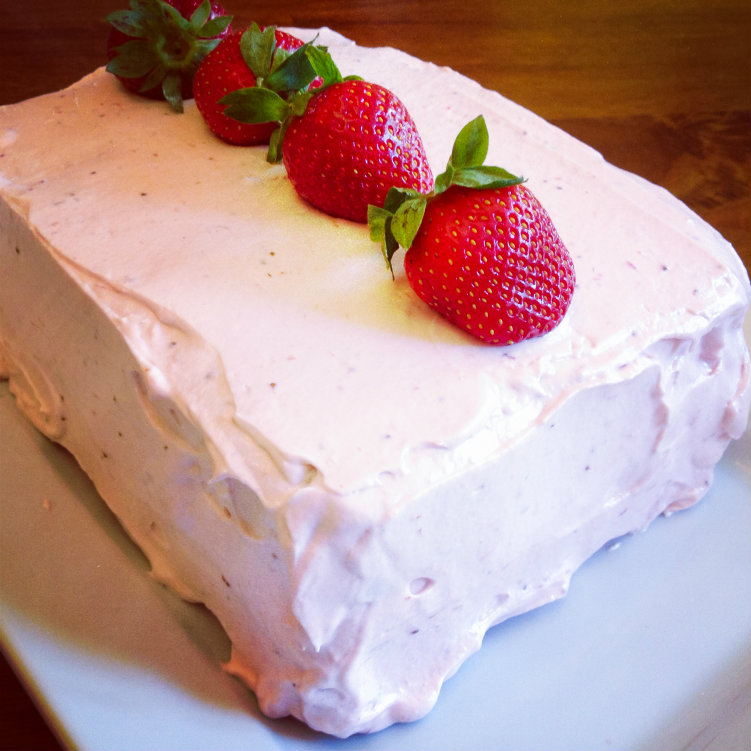
When the beaters and bowl are very cold, beat the whipping cream with the vanilla (and optional sugar) until stiff peaks form. To decorate: spread a very thin layer of whipped cream on the top of one cake. Make concentric circles of strawberry slices (use half the strawberries, saving the other half for the top), then cover with a thick layer of whipped cream. Place the other cake on top of this, cover with the rest of the whipped cream and the rest of the strawberries. Refrigerate until ready to serve.
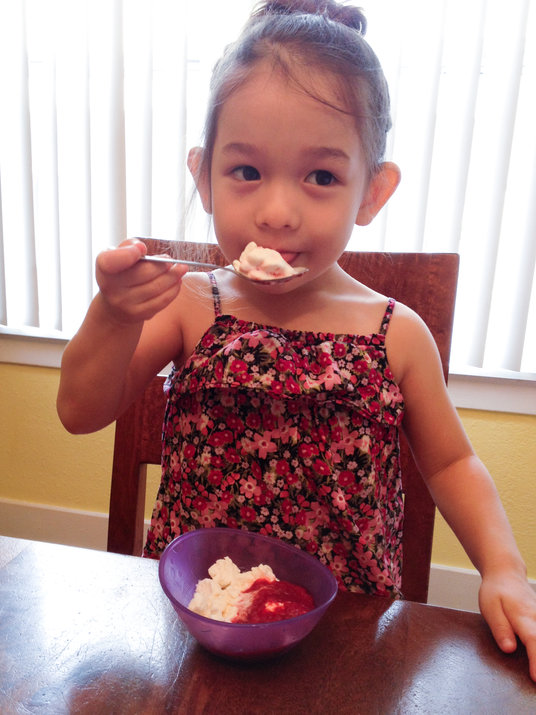
This is not a very sweet cake, since it relies on the berries for sweetness. If your berries are not sweet enough for your taste, you can add more honey to the cake, and the optional sugar to the whipped cream.
Explore, experiment, enjoy! — Dana
To view even more of Dana’s unique recipes, you can visit her at Frugal Girlmet!