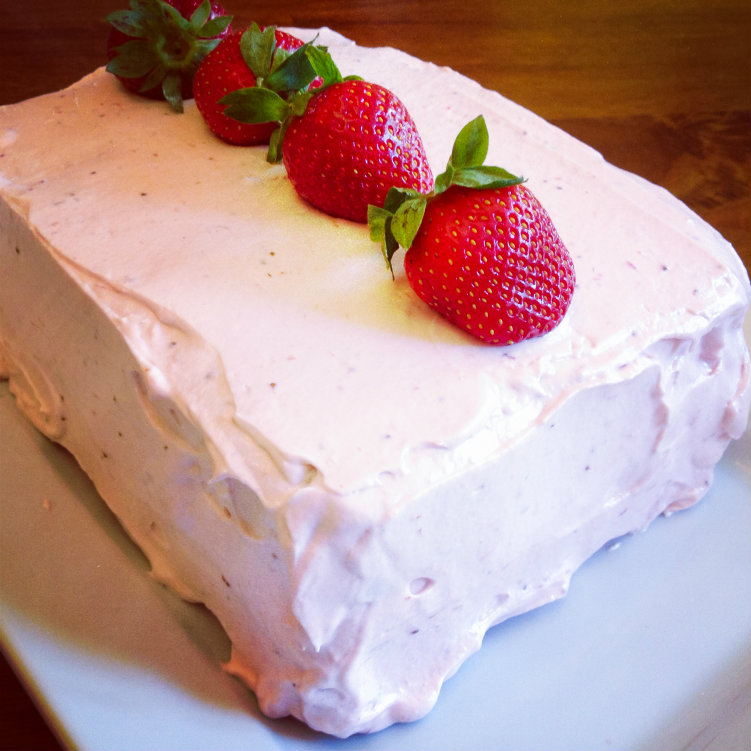
Despite my tomboy nature, both my daughters are girly-girls. Princesses, fairies, dress-up, and everything pink rules their world. This year we ended up celebrating my three year-old’s birthday on Mother’s Day, so I had a lot going on and didn’t want to spend too much time planning and decorating an elaborate cake. Instead, I found a recipe online for a strawberry cake, created a strawberry frosting for it, and filled it with even more fresh strawberries. The result is Strawberry Overload Cake!
The strawberry flavor comes from three sources: fresh berries, frozen berries, and strawberry Jell-O. Be sure to keep the cake in the fridge until time to serve. The original recipe called for two 9-inch round cake pans, but I used a rectangular 9×13 pan and cut that in half to make two layers. Your girly-girl will delight in the layers of pink in this sweet treat!
Strawberry Overload Cake
Ingredients:
- 1 1/2 cups sugar
- 1 three-ounce package of strawberry Jell-O
- 1 cup butter, softened
- 4 eggs, room temperature
- 2 3/4 cups sifted cake flour
- 2 1/2 teaspoons baking powder
- 1 cup whole milk
- 1 teaspoon vanilla
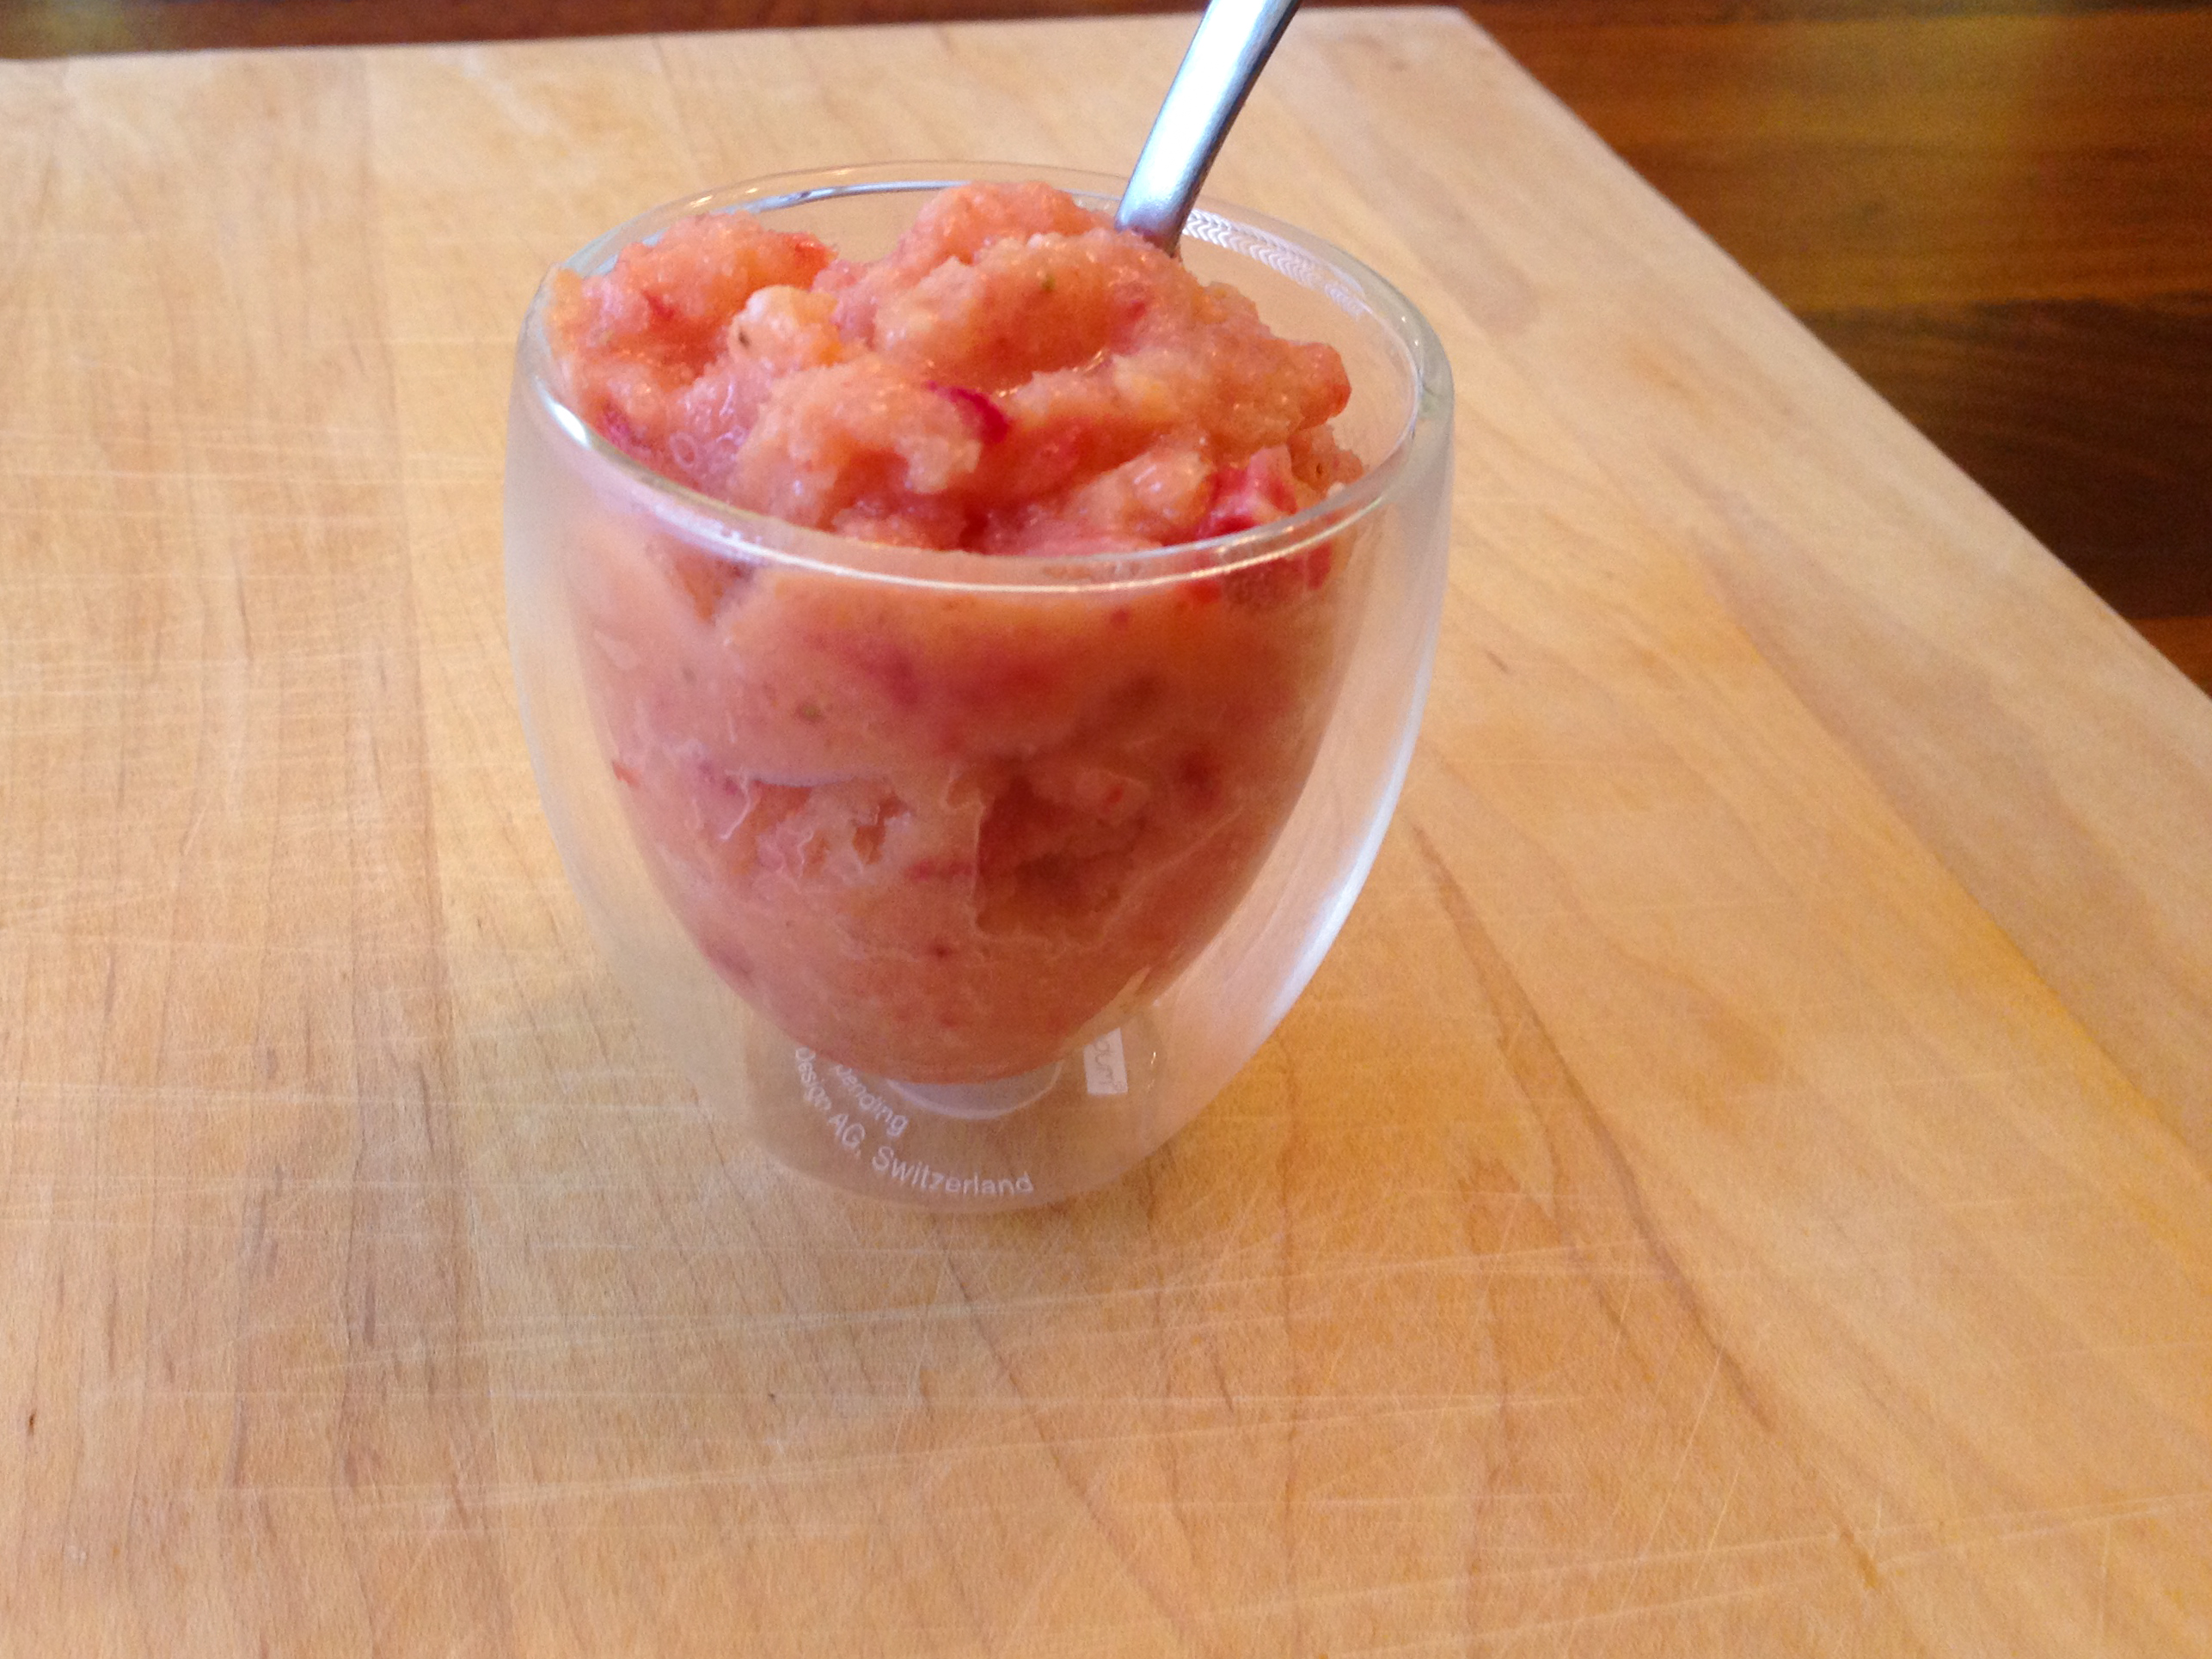
- 1/2 cup pureed frozen strawberries
Directions:
- Preheat the oven to 350*F. Grease and flour your pans (two 9-inch round, or one 9×13 rectangular.)
- Cream together the sugar, Jell-O and butter. Blend in the eggs, one at a time.
- In a small bowl, mix together the flour and baking powder.
- Add the flour mixture and milk to the butter mixture, alternating flour and milk, and blend well. Mix in the pureed strawberries.
- Pour batter into pans and bake. Check the cakes at 25 minutes. I took mine out at about 35 minutes, because I was using a bigger pan. Do a toothpick test to make sure the cake is not wet inside.
- Cool for ten minutes in the pan, then turn out on a rack to continue cooling.
For the frosting and filling:
Strawberry Frosting
Ingredients:
- 1 8-ounce package of cream cheese, room temperature
- 1 stick butter, room temperature
- 1 cup frozen strawberries
- juice of 1 lemon
- 1/2 cup powdered sugar
- 1 cup whipped cream (or try Cool Whip)
- 1 cup fresh strawberries for layering
Directions:
- In a pot with a lid, simmer the frozen strawberries and break them up with a wooden spoon, smashing them. When they are all cooked and smashed, add the cream cheese, butter, and lemon juice and beat with a hand mixer.
- Add in the powdered sugar, beating well. Beat in the whipped cream. Taste. It should be sweet tart – the cake is very sweet, so I wanted the icing to be a little different. You can add a squeeze more lemon if you like, or take it the other direction and add more sugar if you like. It’s pretty flexible and you can change it to suit your taste.
To assemble:
- Cut the large cake in half, width-wise, so you have two 9×6 rectangles (or just put one of the round cakes on a plate.) On a large serving platter, place the cake on the bottom, and frost the top of it with about half a cup of the frosting. Slice the fresh strawberries and layer them over the frosting. Carefully add another layer of frosting on top of the fresh berries. Then place the next layer on top and frost the whole thing, top and sides. Garnish with more fresh strawberries.
- This cake is kind of dense and rich, so small pieces are a good thing.
Explore, experiment, enjoy! — Dana
To view even more of Dana’s unique recipe, you can visit her at Frugal Girlmet!