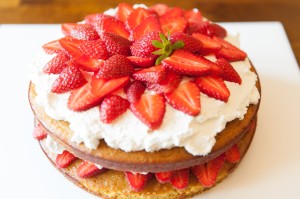
We were having friends over for dinner a few weeks back, and I’d just gotten back from the store when I realized I hadn’t planned anything for dessert. Oh no! I did have some bananas, and I figured I had enough staples on hand to whip up a banana cake. I lucked out and found this delicious recipe on Epicurious.com: Banana Cake with Coconut Frosting!
This is extremely simple and it came out perfectly. The only kind of weird thing in the recipe is the cream of coconut. It’s not coconut milk, and it’s not coconut cream, and in fact it’s more like a syrup for making pina coladas than anything else. I bought some earlier in the year, because I was going to make coconut-flavored yogurt for my girl. (It’s delicious, but it does have a lot of added sugar – not exactly healthy, but okay for a splurge.) If you don’t have it or don’t want to use it, substitute whole coconut milk or coconut cream. Or leave it out and double the sweetened shredded coconut. In any case, this came together quickly but was fancy enough for company. Can’t beat that combination!
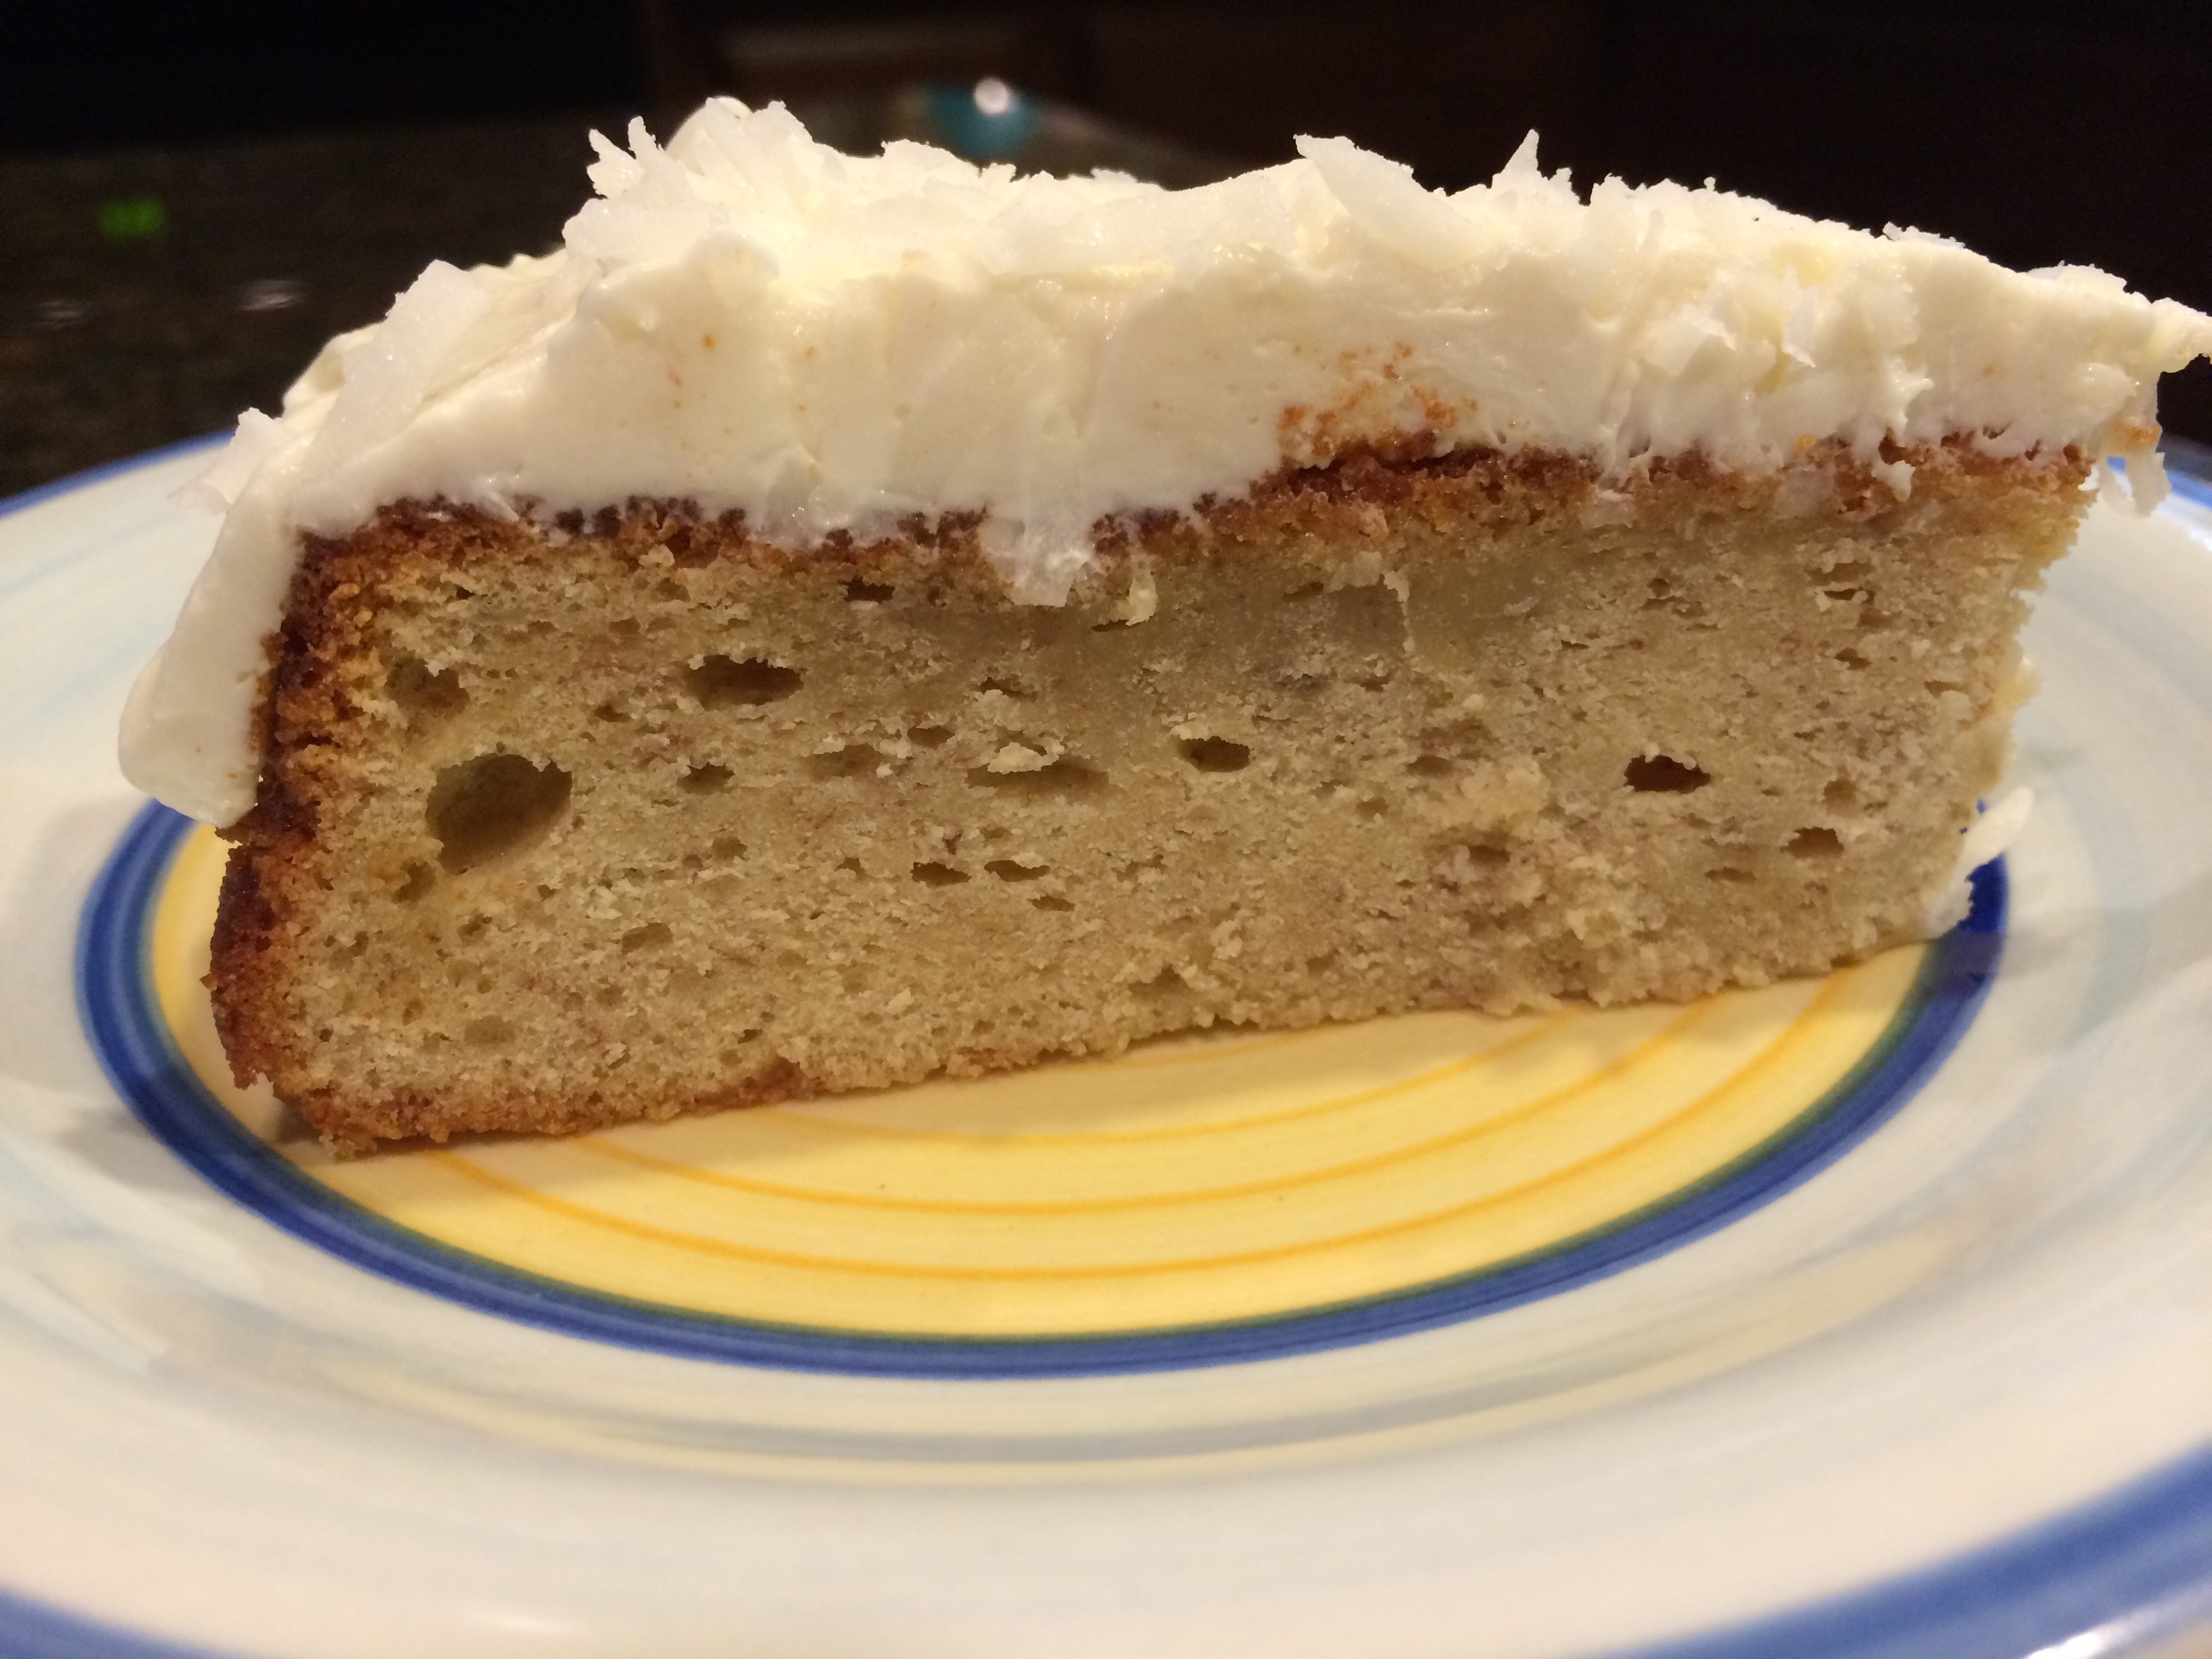
Banana Cake with Coconut Frosting
Ingredients:
For cake
- 1 stick (1/2 cup) unsalted butter, softened, plus additional for greasing pan
- 1 1/2 cups all-purpose flour plus additional for dusting pan
- 1 1/2 teaspoons baking powder
- 1/2 teaspoon baking soda
- 1/2 teaspoon salt
- 3/4 cup packed light brown sugar
- 1 large egg
- 3/4 cup well-mashed very ripe bananas
- 1/4 cup sour cream
- 1/2 teaspoon vanilla
For coconut frosting
- 3 ounces cream cheese, softened
- 3 tablespoons unsalted butter, softened
- 1/3 cup confectioners sugar
- 3 tablespoons well-stirred canned cream of coconut such as Coco López (not coconut milk)
- 1 teaspoon dark rum (optional)
- 1/3 cup sweetened flaked coconut
Directions:
- Put oven rack in middle position and preheat oven to 350°F. Lightly butter and flour a 9-inch round cake pan, knocking out excess flour.
- Whisk together flour (1+1/2 cups), baking powder, baking soda, and salt in a small bowl.
- Beat together butter (1 stick) and brown sugar in a large bowl with an electric mixer at high speed until pale and fluffy. Beat in egg until combined, then add bananas, sour cream, and vanilla and beat until combined well. Reduce speed to low and add flour mixture, mixing until just incorporated.
- Spread batter in cake pan and bake until pale golden and a wooden pick or skewer inserted in center comes out clean, 20 to 25 minutes. Cool in pan on a rack 10 minutes. Run a thin knife around edge of pan, then invert rack over cake and invert cake onto rack to cool completely.
- Make frosting while cake cools:
Beat together cream cheese and butter in a bowl using cleaned beaters at medium speed until smooth. Reduce speed to low, then add confectioners sugar, cream of coconut, and rum (if using) and mix until combined. Increase speed to high and beat until light and fluffy, about 2 minutes. Frost top of cooled cake and sprinkle with coconut.
Explore, experiment, enjoy! — Dana
To view even more of Dana’s unique recipe, you can visit her at Frugal Girlmet!