
A few months ago, my daughter made vanilla ice cream in her kindergarten class. She raved about how fun it was to make it, and how the finished product was delicious. Well, I took her story with a grain of salt (unintentional pun!) because 6 year-olds aren’t really known for their discriminating pallets. But I researched online, found a recipe, and decided to give it a whirl. And you know what? If anything, she undersold it! This stuff is fantastic! Here’s my recipe for Homemade Strawberry Ice Cream.
We don’t have an ice cream machine. It sounds like kind of a waste of space, because it’s not something I’d use too often. The only equipment this recipe needs is two Ziploc bags! The technique is easy and is perfect for kids to make. All the recipes online were the same, so I used one (of several) you can find with a Google search. But what’s even better than vanilla ice cream? Strawberry ice cream! Instead of just sprinkling chopped fruit on top, I made a strawberry puree that, when mixed into the vanilla ice cream, makes a strawberry ice cream as good (or better!) than anything you can get at the grocery store. Also, the serving size is just right. It’s big enough that you can satisfy two kids with this recipe, and get a taste or two for yourself. But it’s small enough that you won’t beat yourself up if you eat the whole thing yourself!

Becky puts in some sweat equity
Homemade Strawberry Ice Cream (No Ice Cream Machine Needed!)
Ingredients:
For the Strawberry Puree:
- 1 pint strawberries
- 1 tablespoon honey
- 1/4 cup water
For the Ice Cream:
- 1 cup half-and-half (or use 1/2 cup whipping cream and 1/2 cup whole milk)
- 2 tablespoons sugar
- 1/2 teaspoon vanilla
- 1/2 cup rock salt or kosher salt (whatever you can find that has big grains of salt, the bigger the better)
- ice
- sandwich-sized Ziploc bag
- gallon-sized Ziploc bag
Directions:
- First make the strawberry puree: Wash, hull, and quarter the strawberries. Over medium-low heat, mix together the strawberries, honey, and water. Mash with a wooden spoon or potato masher, but leave some chunks. Cook on low for about 20 minutes until reduced and thickened a little. Don’t let it burn! Take off the heat. (You can do this the day before, if you want. Just pop it in the fridge when you’re done letting it cool.)
- For the ice cream: In a bowl, stir together the half-and-half, sugar, and vanilla. Pour the mixture into the small Ziploc bag and make double sure it’s sealed well.
- Fill the large Ziploc bag halfway with ice and the salt. Add the small bag to the ice, then cover with a little more ice.
- Shake!
- Shake!
- Shake! (My bag got really cold, really fast, so I had to wrap it in a towel so it didn’t hurt my hands.) Shake for about ten minutes. You can squeeze the ice cream bag and tell when it’s frozen.
- Serve the vanilla ice cream with the strawberry puree. Voila!
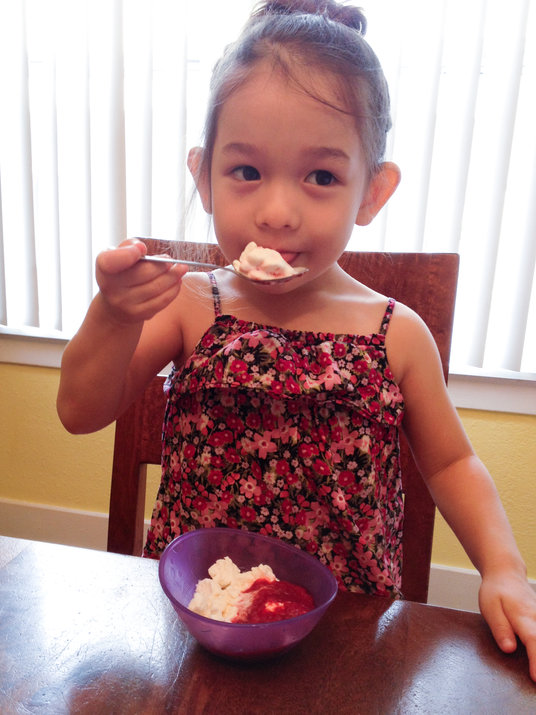
Sweet success!
Explore, experiment, enjoy! — Dana
To view even more of Dana’s unique recipe, you can visit her at Frugal Girlmet!


