April 25, 2024

Korean Beansprout Soup (Kong Namul Guk)

kong namul guk

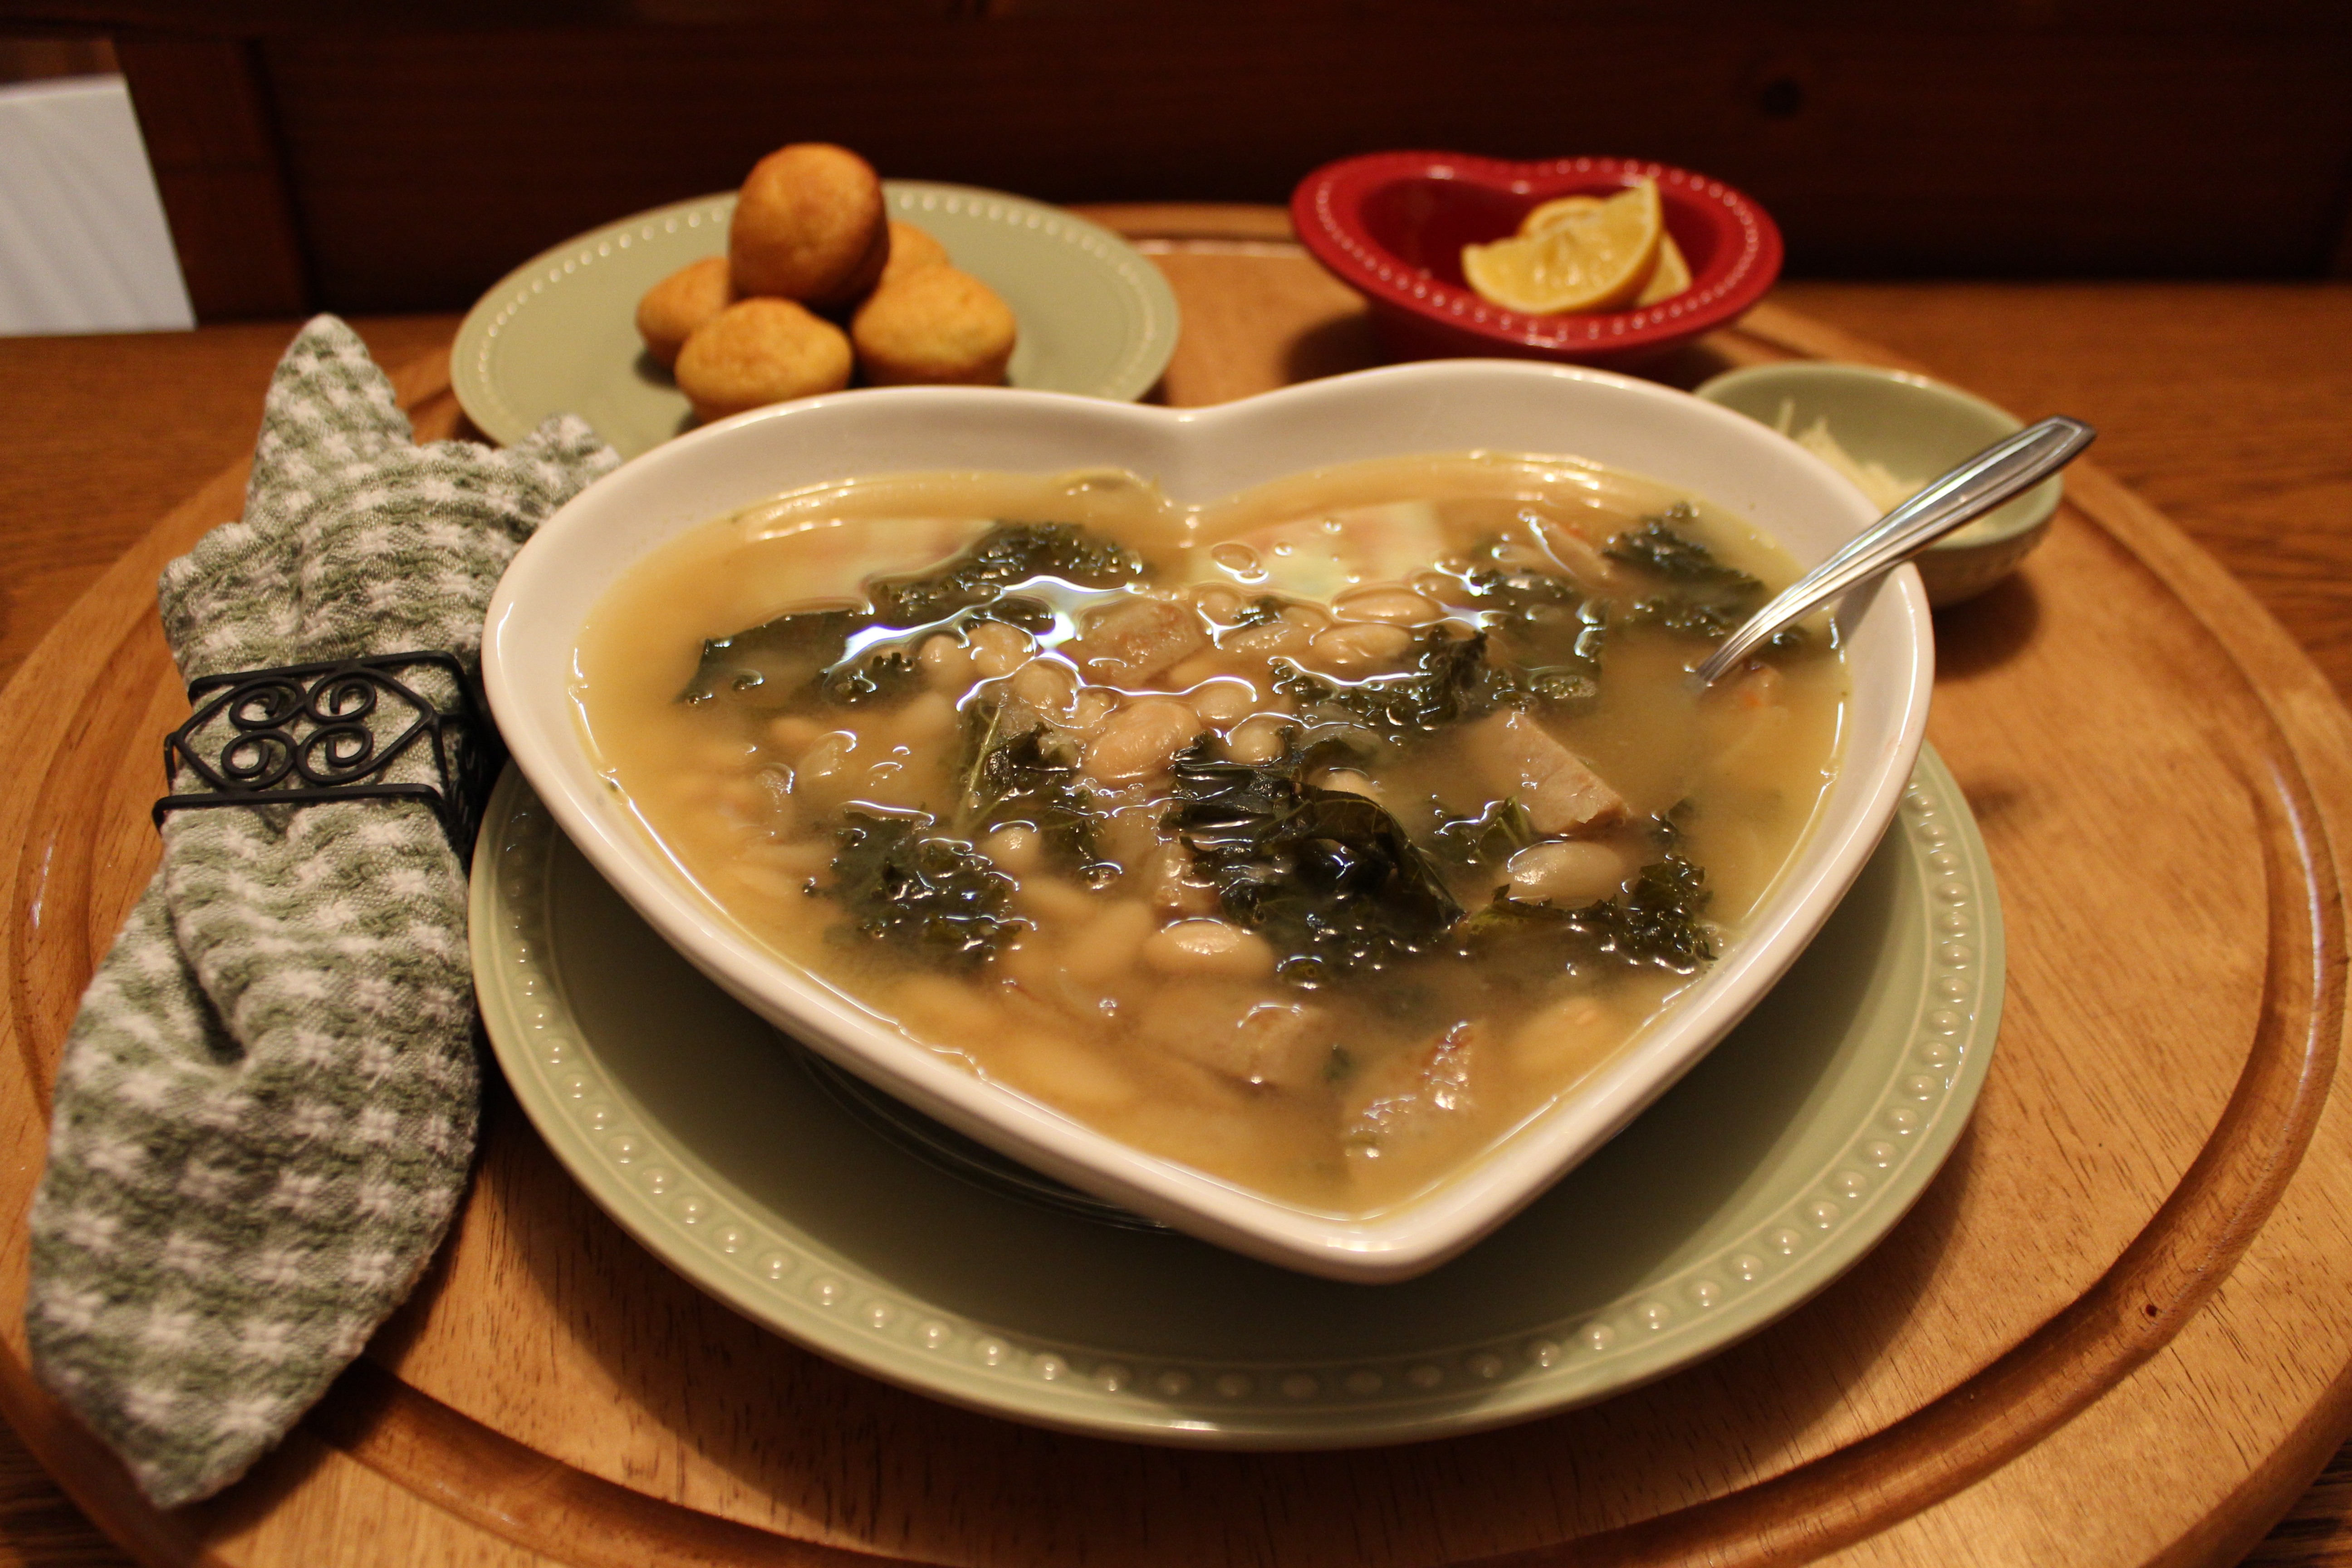
One of the best parts of winter is enjoying all the warming soups, stews, and other comfort foods.  This Korean Beansprout Soup (Kong Namul Guk) is just what the doctor ordered if you’r sick, or just what your tummy ordered if you’re not!

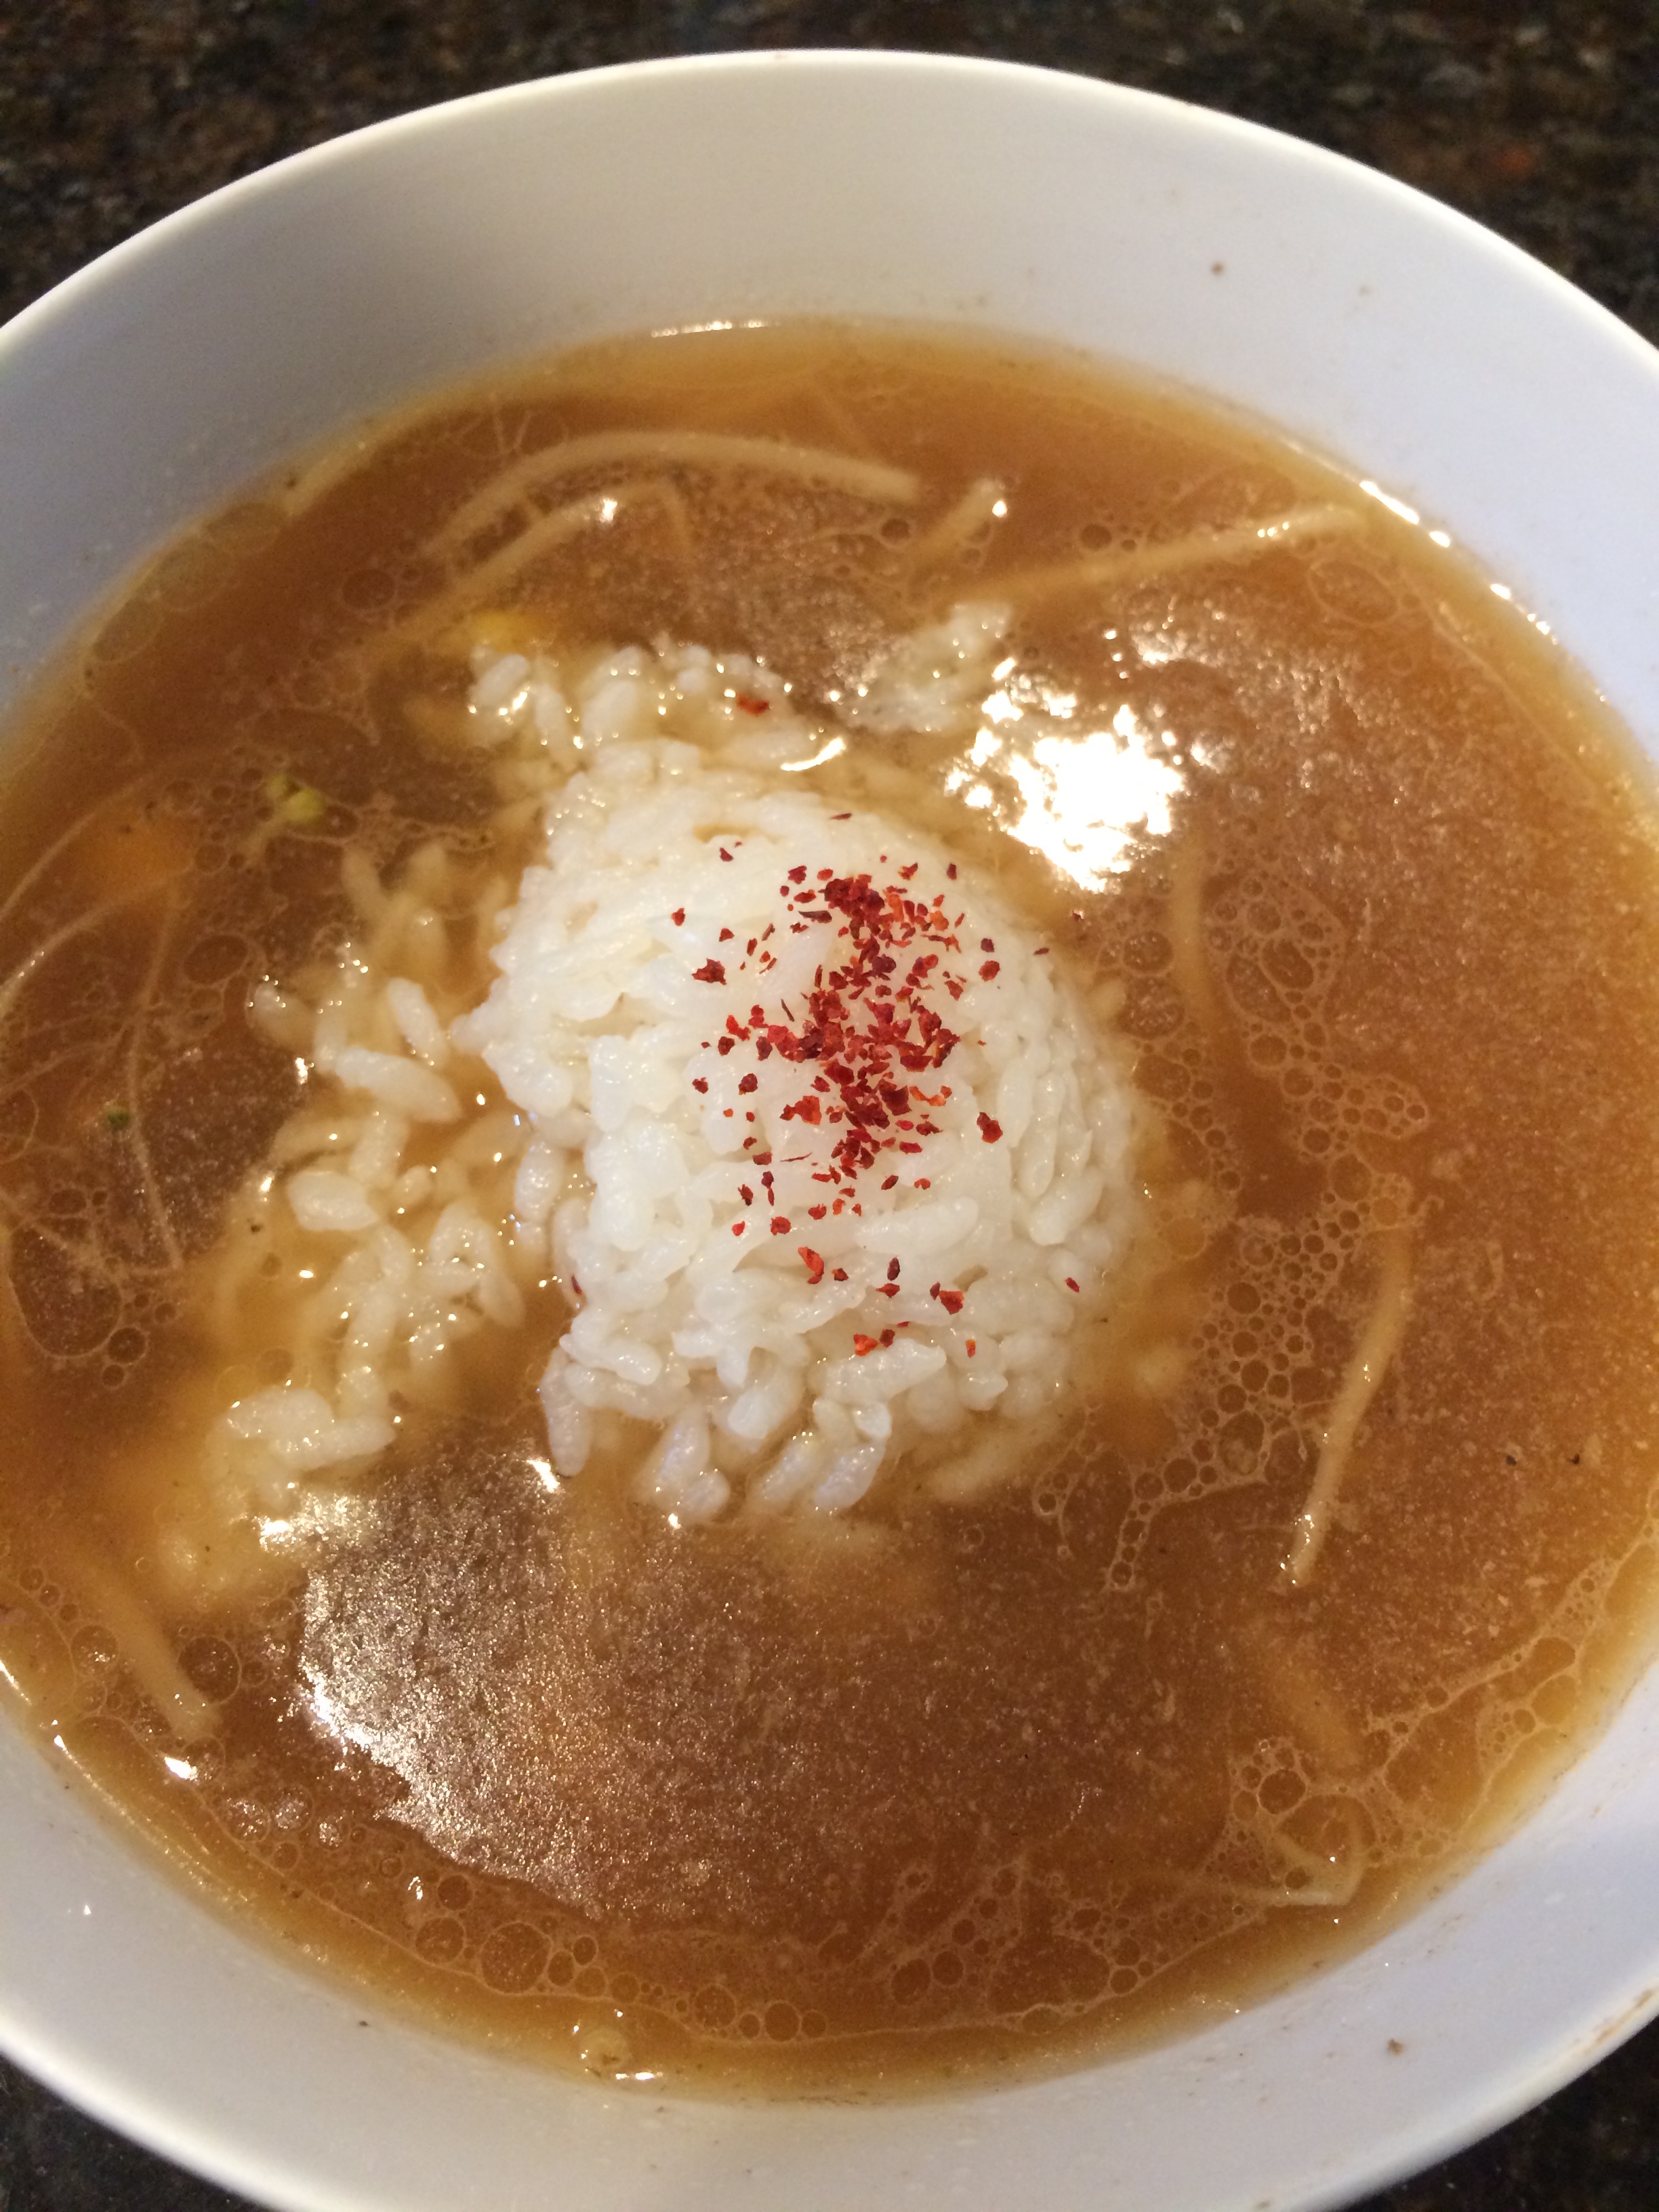
Some recipes call for an anchovy and seaweed broth, but I prefer this soup with a beef broth.  You can either use canned or homemade beef broth, or my favorite – bone broth.  Serve this soup with a scoop of cooked rice for a traditional Korean breakfast, or any time you need to warm up.

Korean Beansprout Soup (Kong Namul Guk)

Ingredients:

  • 1 teaspoon sesame oil
  • 4 ounces beef, sliced fine into small pieces (or you can chop up a leftover hamburger – not traditional, but it’s delicious!)
  • 2 cloves garlic, minced
  • 4 cups beef broth, bone broth, or other broth of your choice
  • 8 ounces beansprouts
  • 1 teaspoon soy sauce
  • cooked rice, green onions, sesame seeds, dried chili pepper flakes to serve

Directions:

  1. In a large pot with a lid, heat the sesame oil and add the meat, stirring to cook through.  (If you are using leftover cooked beef, just sauté quickly.)  Add the minced garlic and stir for a minute or two – don’t let it burn!
  2. Add the broth.  Bring it to a simmer.
  3. Wash and sort through the bean sprouts – get rid of any that are discolored or mushy.   Add to the broth and cook, covered, for about ten minutes.
  4. Add soy sauce and taste for salt.  Serve with rice, green onions, sesame seeds, and chili pepper flakes, if desired.

Explore, experiment, enjoy! — Dana


To view even more of Dana’s unique recipe, you can visit her at Frugal Girlmet!


Roasted Chickpeas

Roasted Chickpeas

I’m a nibbler.  Are you?  I can sit for an hour with a book, popping snacks into my mouth!  If you are a nibbler like me, it’s best to have some healthy treats around the house.  Popcorn is usually my go-to, but this recipe for Roasted Chickpeas may be my new favorite!

Get two cans of chickpeas (or do you like to call them garbanzo beans?).  Pick out your favorite flavors to add:  curry powder, a spice rub, a lemon pepper shake, even taco seasoning or a Ranch dressing packet.  Mix, roast, crunch!  These guys are like healthier Corn Nuts.  Yum!

Roasted Chickpeas

Ingredients:

  • 2 cans chickpeas
  • 2 tablespoons olive oil
  • 2 teaspoons (or more) of your favorite spice powder mix – see above for ideas

Directions:

  1. Drain the chickpeas and rinse in a colander.  Let dry for about half an hour.
  2. Preheat oven to 400*F.
  3. In a bowl, mix together chickpeas, oil, and spices.  Add salt if your spice mix doesn’t include it (curry powder never has salt in it, so you will want to add about half a teaspoon of salt.)
  4. Line a baking sheet with parchment paper or aluminum foil.  Spread out the chickpeas into one layer and place the sheet pan on the middle rack.  Bake for 20 minutes.  Stir to make sure they’re not sticking or burning, then bake for another 15 minutes or so (maybe another 5 minutes more or less, depending on your oven.)
  5. Remove from the oven and let cool, then munch away!

Explore, experiment, enjoy! — Dana


To view even more of Dana’s unique recipe, you can visit her at Frugal Girlmet!

Southern Cassoulet

Southern Cassoulet

I know, it’s a weird title – French and Southern food together?  But this dish makes sense once you eat it.  Black-eyed peas are a good luck food for the New Year in the South, so why not dress it up a little with this interpretation of a French classic?  I present to you:  Southern Cassoulet!

Authentic cassoulet can take several days to prepare, and involves making a duck confit.  Too expensive and time consuming for me!  Chicken thighs sub in nicely.  Cook the black-eyed peas during the day (or use canned).  To make this even quicker, use two cans of white Northern beans.  I used just plain smoked sausage, but try out a pound of whatever kind of sausage you like.  Did you get a big Le Creuset pot for Christmas?  Now’s your chance to put your new enameled Dutch oven to the test!

Southern Cassoulet

Ingredients:

  • 1 pound dried black-eyed peas (or use two cans of other beans)
  • 1 pound smoked sausage, sliced
  • 2 large carrots, chopped
  • 3  stalks celery, chopped (use the leaves too)
  • 20 whole cloves of garlic (optional, but I thought they were delicious)
  • 1 large sprig of rosemary, minced (or use 1 teaspoon dried rosemary)
  • 4-6 large chicken thighs, skin on, bone in
  • 3 teaspoons olive oil
  • salt and pepper to taste

Directions:

  1. Cook the beans in plenty of water until tender.  This can take two hours or so.  If you are using canned beans, skip ahead.
  2. In a very large enameled Dutch oven, cook the sausage.  Add the carrot, celery, garlic cloves, and rosemary.  Add a little olive oil if things start to stick.  Saute over medium heat for 10 minutes until the vegetables are soft.
  3. Take the pot off the heat.  Drain the beans and add them to the sausage and vegetables, and stir to combine.  Season with salt and pepper.  On top of the bean mixture, place the chicken thighs, skin-side up.  Season with salt and pepper, and drizzle with the olive oil.
  4. Bake at 400*F for at least an hour, or until the chicken is cooked through with crispy skin.
  5. Good luck and have a Happy New Year!

Explore, experiment, enjoy! — Dana


To view even more of Dana’s unique recipe, you can visit her at Frugal Girlmet!

Chickpea Cranberry Salad

Chickpea Salad resize

When I was in 10th grade, I decided to become a vegetarian.  My mom made no objections, but she did make it known that it was up to me to make sure I was eating a balanced diet, and that I should do some research.  “You can’t live on cheese sandwiches!” she told me more than once.  So I read up (in actual books.  It would have been so much easier to go online, but the internet hadn’t been invented yet!) and found out which foods were good sources of vegetable protein.  Chickpeas are your meatless champions!  Try this Chickpea Cranberry Salad and see for yourself!

Whether you are a vegetarian (or making lunch for someone who is), or if you just want a few meatless options, chickpeas are your friend.  Stock up on canned chickpeas for making hummus or adding to soups and salads.  I like to buy them dried.  They’re cheap and they pretty much last forever in your pantry.  Soaking them the night before you make this will cut down on cooking time, and also helps eliminate some of the chemicals that can cause gas and bloating in more sensitive tummies.  I like them better this way, because you can cook them to your preference—you can make them soft like the canned kind, or (and I highly recommend this) a little bit al dente.  The toothsome texture makes them seem more filling to me.

Serve this Chickpea Cranberry Salad between slices of bread, like a sandwich, or wrap it in lettuce.  Out of lettuce, like I was?  Use half of a sweet bell pepper as a taco shell!  Crunchy, delicious, meatless, marvelous!

Chickpea Cranberry Salad

(makes two servings)

Ingredients:

  • 1/2 cup dried chickpeas (or use 1 regular can of chickpeas)
  • 1 stalk celery
  • 1/4 cup walnuts
  • 1/4 cup dried cranberries
  • 1-2 tablespoons mayonnaise
  • salt and pepper to taste
  • squeeze of lemon juice

Directions:

  1. The night before you make the salad, pour the chickpeas into a large bowl and cover with water by at least an inch or two.  Cover the bowl with a plate and leave on the counter overnight.
  2. After soaking, drain the chickpeas.  Place in a pan and cover with water.  Simmer, covered, for about an hour.  Taste one and see if you like the texture.  Cook longer if you like.  When done, drain off the water and pour the chickpeas into a bowl.  Mash with a potato masher or the back of a fork.  I like to leave them a little chunky.
  3. Add in the rest of the ingredients and stir to combine.  Refrigerate until ready to serve.

Explore, experiment, enjoy! — Dana


To view even more of Dana’s unique recipe, you can visit her at Frugal Girlmet!

Baked Beans

Baked Beans resize Happy Independence Day!  I’m hoping you are able to celebrate with family and friends today.  What’s on the menu? One of my guilty food pleasures is a right-off-the-grill hot dog.  I know, not the most gourmet of foods, or the healthiest, but everything in moderation, right? And what goes better with hot dogs than baked beans?  Now you could just open a can of baked beans and plop them in a saucepan, but where’s the fun in that? Make your own!

Once I decided to do just that, I found my Mom’s recipe for baked beans.  That poor note card has seen better days, but its hard-used appearance proves what a popular recipe it is.
Baked Beans Recipe Card Mom resize
 
I didn’t have any canned white beans in the pantry, but I did have a one-pound bag of dried white beans. They take more preparation than canned beans (obviously – canned beans come out ready for use) but are worth the effort.  First, dried beans are cheaper than their canned cousins, because once you soak and rehydrate them, they double in weight. (Put another way, when you buy canned beans, you are paying for water.)  Second, you are avoiding any salt, preservatives, or chemicals in the canned beans, not to mention the chance of BPA in the can itself.
 
Anyway, I soaked the beans the night before, but they double in size, so I only used half. (You could freeze the rehydrated beans in a Ziploc bag and thaw them when you have another recipe for them.)  I used my Mom’s recipe as a jumping off point, and they were just as delicious as hers were.  I realized they don’t need to bake in the oven and are great on the stovetop—that way you won’t have to heat up your kitchen on a hot summer day to make them.  These are easy, cheap to make, and will impress everyone who has them.  Hearty, smoky, and fantastic, these put those  gloopy canned baked beans to shame!

Baked Beans

Ingredients:
  • 1/2 pound dried white beans, soaked overnight in 6 cups water (or use 2 cans of white beans, reserving some of the canning liquid)
  • 5 slices bacon, diced 
  • 1 onion, diced
  • 3/4 cup ketchup
  • 1 tablespoon mustard
  • 1/4 cup BBQ sauce (optional, but I like the smokiness – you could also try a few dashes of liquid smoke)
  • 1/4 cup molasses
  • 1/4 cup dark brown sugar
Directions:
  1. If you are using canned beans, skip to Step 2.  If you are using dried beans: Drain the water from the beans you soaked overnight. Put the beans in a pot, cover with about 4 cups of water and a lid, and cook over medium heat for about 2 hours. You don’t want to cook off all the water, so check in on them every once in a while. When they’re done, save about a cup of the cooking water to use in the baked beans, in case you like them a little “saucier” than I do.  
  2. In a Dutch oven or very heavy-bottomed pot, fry the bacon. When it’s about halfway to crunchy, add the onion. When the bacon looks done, add the beans. Turn the heat down to low and stir everything together for a few minutes.
  3. Add the rest of the ingredients and stir to combine. Give it a taste and see if you need to adjust the seasonings. It likely won’t need salt, but you may like some pepper.
  4. Cover and cook on low heat for half an hour. Check the consistency – if it’s too thick, add some of the bean cooking water; too thin, take the lid off and let simmer.  Serve hot.
Explore, experiment, enjoy! — Dana


To view even more of Dana’s unique recipe, you can visit her at Frugal Girlmet!

Italian Tuna Wraps


Italian Tuna Wraps resize

I love it when a plan comes together!  I was hungry at lunchtime yesterday, so I opened my pantry.  I stared at the shelf for a good minute…eyes glazing over.  “There’s got to be something here, some combination of flavors that will fill and delight me” I thought.  And bingo!  Inspiration struck and I made these Italian Tuna Wraps.

Okay, this is pretty much just tuna salad in a lettuce wrap.  But the addition of white beans makes it filling, contributes a creamy texture, and ups the fiber.  A handful of chopped parsley adds freshness.  This recipe serves two for lunch.  Or just do what I did, and put it in the fridge for tomorrow’s lunch.  It will still taste great the next day!

Italian Tuna Wraps

Ingredients:

  • 1 can of tuna
  • 1 can of white beans
  • juice of 2 lemons
  • 1 tablespoon olive oil
  • salt and pepper
  • pinch of garlic powder
  • 1/4 cup roughly chopped parsley
  • Boston lettuce leaves (or other lettuce leaves of choice) for wrapping

Directions:

  1. Drain the can of tuna and put it in a large bowl.  Drain the beans, rinse them in a strainer and then add them to the tuna.
  2. Toss the tuna mixture with the lemon juice and olive oil.  Season with salt, pepper, and garlic powder; toss again.  Add parsley and toss.
  3. To serve, wash and shake dry the lettuce leaves, and place a large spoonful of tuna in the lettuce.  Wrap and eat.  Couldn’t be easier!

Explore, experiment, enjoy! — Dana


To view even more of Dana’s unique recipe, you can visit her at Frugal Girlmet!

GCH: What’s on Your Plate? – SoupPalooza, Part Two

Soup-Palooza, Part Two

  • “Not from a Box, Nor from a Can” Chicken Broth
  • White Bean & Kale Soup with Chicken Sausage

Did you know that January is National Soup Month?  That is good news to one particular individual here in the Hayden household…my husband would eat soup e-v-e-r-y single day!  So this month I have committed to serving soup at one meal per day for the entire month (ummm, yeah…he’s a happy camper!).  And I am taking YOU along for the ride, too!

Here on our GCH:WoYP, where Monday’s are focused on healthy but oh-so-yummy! recipes, we will be promoting soup, soup, and soup for the next four weeks.  Each week we will explore the basics along with a delicious recipe for you to serve to your loved ones.

So, this week we are starting from scratch!  Homemade chicken broth.  Oh, yeah!  Now don’t be afraid, please…this is so simple, I promise!  One way to make this easy to fit into a busy schedule would be to start it as you are making your supper preparations.  Then the broth can simmer away, and you can finalize it after supper.  Just a thought!

This recipe makes a vat…well, not quite a vat…it makes 8+ quarts.  A quart of soup is the size of those aseptically sealed boxes from your grocery store (or approximately 2 cans).  Most soup recipes that feed 4-6 people require two quarts of broth.  Now you can have delicious, nutritious, chemical-free chicken broth handy right in your refrigerator or freezer!  Let’s get started!

“Not From a Can, Nor From a Box” Chicken Broth     

Makes 8+ quarts

1 8-9# ‘oven stuffer’ whole chicken, cut-up (or buy cut-up chicken)*
1 large sweet onion (Vidalia), rough chopped
4-5 stalks of celery WITH the leaves, cut in 3-4″ sized pieces
1/4# carrots (3-4 whole carrots, or ½ bag baby carrots), rough chopped
1 heaping tablespoon minced garlic
2 tablespoons whole peppercorns
1 teaspoon kosher salt

4-5 sprigs each of fresh thyme and dill, optional
9 quarts of water; I use filtered; use whatever you would drink 😉

Use the largest pot you own.**  I use a 12 quart-sized pot. You don’t want to fill your pot up to the top; this needs a little room to move around while it is boiling.

Carefully rinse the cut-up chicken (the better the chicken is rinsed…the less yuck floating around in your broth).  Then place the chicken pieces along with the vegetables, and the seasonings, into the pot and pour water over them all.  Cover pot and heat on high ‘til just coming to a boil; reduce heat and partially cover.  You want the soup to be gently boiling.  You can occasionally skim off the yucky stuff from the top of the broth.  Let everything simmer away for a half hour; remove breastmeat to cool.  Continue cooking an additional 45 minutes to 1 hour.  Remove pot from heat.  Take dark meat sections and add to breastmeat which has cooled.  You can strain your broth, if preferred; it all depends on just how clear you would like the broth to be.  CAREFULLY pour, or ladle, the broth along with the cooked veggies into storage containers, leaving enough room to add the chicken.  Cut up (or shred) the chicken into bite-size pieces; keep every last one of all the little bits!  Add back into the broth.

Let cool ‘til container is no longer HOT to the touch; refrigerate.  When thoroughly cooled, I would suggest discarding the layer of fat that will have solidified on the top of the container. This broth freezes very well.  I usually keep 2 quarts in the refrigerator (use within 1 week or so) and the rest in the freezer.

* Toss the wings in the trash…not even worth cooking.  I cut each of the breastmeat pieces in half; that way they don’t overcook.  You want tender meat in the end (but throw the bones into the pot, too).

**Should you not have a pot this size, or cannot beg or borrow one, just reduce all of the ingredients by half and proceed, ok?  Don’t let that stop you!

****************************************

Now, to actually USE that healthy but oh-so-yummy broth…

White Bean and Kale Soup with Chicken Sausage 

Makes 6 servings

IMG_0138

8 cups (2 quarts) chicken broth, divided
(1) 12 oz pkg italian chicken sausage, sliced diagonally ½” thick
2+ tablespoons olive oil
1 large sweet onion (Vidalia), sliced
1 heaping tablespoon minced garlic
½ cup white wine, or additional broth
2 cans cannellini (white kidney) beans, drained and rinsed
1 can great northern beans, drained and rinsed
1 bunch kale, stems and tough ribs removed, leaves roughly chopped
1 teaspoon kosher salt
1+1/2 teaspoon freshly ground pepper (I used lemon pepper)
½ cup Parmesan cheese, freshly grated if possible
1 lemon

Heat 1 tablespoon of olive oil in a large pot (4 quart) over medium heat. Add sausage slices and cook, stirring occasionally, until sausage is just starting to brown, about 5-6 minutes. Add onion slices and additional olive oil, if necessary.  Cook, stirring often, until onions and sausage are slightly browned, about 10 minutes more.  Reduce heat to low; stir in garlic and cook for 1 more minute.  Remove sausage, onions and garlic; set aside.  Pour wine into pot and scrape up brown bits stuck to the bottom. Let simmer for a minute or two.  Meanwhile, put 3 cups beans and 2 cups broth into a blender and purée ‘til smooth; set aside.  Add all of  the remaining broth to the liquid in pot; increase heat to medium and bring to a boil.  Add kale, reduce heat; cover and gently simmer, stirring a few times until kale is wilted and softened, about 5 minutes. Uncover, add remaining beans, bean puree, sausage and onion mixture; stir well.  Season to taste with salt and pepper.  Simmer gently until hot, about 5 minutes more.  Ladle into soup bowls; sprinkle with Parmesan cheese and a squeeze of lemon juice.

“This soup is delicious, hearty and satisfying while still light and fresh-tasting.  It definitely fits the healthy but oh-so-yummy comfort food category.”  (Comment from the hubby.)  🙂


If you would like to send a personal message to Coleen, in regards to this blog, please email her at: Coleen@girlfriendscoffeehour.com.