April 23, 2024

Cranberry Orange Scones (Gluten-Free)

Cranberry Orange Scones resize

If you have kids, you probably know what summer break is like:  trying to keep them busy and entertained without letting their brains turn to mush!  One of my favorite ways to do that is baking together.    I have my older girl (first grader now!) read the recipe out loud, and both girls love to stir and mix and pour ingredients.  Today’s group baking exercise?  Cranberry Orange Scones!

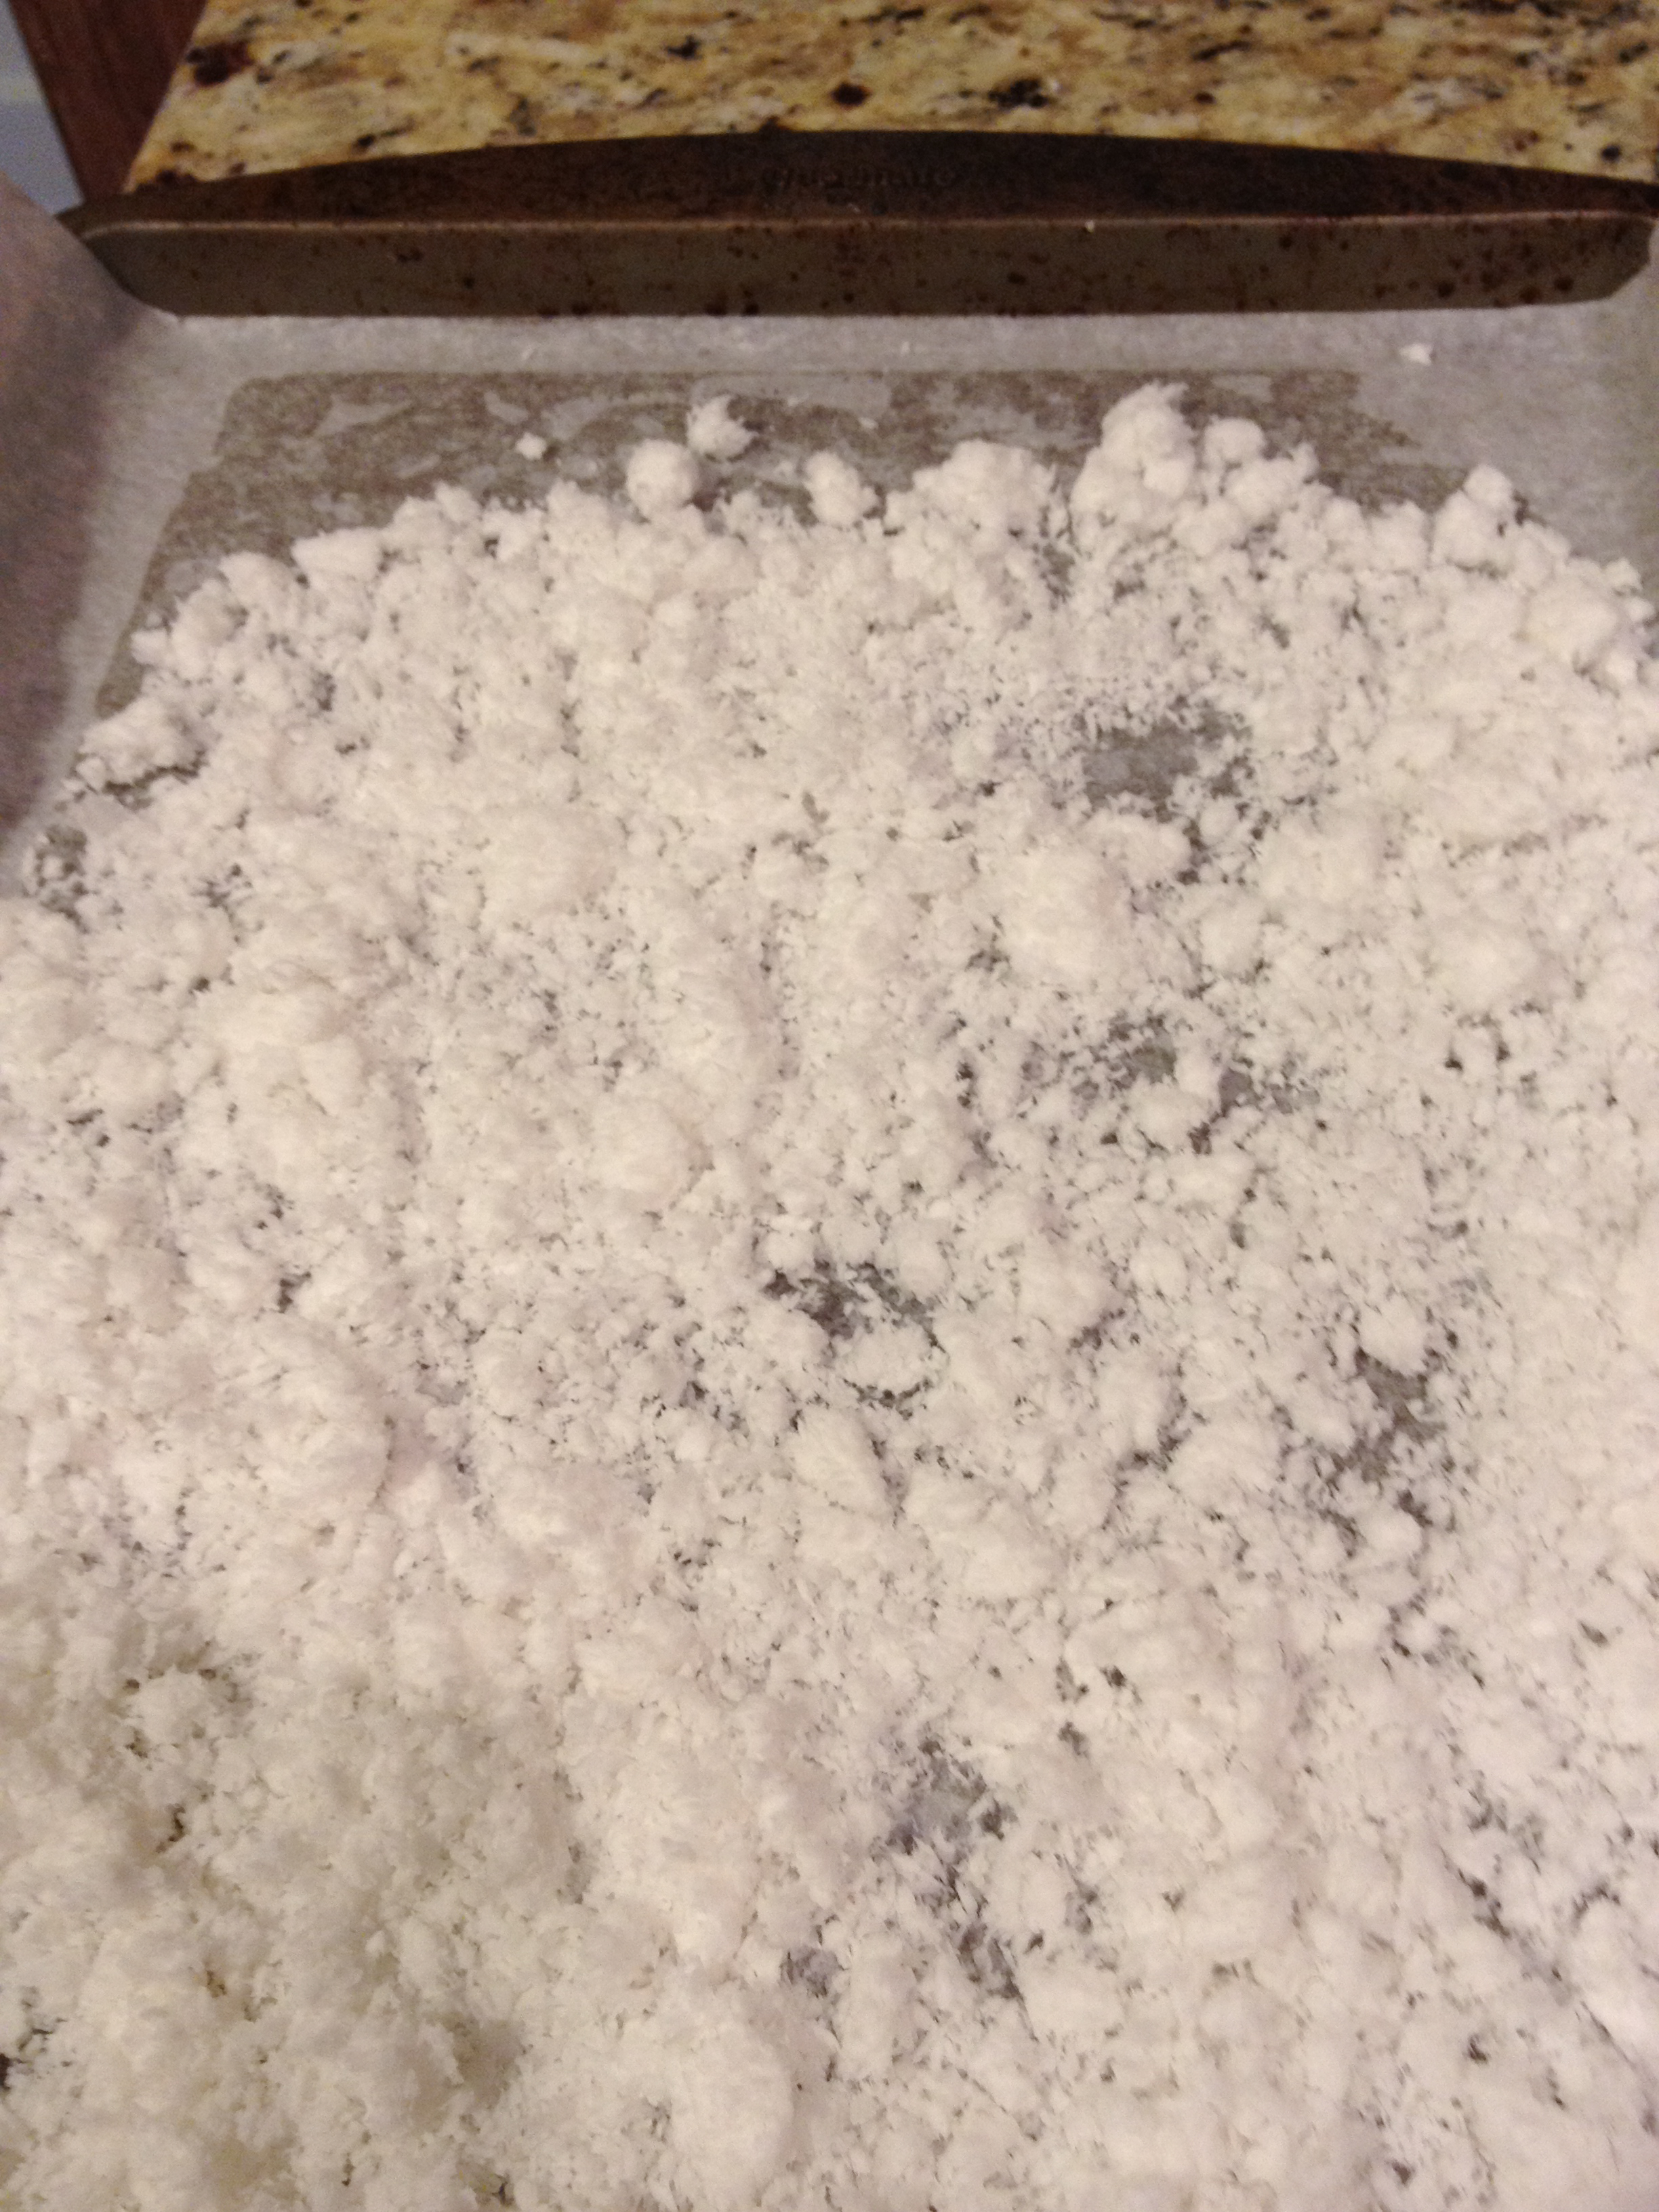
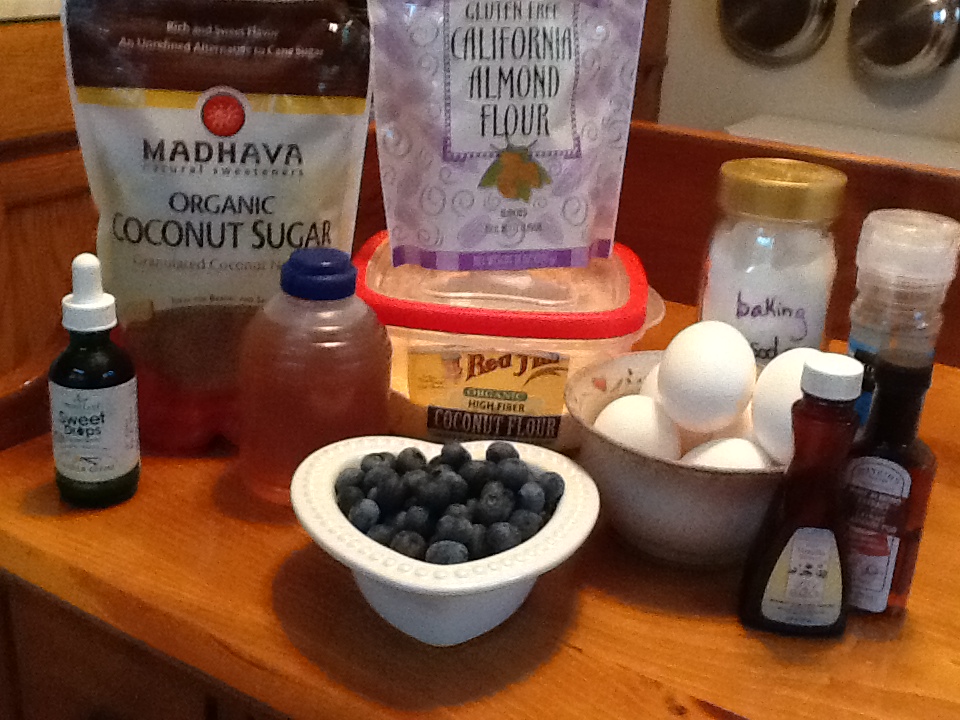
These are gluten-free, made with coconut flour.  If you’ve never tried it, I can’t recommend it highly enough.  For six big scones, you only need half a cup of coconut flour!  I like making treats for the girls that are single serving – that way there’s no arguing over whether the slice of bread is big enough, or having to share the last one.  These came together in a snap.  The original recipe (found on the Elana’s Pantry website) directs you to mix all the ingredients in a food processor, and I’m sure that would have made the recipe go even faster!  But because my girls wanted to help, we mixed them by hand – dry ingredients in a large bowl, wet ingredients in a smaller bowl, and then mixed wet into dry.

Try these little heaven-scented beauties today!

Cranberry Orange Scones (Gluten-Free)     makes six large scones

Ingredients:

  • 1/2 cup coconut flour
  • 1/4 teaspoon salt
  • 1/4 teaspoon baking soda
  • 1/4 cup coconut oil or softened butter
  • 1/4 cup honey
  • 4 eggs
  • 1/2 cup dried sweetened cranberries
  • zest of one orange, plus the juice of half the orange

Directions:

  1. In a large bowl, blend together the flour, salt, and baking soda.
  2. In another bowl, beat together the coconut oil or butter, honey, and eggs.
  3. Mix the egg mixture into the flour mixture.  Stir in the cranberries, orange zest, and orange juice.
  4. On a Silpat mat or parchment paper, make six mounds of dough.
  5. Bake for about 15 minutes at 350*F.

Explore, experiment, enjoy! — Dana


To view even more of Dana’s unique recipe, you can visit her at Frugal Girlmet!

Homemade Coconut Flour, and Homemade Cheezits


Homemade Cheezits


So, you fell in love with coconut milk too, right?  It’s your end-all, be-all, new favorite thing? That’s okay if it’s not.  But if you have made it, or plan to, you will be left with a cheesecloth-wrapped ball of pulp.  Now, someone who didn’t know better might just chuck that in the trash.  But not us!  We are going to use the pulp to make Homemade Coconut Flour and, with that flour, we’re going to make Homemade Cheezits!

First, the tools you will need:  You’ll need a baking sheet, parchment paper, and a food processor or blender.  If you have a Silpat silicone baking liner, now is the time to use it.  And you’re in luck:  the ingredients are already in your house, right now!  Once you make (or purchase) coconut flour, you can whip these crackers up in minutes.  The good news is that they have no preservatives, artificial colors or flavors, or any unpronounceable chemicals – hooray!  They come out of the oven the perfect blend of crispy and  chewy, ready for snacking.  The bad news is, because they lack any of that lab-created stuff, they don’t stay crispy.  But that is easily remedied by a quick pass through a toaster oven.  Just a few minutes is enough to make these crackers crunchy again.

Ready to make some homemade, preservative-free snacks your family will love?  Let’s go!

Homemade Coconut Flour

Ingredients:

  • Pulp from 2 batches of coconut milk

Directions:

  1. Preheat oven to 250 F.  Cover a large baking sheet with parchment paper or a Silpat mat.  Spread out the coconut pulp, breaking up any lumps.  Toast the pulp until completely dry and powdery.  You really need to make sure all the moisture is removed.  This can take anywhere from one to two hours.  Stir occasionally to make sure the lumps are broken up and there are no hot-spots, and don’t let it burn!
  2. When the pulp is very dry, let it cool in the oven for another hour or so.  Transfer to a blender or food processor and blend for 5 minutes.  Depending on how powerful your blender is, you can get it pretty fine.  My food processor did a decent job, but the flour was not silky fine in texture.  That’s okay!  Get it as powdery in texture as your tools allow.


Homemade Coconut Flour


Homemade Cheezits

Ingredients:

  • 1/2 cup coconut flour
  • 1 egg
  • 2 tablespoons butter, softened
  • pinch salt
  • 1 1/2 cups shredded cheese (I used cheddar)

Directions:

  1. Preheat the oven to 400F.  In a food processor, blend all the ingredients together.  You will end up with a moist ball of dough.
  2. Line a baking sheet with parchment paper or Silpat liner.  Plop the ball of dough down on the liner, and cover with a piece of parchment paper.  Roll out the dough very thinly, to about 1/8″ thickness.  Try to make it even thickness all the way across – you can see my edges were a little thinner, and they got crispier than in the middle.  That’s fine, but you don’t want a huge variation in thickness.  Remove top sheet of parchment paper and bake for 8-10 minutes until starting to color.
  3. Remove from oven and score with a sharp knife.  You don’t need to go all the way through, because you don’t want to cut your liner or parchment paper.  Bake again for another 8-10 minutes until golden brown and starting to get crispy at the edges.
  4. When it’s cool enough to touch, cut all the way through the crackers, or just use your hands to break them at the perforations.  When cool, store crackers in sealed container.  To crisp, put them on a baking sheet in the toaster oven or regular oven for five minutes.

I think next time I make these, I’ll add a little paprika or garlic powder.  New flavor combinations are exciting!  My girls helped me make these, so here is a photo of them enjoying their handiwork:


B+L Homemade Cheezits


Explore, experiment, enjoy! — Dana


To view even more of Dana’s unique recipes, you can visit her at Frugal Girlmet!

Blueberry Almond Muffins (Gluten Free)

Here on our At Home with GCH blog, Monday’s are always focused on healthy but oh-so-yummy! recipes.  As promised, for the next few weeks I am sharing some gluten free treats that you can bring to your bbq’s, picnics, hoedowns, and block parties.  Perhaps your family loves to hike or go backpacking—this recipe is perfect for you!  

2013-06-25 16.18.01

Today’s recipe is for gluten free Blueberry Almond Muffins.  These are full of protein, contain no refined sugars, and have no added fat (except the 1 tablespoon used for the topping).   Also, a nice substitution for the blueberries would be raspberries…don’t forget to see the tip about freezing them!

Blueberry Almond Muffins

makes 10 muffins

Ingredients2013-06-25 15.23.16
• 2 cups almond flour
• 1/2 cup coconut flour
• 1/2 teaspoon sea salt
• 1/2 teaspoon baking soda
• 6 eggs
• 1/2 cup honey, agave nectar or maple syrup
• 12 drops liquid vanilla stevia (or additional sweetener of your choice)
• 1 teaspoon vanilla extract
• 1 teaspoon almond extract
• 1 cup blueberries, frozen*

Topping Ingredients
• 1 tablespoon butter, softened
• 1 tablespoon coconut sugar

Directions

  1. Put blueberries into freezer
  2. Preheat oven to 350. Put liners into muffin tin
  3. In a large mixing bowl, whisk together almond flour, coconut flour, salt and baking powder
  4. In a separate bowl, whisk eggs; then add honey, stevia, and extracts
  5. Stir liquid ingredients into dry ingredients and blend thoroughly
  6. Gently fold in frozen blueberries*
  7. Spoon batter into lined muffin cups
  8. Lightly pat tops down into rounded heaps; use a pastry brush to dab with butter and sprinkle with coconut sugar
  9. Bake for 22-25 minutes; the tops should be springy yet firm when they are done
  10. Remove from muffin tin immediately and let cool on a rack
  11. Keep in the refrigerator, or place into freezer storage bags or a container

* The purpose of freezing (or using pre-frozen) blueberries is that this batter is very thick; if you used non-frozen berries, they would smoosh. 🙂

♥  ♥  ♥  ♥  ♥

God loves you!  ♥  (Don’t ever forget that!)

♥  coleen

_________________________________

If you would like to send a personal message to Coleen concerning this blog post, you may email her at: Coleen@girlfriendscoffeehour.com