April 19, 2024

Muddy Buddies

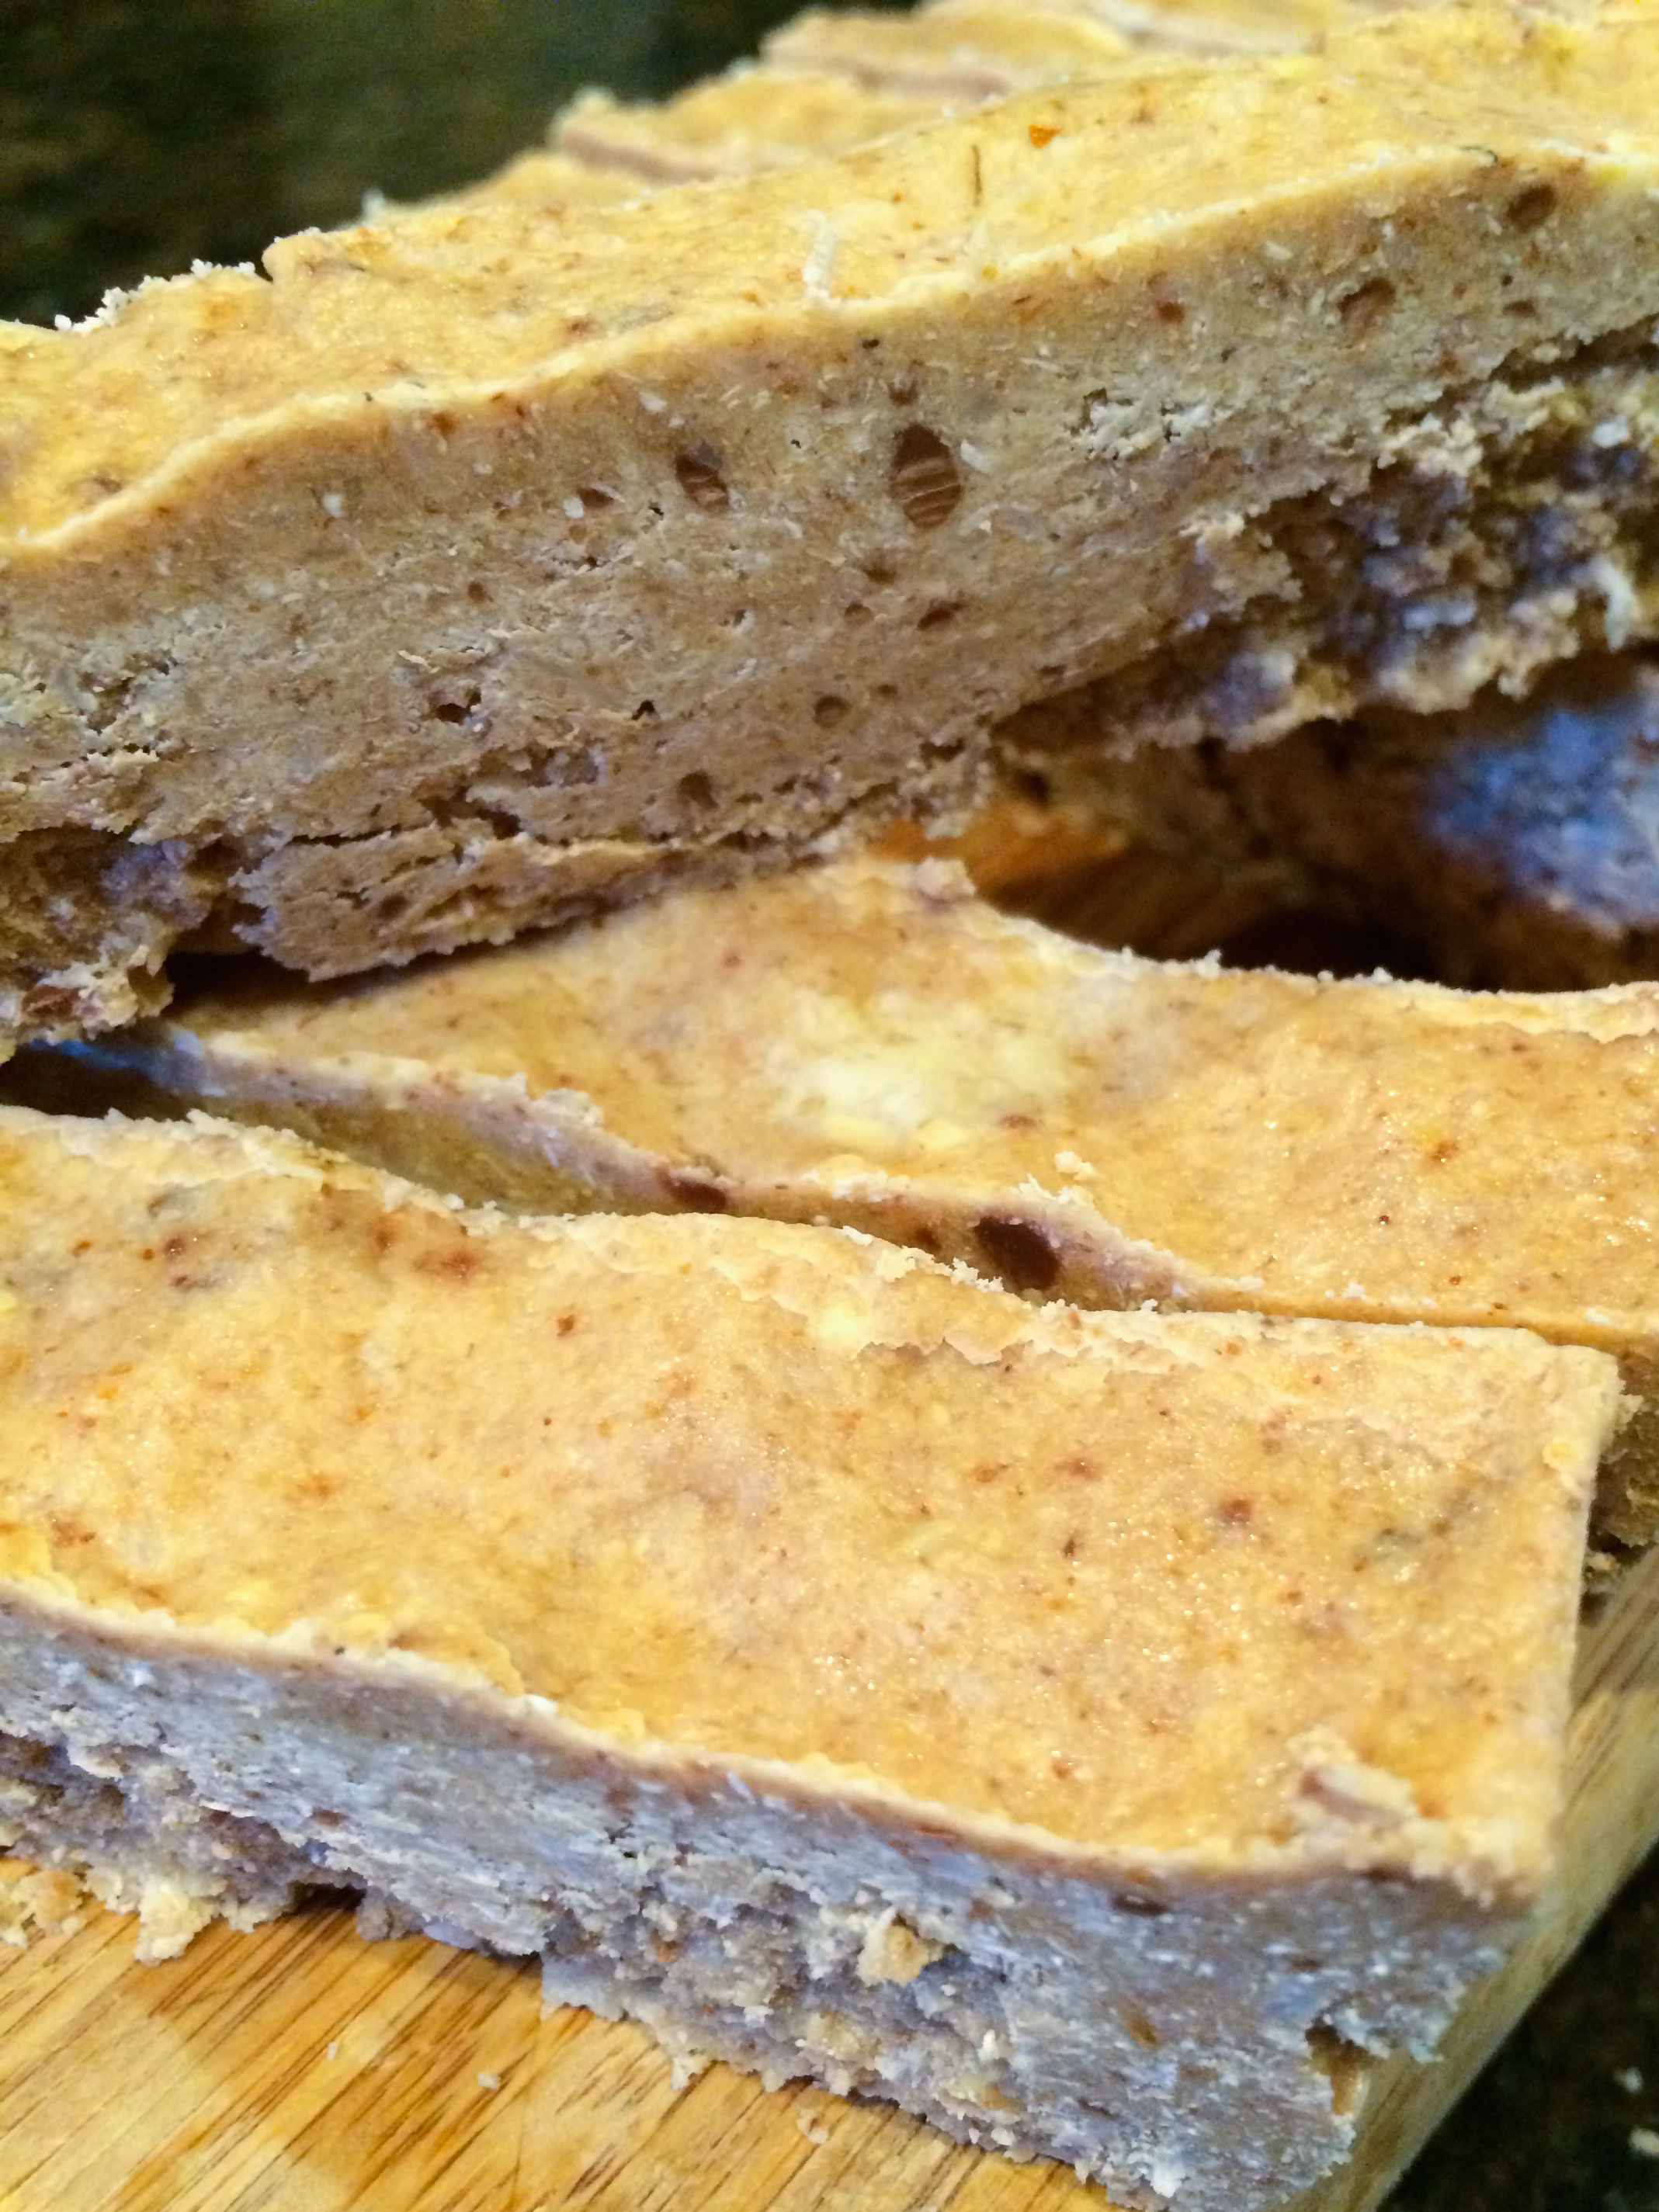
… also known as People Puppy Chow.  I really can’t describe for you how delicious and addictive this stuff is.  I first had People Puppy Chow at a friend’s house as a kid, and it was a game changer!  From then on it always showed up at parties and potlucks and is an easy win.

Full disclosure:  I didn’t make this batch.  A friend dropped it off for us, and I’ve had to hide it, because my older girl is allergic to peanut butter, and I didn’t want to salivate over this stuff when she can’t have any.  My days of Muddy Buddies may be limited, but yours don’t have to be.  Make this for the next party / movie night / kids sleepover, and enjoy!

People Puppy Chow

Muddy Buddies / People Puppy Chow

Ingredients:

  • 2 cups of chocolate chips
  • 1 cup smooth peanut butter
  • 1/2 stick butter
  • 1/2 teaspoon vanilla extract
  • 1 box of Crispix or Chex cereal
  • 1 box powdered sugar

Directions:

  1. In a saucepan over medium-low heat, stir together the chocolate chips, peanut butter, butter, and vanilla, until smooth and melted.
  2. Empty the box of cereal into the largest bowl you have.  Pour the chocolate mixture over the cereal and stir to completely coat.
  3. In a large paper grocery bag, pour in the powdered sugar, then pour in the coated cereal.  Close up the top and shake and toss to cover the cereal in powdered sugar.
  4. Dump it all out of the bag onto a few baking sheets to cool.  Separate any big clumps.  Try not to eat it all at once!

Explore, experiment, enjoy! — Dana


To view even more of Dana’s unique recipe, you can visit her at Frugal Girlmet


Summer Thai Steak Salad

Thai Salad

There were lots of adjectives to sift through in trying to create a name for this recipe!  ‘Salad’ had to be in there, of course…and ‘Thai,’ too, because of the peanut dressing.  But feel free to use chicken instead of steak, and you can switch out the veggies used to suit your tastes.  This Summer Thai Steak Salad is really flexible!  Ready?  Let’s go!

Summer Thai Steak Salad

(recipe makes two salads)

Ingredients:

  • 1 heaping tablespoon peanut butter
  • 1 tablespoon rice vinegar (or use a little less apple cider vinegar)
  • 1 teaspoon sugar, honey, or maple syrup
  • 1/2 teaspoon soy sauce
  • 2 tablespoons sesame oil (use grapeseed or olive oil, if you have to)
  • a few handfuls of salad greens
  • 1/2 pound cooked steak or chicken, diced
  • 1 large or 2 small bell peppers, thinly sliced
  • 1/4 sweet or red onion, thinly sliced
  • 1 cucumber, peeled and sliced into half-moons
  • 1/2 cup cooked corn kernels
  • other options:  tomatoes, avocado, basil, cilantro, carrots

Directions:

  1. In a food processor, blend together the peanut butter, vinegar, sugar, soy sauce, and sesame oil.  Taste for seasoning – add more sugar, or more vinegar, or whatever you want.  You can even give it a hit of Sriracha if you like!  Set aside.
  2. Wash greens and divide between two really big salad bowls.  Top with diced steak and thinly sliced veggies.
  3. Toss with lots of peanut dressing.
  4. Do a little happy dance in your chair!

Explore, experiment, enjoy! — Dana


To view even more of Dana’s unique recipe, you can visit her at Frugal Girlmet

Plum and Basil Upside-Down Cake

Plum Basil Upside Down Cake

I  hadn’t really planned on baking a cake today.  But every Friday, I need to have a post up for you fine ladies, and sometimes…{sigh}.  The kids are acting crazy, work is busy, the husband has to work late—you know how it is.  So, you make all the family favorites for dinner because it’s easy and you don’t have to think about it.

This week, however, I was really stumped.  I looked in my fridge:  I had a LOT of plums to deal with that were edging toward soft.  I also have a basil plant in my front yard that I’m in love with!   I am plucking off leaves daily and trying to find new uses for it.  Well, I did a Google search for “plums and basil”…and guess what came up?  This Plum and Basil Upside-Down Cake!

It was easy to make and, while not instantaneous to whip up, I could still do it in steps—in between washing dishes, or folding some laundry.   You don’t need the basil in this recipe, but it adds a lovely complexity to the flavor and elevates it from being just another sweet cake.  If you don’t have plums, use nectarines or peaches – both taste great with basil.

Plum and Basil Upside-Down Cake

(click here for the original recipe)

Ingredients:

  • 1/4 cup plus 2 teaspoons butter, divided use
  • 1 pound large plums – any kind, or peaches or nectarines – pitted and quartered (about 6 plums)
  • 1 1/4 cups sugar, divided use
  • 1/2 cup packed fresh basil leaves, roughly chopped
  • 1 1/2 cups whole wheat flour (or use regular flour)
  • 1 1/2 teaspoons baking powder
  • 1/4 teaspoon salt
  • 2 eggs
  • 3/4 cup buttermilk (I used plain yogurt instead)

Directions:

  1. Melt 2 teaspoons butter in a large nonstick skillet over medium heat. Add plums, and cook for 3 minutes.  Add 1/2 cup sugar, basil, and a pinch of salt.  Cook for 10 minutes or until plums are tender, stirring frequently.  Remove plums from pan using a slotted spoon.  Bring cooking liquid to a boil.  Cook 5 minutes or until liquid is very thick, like jam.  Strain liquid through a sieve to remove basil.
  2. While the liquid reduces, arrange plums in the bottom of a 9-inch cake pan (I used square, but the author recommends round) coated with cooking spray.  Pour the liquid over the plums.  Let cool.  (I actually reserved about 3 tablespoons of the liquid for another use – read on!)
  3. Preheat oven to 350F*.  In a medium bowl, whisk together the flour, baking powder, and salt.  In a separate bowl, beat the remaining 1/4 cup butter and remaining 3/4 cup sugar with an electric mixer until fluffy.  Add one egg at a time, beating well. Add flour and buttermilk (or yogurt) alternately to sugar blend, beginning and ending with flour.  Pour batter over plums, spreading evenly.
  4. Bake for about 50 minutes, or until a wooden toothpick comes out clean.  Let cool for 10 minutes.  Run a knife around the edge of the cake.  Invert onto a plate.  Cool and serve plain, or with whipped cream, or even vanilla ice cream!

I saved a bit of the plum syrup.  My husband got a promotion today (Praise the Lord!), and I’m going to surprise him with a glass of sparkling wine with a teaspoon of the plum syrup stirred in for a champagne cocktail!  If you don’t like champagne, I bet this plum syrup would be delicious stirred into sparkling water or iced tea too.

Explore, experiment, enjoy! — Dana


To view even more of Dana’s unique recipe, you can visit her at Frugal Girlmet

Cobb Salad with Homemade Bleu Cheese Dressing

Cobb Salad with Homemade Bleu Cheese Dressing

I think you guys know how much I love a big salad for dinner.  One of my favorites is this Cobb Salad with Homemade Bleu Cheese Dressing, because it’s got so many different components.  So satisfying!

Of course you can use store-bought dressing, but I decided to make my own.  You can really control how salty, how creamy, how peppery it is when you make it yourself – plus there are no binders, stabilizers, thickeners, et cetera like there are in bottled dressing.  (How else do you think they make that stuff shelf-stable?)  This is a basic recipe; feel free to jazz it up with a little lemon juice, hot sauce, or Worcestershire sauce to take it to the next level.  You can also add more veggies to the salad or change up the protein.  Have at it!

Cobb Salad with Homemade Bleu Cheese Dressing

Ingredients (for 2 servings):

  • 1/2 cup crumbled bleu cheese or gorgonzola
  • 1/4 cup mayonnaise
  • 1/2 cup plain yogurt
  • 1/4 cup whole milk
  • lots of ground pepper
  • washed salad greens, any kind
  • 2 hardboiled eggs, sliced
  • 1 avocado, diced
  • 1 large chicken breast (or use two chicken thighs), cooked and diced
  • 2 (or more!) slices bacon, cooked crisp
  • sliced or cherry tomatoes (would be great, but I don’t like raw tomatoes)

Directions:

  1. In a mixing bowl, stir together the bleu cheese, mayo, yogurt, and milk.  Grind in lots of black pepper.  Let chill in the fridge until you are ready to eat.  (Do it a day before and get an even better-tasting dressing!)
  2. In two large salad bowls, divide the washed salad greens.  Into each bowl, add a sliced egg, half of the avocado, the diced chicken, and some bacon crumbles.  Drizzle with dressing and serve.

Explore, experiment, enjoy! — Dana


To view even more of Dana’s unique recipe, you can visit her at Frugal Girlmet

Basil Shrimp Scampi


Basil Shrimp Scampi

I’m not much of a gardener, but this year I’ve managed to keep some basil and rosemary plants alive long enough to eat from them.  Basil is so fresh and summery that I love to add it to lots of different dishes.  This week I made Basil Shrimp Scampi and it was delicious!

I like to peel my shrimp before cooking them.  You could use whatever shape pasta you like for this recipe, but I found plain old spaghetti works great.  This recipe served four, with some leftovers, so tell the family dinner’s ready!

Basil Shrimp Scampi

Ingredients:

  • 1 pound spaghetti, undercooked just a bit – don’t go past al dente
  • 1 stick butter
  • 3 cloves garlic, minced (or use 2 tablespoons minced garlic from a jar)
  • 1/2 cup white wine or champagne
  • juice of 1/2 lemon
  • 1 pound shelled shrimp (31-40 size is best)
  • salt and pepper
  • 2 fistfuls of fresh basil, chiffonaded

Directions:

  1. Cook the spaghetti according to the directions on the package.  Do NOT overcook!
  2. While the spaghetti is cooking, make the sauce:  melt the butter over medium-low heat and add the garlic.  Stir to combine, then add the wine and lemon juice.  Simmer until bubbly.
  3. Increase heat to medium and add the shrimp.  Cook for about 3 minutes, then flip each shrimp and cook for another two minutes.  Season with lots of salt and pepper.
  4. Pour the shrimp and sauce over the pasta and toss to combine.  Add in the basil and toss again.  Save a few tiny basil leaves to garnish the pasta.

Explore, experiment, enjoy! — Dana


To view even more of Dana’s unique recipe, you can visit her at Frugal Girlmet

Peach Pie Waffles

Peach Pie Waffles

The kids were clamoring for waffles.  They usually like berries and maple syrup, but I had a better idea:  Peach Pie Waffles!  They ate these things up like they were going out of style!

The waffle recipe is straight from Martha Stewart.  She is my go-to resource when I’m checking out a basic recipe.  No waffle iron?  Make pancakes with the batter instead!  These are quick to put together and the leftover waffles (if you have any – it made four waffles for me) freeze and reheat very well.  If you have any leftover peaches, mix them into plain or vanilla yogurt for breakfast.  Ready?  It’s easy as pie!

Peach Pie Waffles

(makes 4 waffles)

Ingredients:

  • 1 large can of sliced or halved peaches, lightly drained
  • 1/2 teaspoon cinnamon
  • 1/4 teaspoon grated nutmeg
  • 1 cup flour (I used whole wheat – you can use regular, too)
  • 2 tablespoons sugar
  • 1 teaspoon baking powder
  • 1/4 teaspoon salt
  • 2 eggs
  • 1 cup milk
  • 4 tablespoons butter, melted
  • whipped cream to serve

Directions:

  1. In a medium non-stick pan (or use a regular pan and add a tablespoon of butter!) pour in the can of peaches.  Add the cinnamon and nutmeg.  Let simmer while you make the waffles.  Mash them with a potato masher if you like, or with the back of a fork.  Keep an eye on them to make sure nothing burns.
  2. In a large bowl, mix together the flour, sugar, baking powder, and salt.  In a smaller bowl, beat the eggs and stir in the milk.  Whisk the egg mixture into the dry mix.  Stir in the melted butter.
  3. Make the waffles according to your waffle maker’s instructions.  Mine called for half a cup of batter for each waffle, and this recipe made four waffles.  If you’re making pancakes, you’ll get … I’m not sure.  Maybe 8?  Anyway, cook them how you normally do, then set aside and plate up.
  4. To serve:  top each waffle with a ladle of hot peaches and a good shot of whipped cream.

Explore, experiment, enjoy! — Dana


To view even more of Dana’s unique recipe, you can visit her at Frugal Girlmet


Salmon Cakes

Salmon Cakes

Not as fancy as crab cakes, but higher up the gourmet rankings than a tuna melt, these Salmon Cakes make a quick, protein-filled lunch that can be dressed up or down, depending on your mood.

Dressing up?  Stack them with a poached egg and hollandaise sauce, along with a side of steamed or grilled asparagus.  Going casual?  Serve the salmon cakes in a salad with a vinaigrette and some goat cheese, or with a fried egg and a side of roasted vegetables.  These would go great with tartar sauce or remoulade.  Any way you plate these up, you’ll love these savory salmon cakes!

Salmon Cakes

Ingredients:

  • 1 (14.75 ounce) can of boneless salmon
  • 2 teaspoons mayonnaise
  • 1 teaspoon mustard
  • 1/2 teaspoon celery salt
  • 1/2 teaspoon dried dill
  • 1/2 cup chopped roasted bell peppers and onions (or 1/2 cup diced bell pepper and 1/2 cup diced onion, cooked in olive oil until soft)
  • 10 large crackers (use saltines, Ritz, or whatever plain cracker you have around)
  • 1 tablespoon butter
  • 2 tablespoons olive oil

Directions:

  1. Combine the salmon, mayo, mustard, celery salt, dill, peppers, and onions in a large bowl.  Crumble the crackers into crumbs and mix into  the salmon.
  2. Using a bowl or a cup (I used a half-cup measuring cup), pack the salmon mixture into 4 ounce portions.  Remove the salmon cakes from the cup and place them all on a plate.  Refrigerate for 30 minutes.
  3. In a large frying pan, heat the butter and oil together.  Cook the salmon cakes for about 8-10 minutes on one side over medium heat, until they have a nice golden crust.  Flip them carefully, and cook again for about 8 minutes.  Remove and serve warm.

Explore, experiment, enjoy! — Dana


To view even more of Dana’s unique recipe, you can visit her at Frugal Girlmet

Roasted Chickpeas

Roasted Chickpeas

I’m a nibbler.  Are you?  I can sit for an hour with a book, popping snacks into my mouth!  If you are a nibbler like me, it’s best to have some healthy treats around the house.  Popcorn is usually my go-to, but this recipe for Roasted Chickpeas may be my new favorite!

Get two cans of chickpeas (or do you like to call them garbanzo beans?).  Pick out your favorite flavors to add:  curry powder, a spice rub, a lemon pepper shake, even taco seasoning or a Ranch dressing packet.  Mix, roast, crunch!  These guys are like healthier Corn Nuts.  Yum!

Roasted Chickpeas

Ingredients:

  • 2 cans chickpeas
  • 2 tablespoons olive oil
  • 2 teaspoons (or more) of your favorite spice powder mix – see above for ideas

Directions:

  1. Drain the chickpeas and rinse in a colander.  Let dry for about half an hour.
  2. Preheat oven to 400*F.
  3. In a bowl, mix together chickpeas, oil, and spices.  Add salt if your spice mix doesn’t include it (curry powder never has salt in it, so you will want to add about half a teaspoon of salt.)
  4. Line a baking sheet with parchment paper or aluminum foil.  Spread out the chickpeas into one layer and place the sheet pan on the middle rack.  Bake for 20 minutes.  Stir to make sure they’re not sticking or burning, then bake for another 15 minutes or so (maybe another 5 minutes more or less, depending on your oven.)
  5. Remove from the oven and let cool, then munch away!

Explore, experiment, enjoy! — Dana


To view even more of Dana’s unique recipe, you can visit her at Frugal Girlmet!

Protein Powder Cookie Bars

Protein Powder Cookie Bars

Have you ever used protein powder?  My husband loves the stuff, so we always have a few mongo-sized tubs of it in the pantry.  There are  dozens of varieties – whey, casein, hemp, or pea, to name and few – and as many different flavors, though for most recipes, I would suggest you stick with vanilla.  When you need a sweet treat (and come on, we ALL do sometimes) but don’t want to feel overly guilty, whip up a batch of these Protein Powder Cookie Bars.

Sometimes you know you need protein and you just don’t want to fry some eggs or eat that leftover chicken breast.  Protein powder to the rescue!  I’m normally a champion of whole foods, but sometimes there really is better living through chemistry.  This recipe comes together completely in the food processor and takes just a few minutes to make.  Hold out for the bars to firm up in the fridge or freezer, and you have a candy bar that doesn’t break the calorie bank.  This is totally customizable and deserves a go.  Ready?

Protein Powder Cookie Bars

Ingredients:

  • 1 cup roasted, salted almonds (leave skins on for extra fiber)
  • 1/2 cup coconut oil
  • 2 cups oats
  • 1 cup protein powder (vanilla casein or whey both work here)
  • 1/2 cup shredded coconut
  • 1/2 cup mini chocolate chips

Directions:

  1. In the food processor, add the coconut oil to the almonds and make almond butter.  Then add the ingredients, one by one, and mix after each addition.
  2. When you have a mixture that feels like heavy, wet sand, pour it out into a metal loaf pan.  Flatten it out with your hands or a spatula and freeze or refrigerate until very firm.  Cut into 4″ x 1″ bars.  (You could go crazy and drizzle these bars with melted chocolate!)  Store in the fridge or freezer until ready to eat.

Explore, experiment, enjoy! — Dana


To view even more of Dana’s unique recipe, you can visit her at Frugal Girlmet!

Sweet and Sour Cucumber Salad

Sweet and Sour Cucumber Salad

Happy Summer!  Today was my daughter’s last day of school.  Memorial Day is in the past, and it’s quickly heating up.  That means it’s BBQ time!  Next cookout you go to—bring this Sweet and Sour Cucumber Salad.

This is an alternative to that played-out coleslaw.  Feel free to double or triple this recipe.  The cucumbers keep it light and crunchy.  You can adjust the balance of sweet to sour to suit your own taste.  I like this salad fresh, but the longer you leave it to mix and mature – up to two or three days – the more pickled and nuanced the flavors get.  Ready?  Let’s go!

Sweet and Sour Cucumber Salad

Ingredients:

  • 1 large cucumber (I like English in this recipe)
  • 1/2 sweet onion
  • 2 tablespoons vinegar – white or rice
  • 3 tablespoons sugar
  • 4 tablespoons whole milk
  • salt and pepper to taste

Directions:

  1. Cut the cucumber in half lengthwise, then slice into thin half-moons.  Place in a large bowl
  2. Slice the onion as fine as possible.  Add to the cucumber.
  3. Mix together the vinegar, sugar, and milk.  Taste, and add more of what you like, or leave it as-is.  Pour over the cucumber and onion.  Season with salt and pepper.  Keep refrigerated until ready to eat.  This is great the next day, and even more pronounced after two days.  Eat with spicy foods, BBQ’d meat, or really salty foods.

Explore, experiment, enjoy! — Dana


To view even more of Dana’s unique recipe, you can visit her at Frugal Girlmet!