Salmon is my favorite fish to make at home. It seems more substantial than fish like sole or trout, and its strong, meaty texture and flavor give it a lot of flexibility. Make this Baked Salmon with Pesto Sauce and find out for yourself!
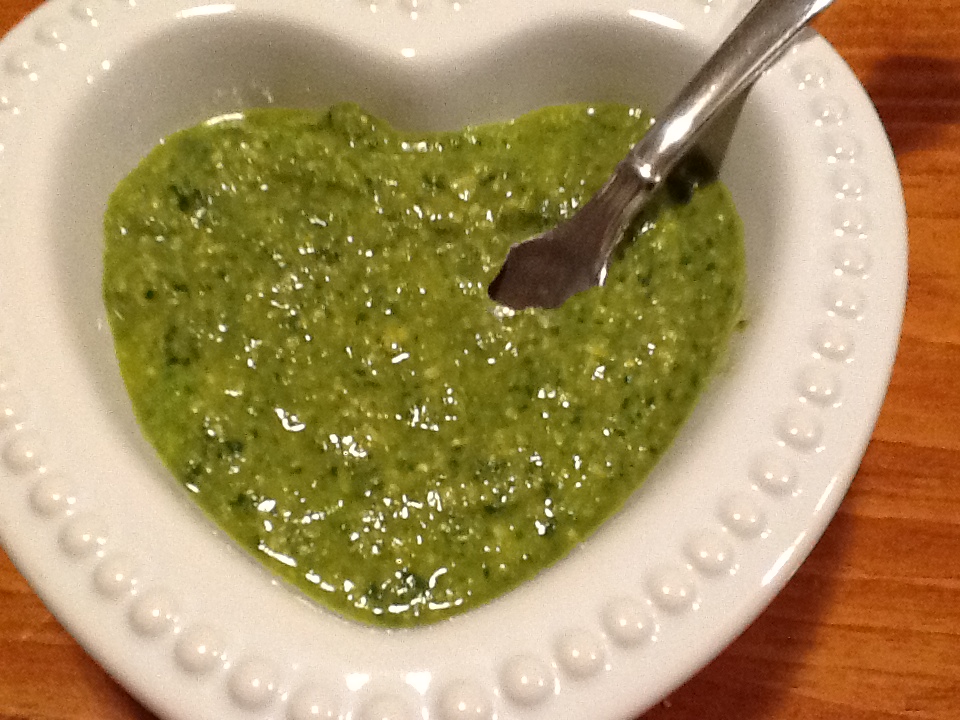
You can of course use store-bought pesto, but if you have basil growing in your garden, the rest is easy to rustle up at home. This is how I like pesto – you can alter this to suit your tastes. If you have any leftover pesto, try it on scrambled eggs, roasted vegetables, chicken, and of course over pasta! (Or, want a different spin on pesto? Try Coleen’s version!)
Baked Salmon with Pesto Sauce
Ingredients:
- 1 large salmon filet, about 1/2 pound or more
- 1 tablespoon olive oil
- salt and pepper
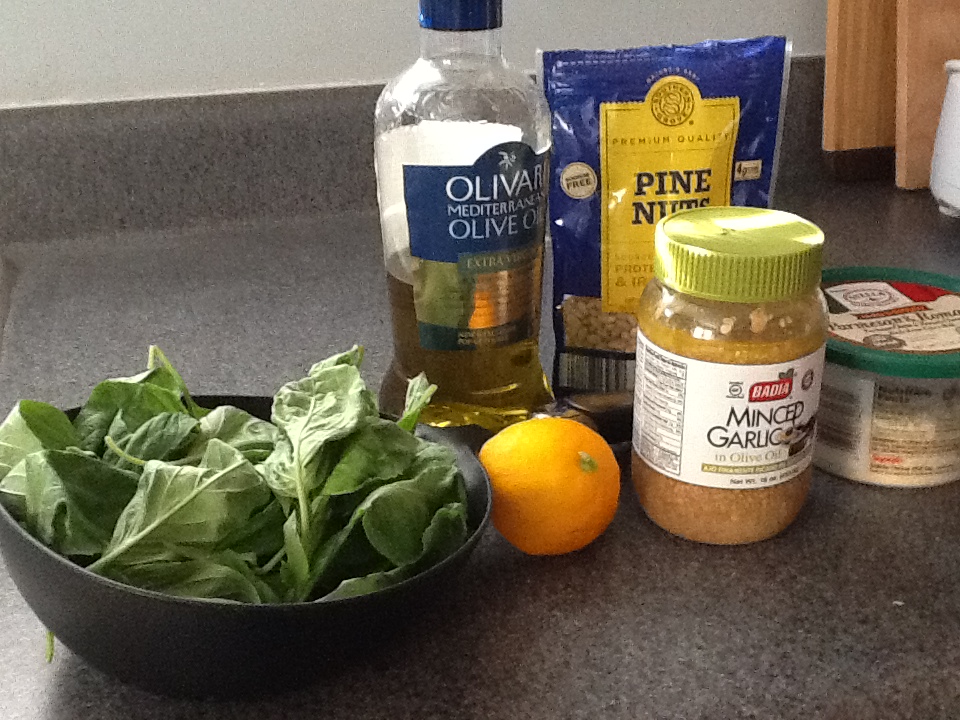
- 1 cup basil leaves
- 2 garlic cloves
- juice of 1/2 lemon
- 1 tablespoon grated Parmesan cheese
- 2 tablespoons pine nuts
- 3 tablespoons – 1/3 cup olive oil
Directions:
- Preheat your oven to 375*F. Line a baking sheet with aluminum foil.
- Place the salmon skin-side down on the baking sheet, and drizzle with one tablespoon of olive oil. Season the salmon with salt and pepper. Bake for 10 minutes, or until firm in the thickest part of the filet.
- While the salmon is in the oven, put the basil and garlic cloves in the bowl of a small food processor. Pulse to combine.
- Add the lemon juice, Parmesan cheese, and pine nuts, and blend again. Add 3 tablespoons of olive oil and blend. Taste for seasoning – more lemon? More Parmesan? More garlic? You can add more olive oil for a thinner texture – as much as half a cup if you like your pesto really thin.
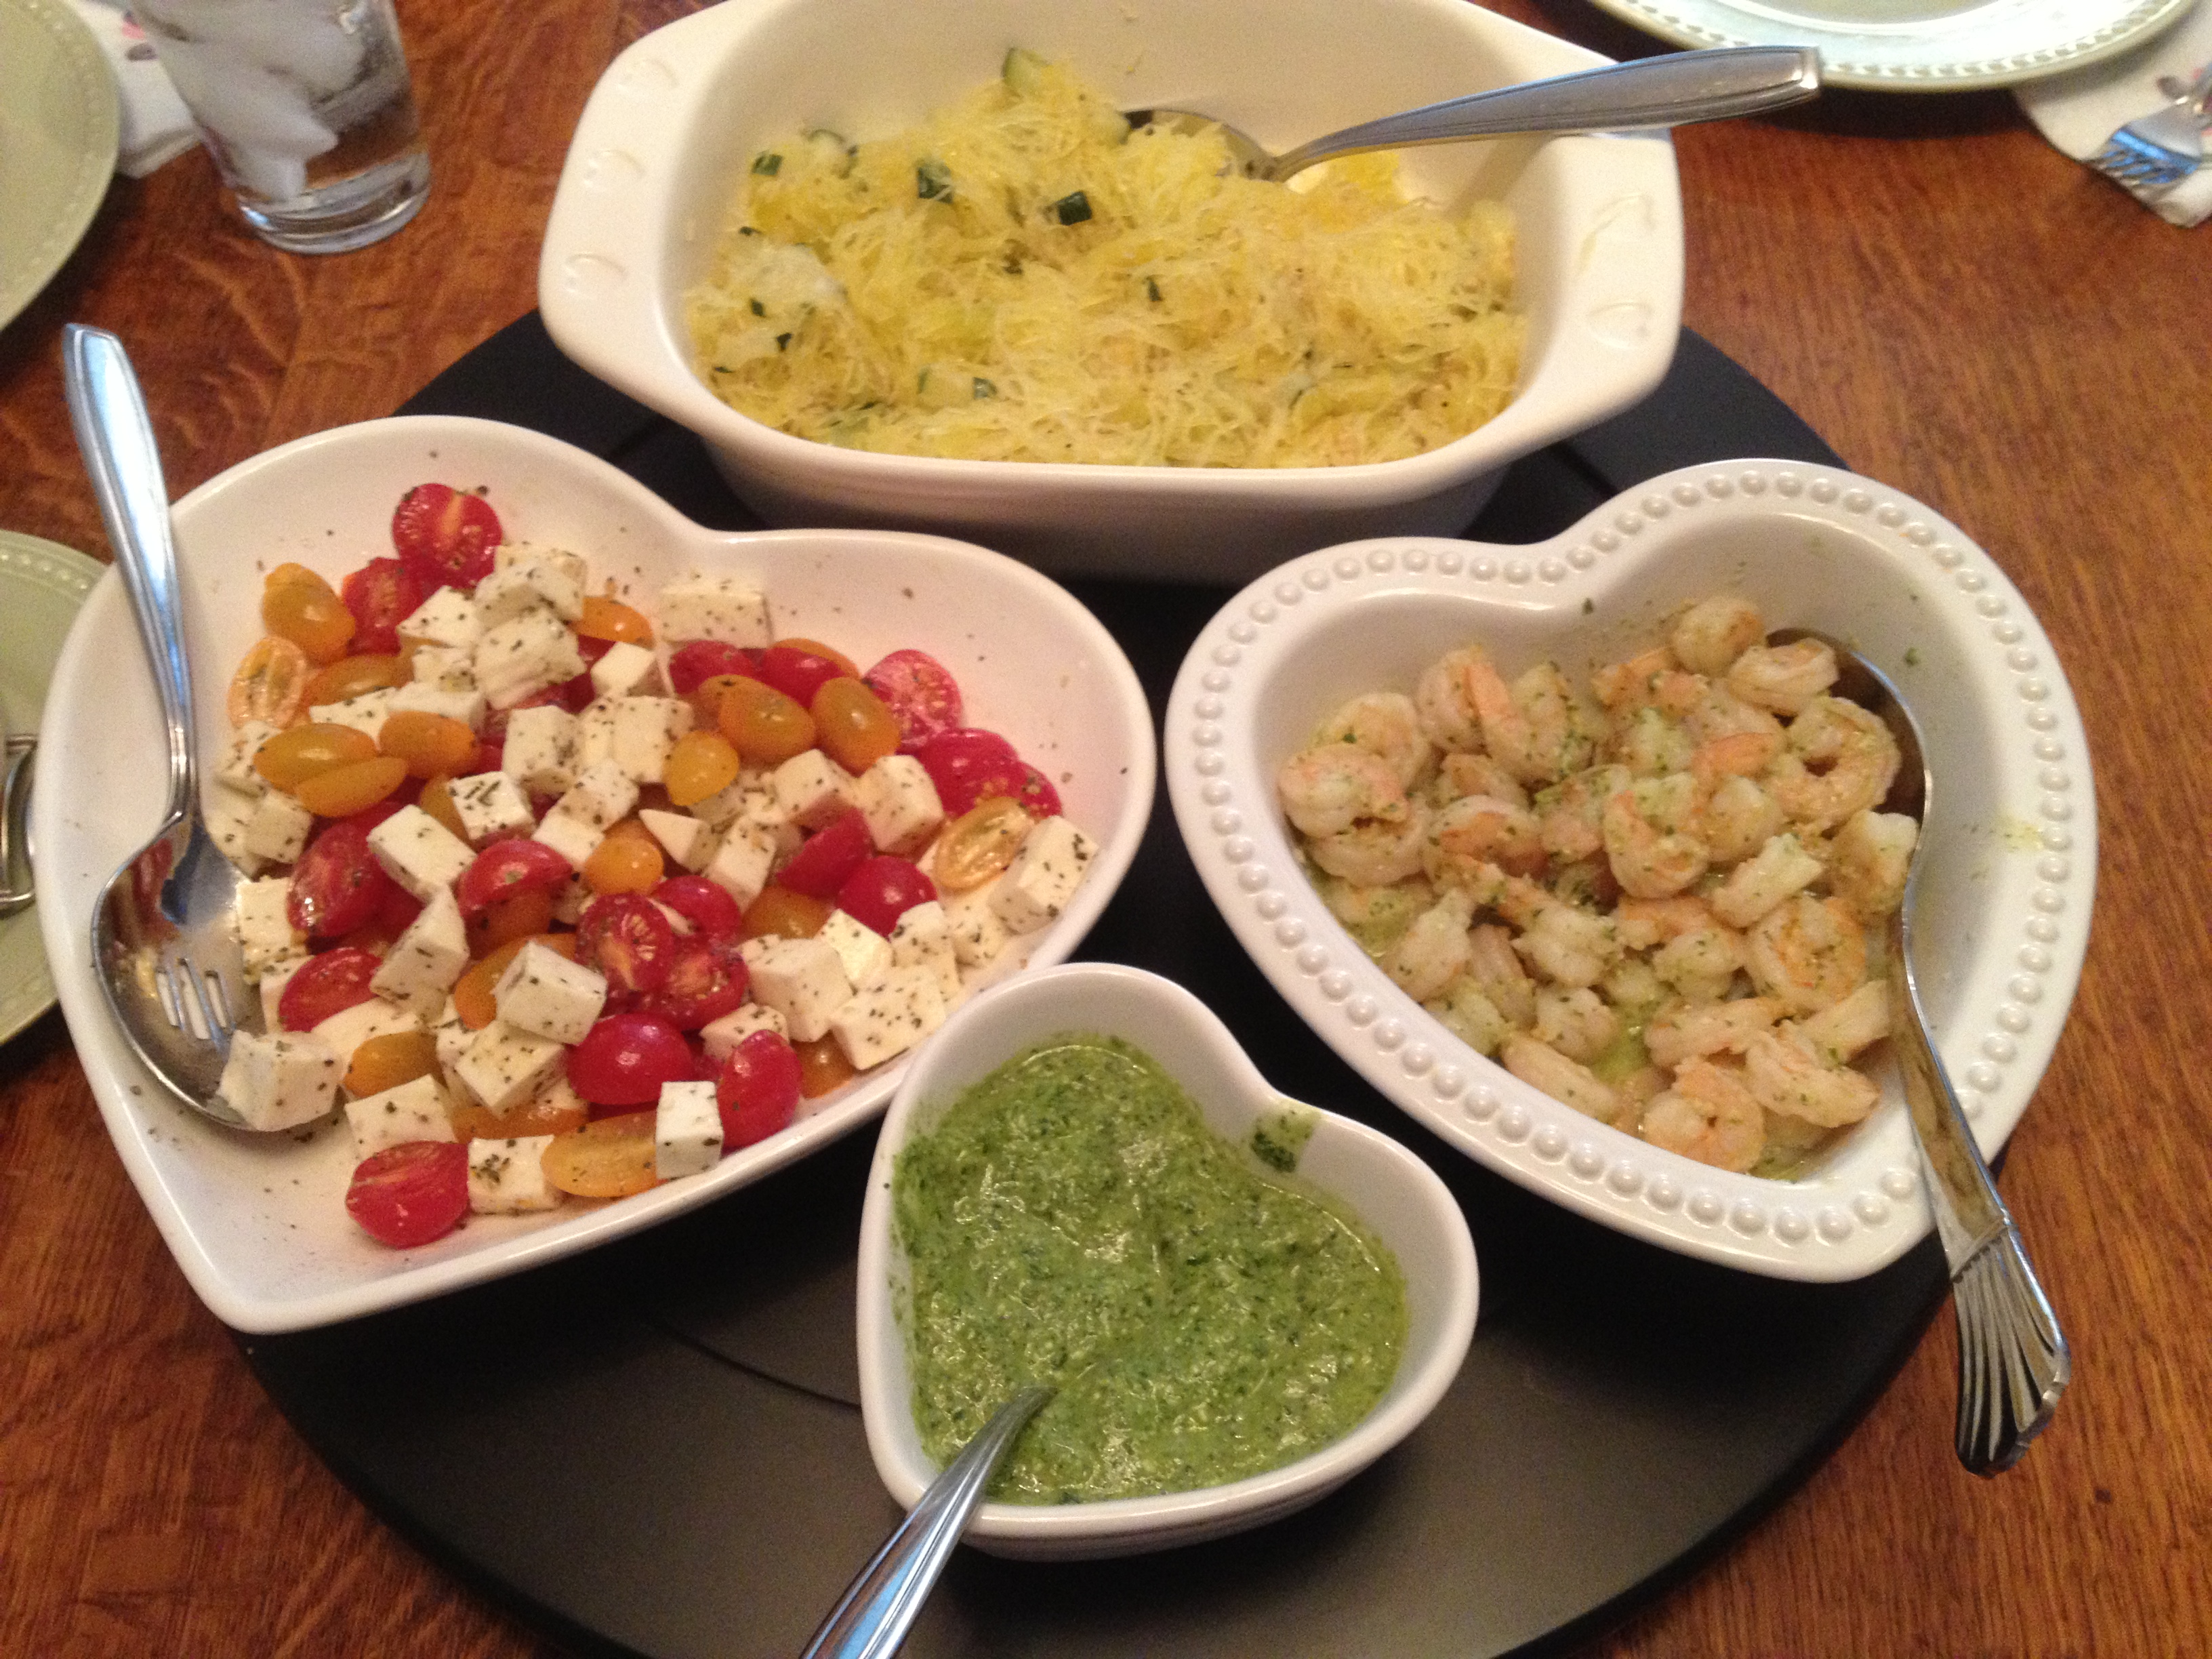
- Serve the salmon hot from the oven with a healthy pour of pesto over the top. Refrigerate leftovers.
Explore, experiment, enjoy! — Dana
To view even more of Dana’s unique recipe, you can visit her at Frugal Girlmet