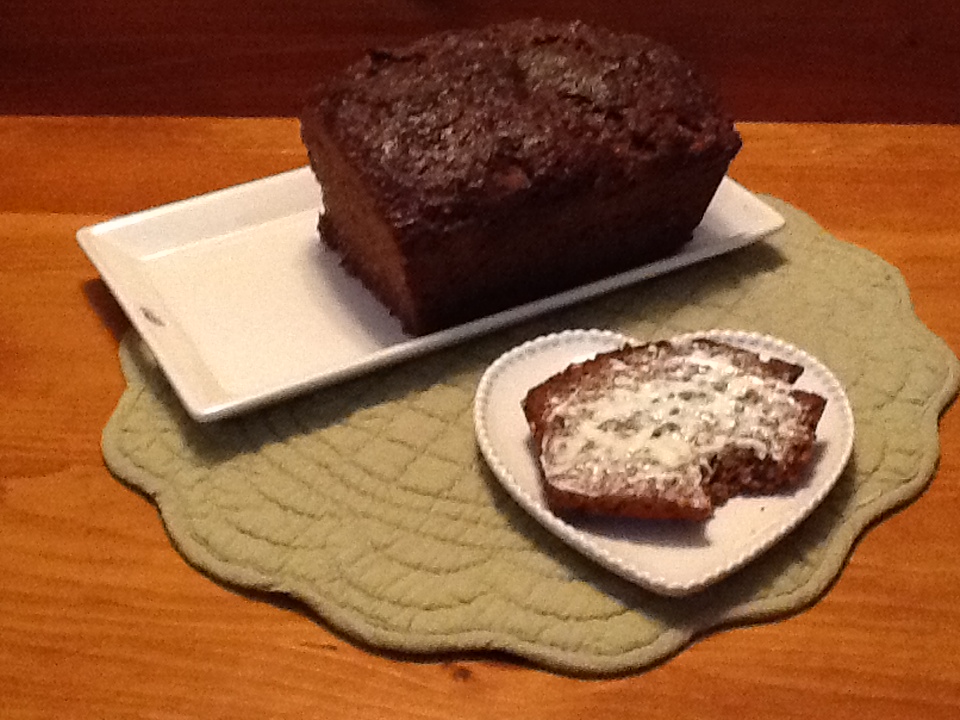
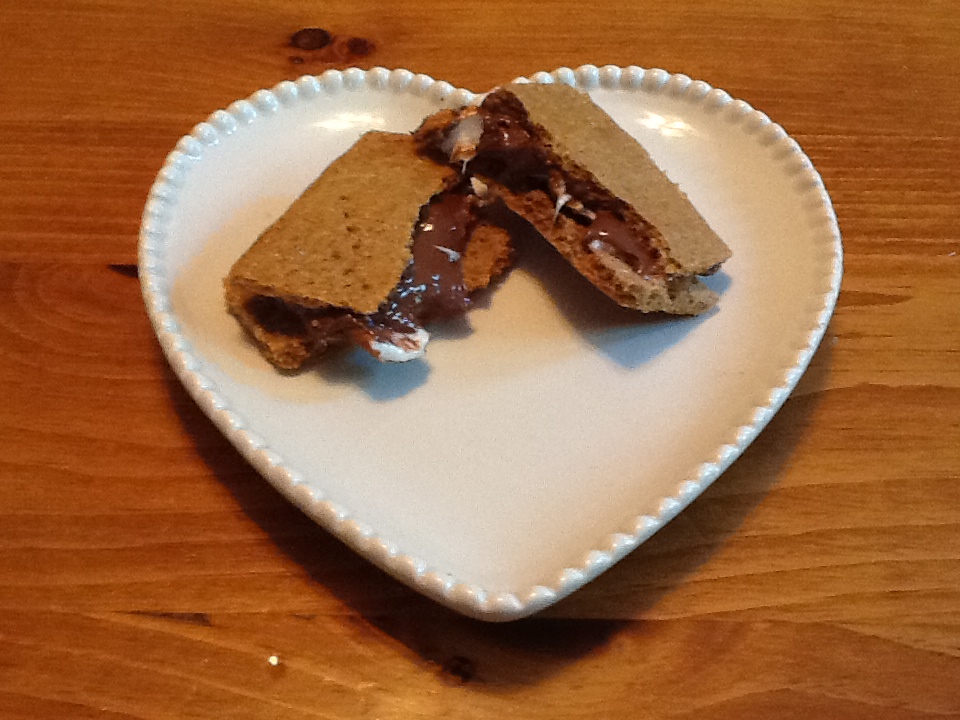
Here on our At Home with GCH blog, Monday’s are always focused on healthy but oh-so-yummy! recipes. As promised, for the next few weeks we are going to prepare some gluten free treats that you can share at your bbq’s, picnics, hoedowns, and block parties. Today’s recipe is for gluten free Graham Crackers. Can you say “s’mores?”
Gluten Free Graham Crackers*
Ingredients:
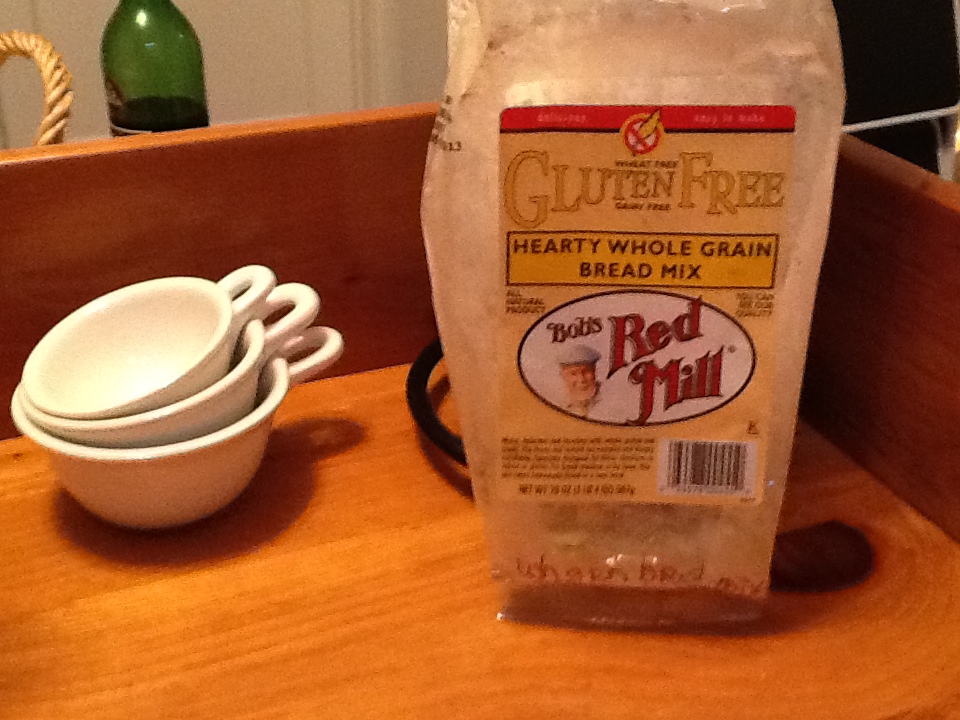
2+1/4 cups gluten free flour mix (see below)
1/3 cup packed brown sugar
2 teaspoons cinnamon
1 teaspoon gluten free baking powder
1/2 teaspoon xanthan gum
1/2 teaspoon baking soda
1/2 teaspoon salt
7 tablespoons COLD butter, margarine or shortening of your choice, cut into pieces
3 tablespoons cold water
3 tablespoons honey
1 teaspoon vanilla
Topping Ingredients:
1 teaspoon sugar
1 teaspoon cinnamon
Directions:
- Mix together the gluten free flour mix, brown sugar, cinnamon, baking powder, xanthan gum, baking soda and salt.
- Work COLD butter into dry ingredients using a pastry blender, fork, (or even your fingertips) ‘till thoroughly crumbly and all butter is incorporated.
- Mix the cold water, honey, and vanilla together. Add wet ingredients to the dry ingredients, mixing with a fork. If dough seems too dry, add a very little bit more cold water, just one teaspoon at a time.
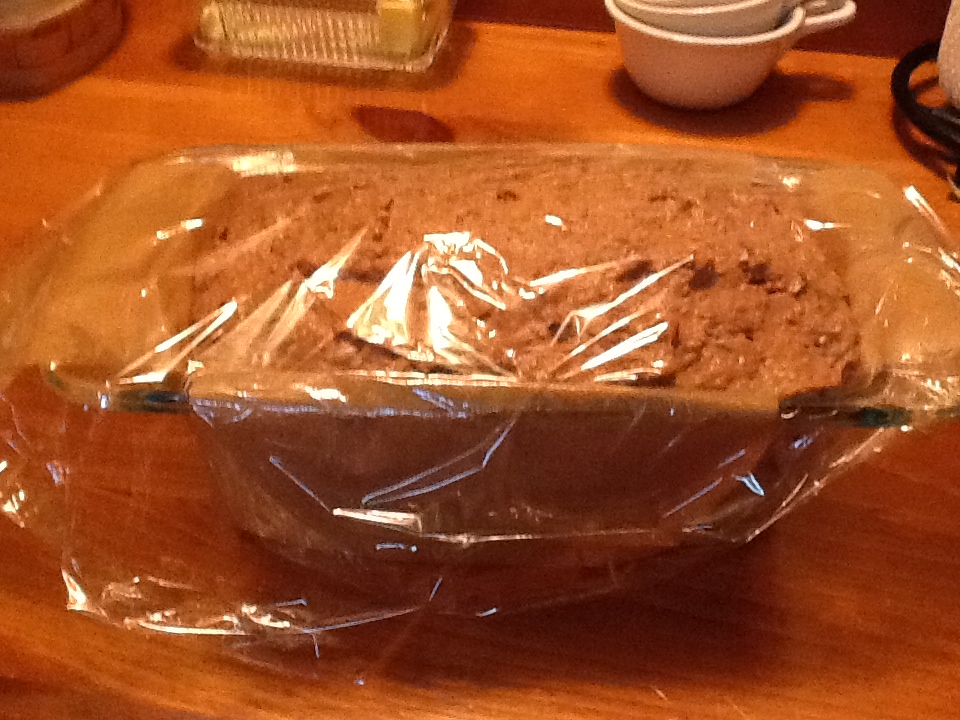
- Place dough onto a large piece of plastic wrap, gather up, and shape into a rectangle. Cover completely with plastic wrap and refrigerate for 30-60 minutes.
- Cut a piece of parchment paper to fit your baking sheet with a little overhang for ‘handles.’ For ease of rolling, cut a gallon size zip-top bag open along the sides (leaving bottom seam intact) so that it now opens flat into one long sheet. Since it is a little thicker than plastic wrap, it will make rolling the dough out much easier!
- Place parchment paper on your countertop and, when dough is chilled, divide in half and place one half onto the parchment paper. Cover with the plastic bag and roll the dough out to about 1/4 inch thickness, or thinner…depending on how thick you like your graham crackers.
- Using the parchment paper, lift the rolled-out dough right onto the baking sheet. Lightly cut into 2 inch squares (a pizza cutter works well for this!). Prick lightly all over with a fork and sprinkle with a little of the cinnamon topping. Chill for 10 minutes.
- Preheat oven to 325 while dough is chilling.
- Bake for 14-15 minutes or until they start to brown on the edges. Sprinkle with a small amount of the cinnamon sugar topping IMMEDIATELY after taking from oven. You might want to run the pizza cutter back over your cut marks while still warm and loosen them. Let cookies cool slightly before transferring to cooling rack.
- Repeat the rolling, cutting, baking process with the second half of the dough. I used the same piece of parchment paper and the same plastic bag for rolling, too.
- Oh! Any too thin pieces or broken pieces can be saved and crumbled to make a gluten free crust! Enjoy!
Gluten Free Flour Blend (makes enough for two batches)
1 cup garbanzo +fava or sorghum or chickpea flour
1 cup tapioca starch
1 cup corn starch or potato starch or arrowroot
½ cup millet, or amaranth or quinoa or oat flour
½ cup fine brown rice flour
¾ cup almond flour
Whisk ingredients together until well blended. Use 2+1/4 cups for this recipe and keep extra stored in the refrigerator until needed.
*This recipe was inspired by a similar one from Living Without magazine and website. They are a great resource for those with not only gluten allergies and sensitivities but other food allergies as well. You should check their website out!
♥ ♥ ♥ ♥ ♥
God loves you! ♥ (Don’t ever forget that!)
♥ coleen
_________________________________
If you would like to send a personal message to Coleen concerning this blog post, you may email her at: Coleen@girlfriendscoffeehour.com