April 18, 2024

Chocolate-Covered Strawberries

Chocolate-Covered Strawberries Resize

Nothing says Valentine’s Day like Chocolate-Covered Strawberries!  Surprise your sweetie – or sweeties, because my kids went cuckoo for these!  If you can get your hands on some nice strawberries (and I know it’s still very much winter in some places, but go with me on this), you can make these for dessert and watch their eyes light up!

My trick here is to use a teaspoon of coconut oil in the chocolate.  It keeps the chocolate from becoming brittle and adds the lightest hint of tropical flavor.  Instead of shattering when you bite into it, this chocolate holds tight to the strawberry so you can eat every last bite.  No worries if you don’t have coconut oil.  You can go without and just use the chocolate, but you will definitely want to make sure your berries are blemish-free and thoroughly dried.

Ready to make your loved ones’ hearts go pitter-pat?  Bring out these healthy and gorgeous treats tonight!

Chocolate-Covered Strawberries

Ingredients:

  • 18 strawberries
  • 1 cup semisweet chocolate chips
  • 1 teaspoon coconut oil

Directions:

  1. Wash the strawberries and dry very carefully.  Pull up the stem leaves so they point up; otherwise you’ll get them covered in chocolate!  Make sure you don’t have any open, weepy spots on the berries, or the chocolate won’t stick.
  2. In a small but deep bowl, microwave the chocolate chips and coconut oil for 30 seconds at a time, and stir after each 30 seconds.  It took three 30-second bursts to get everything melted and smooth.
  3. Line a baking sheet or tray with parchment paper.  Holding onto the stem of the berry, dip in chocolate and place on the parchment paper.  When all berries are dipped, place the tray in the fridge (or freezer if you are short on time!)  Serve cold.

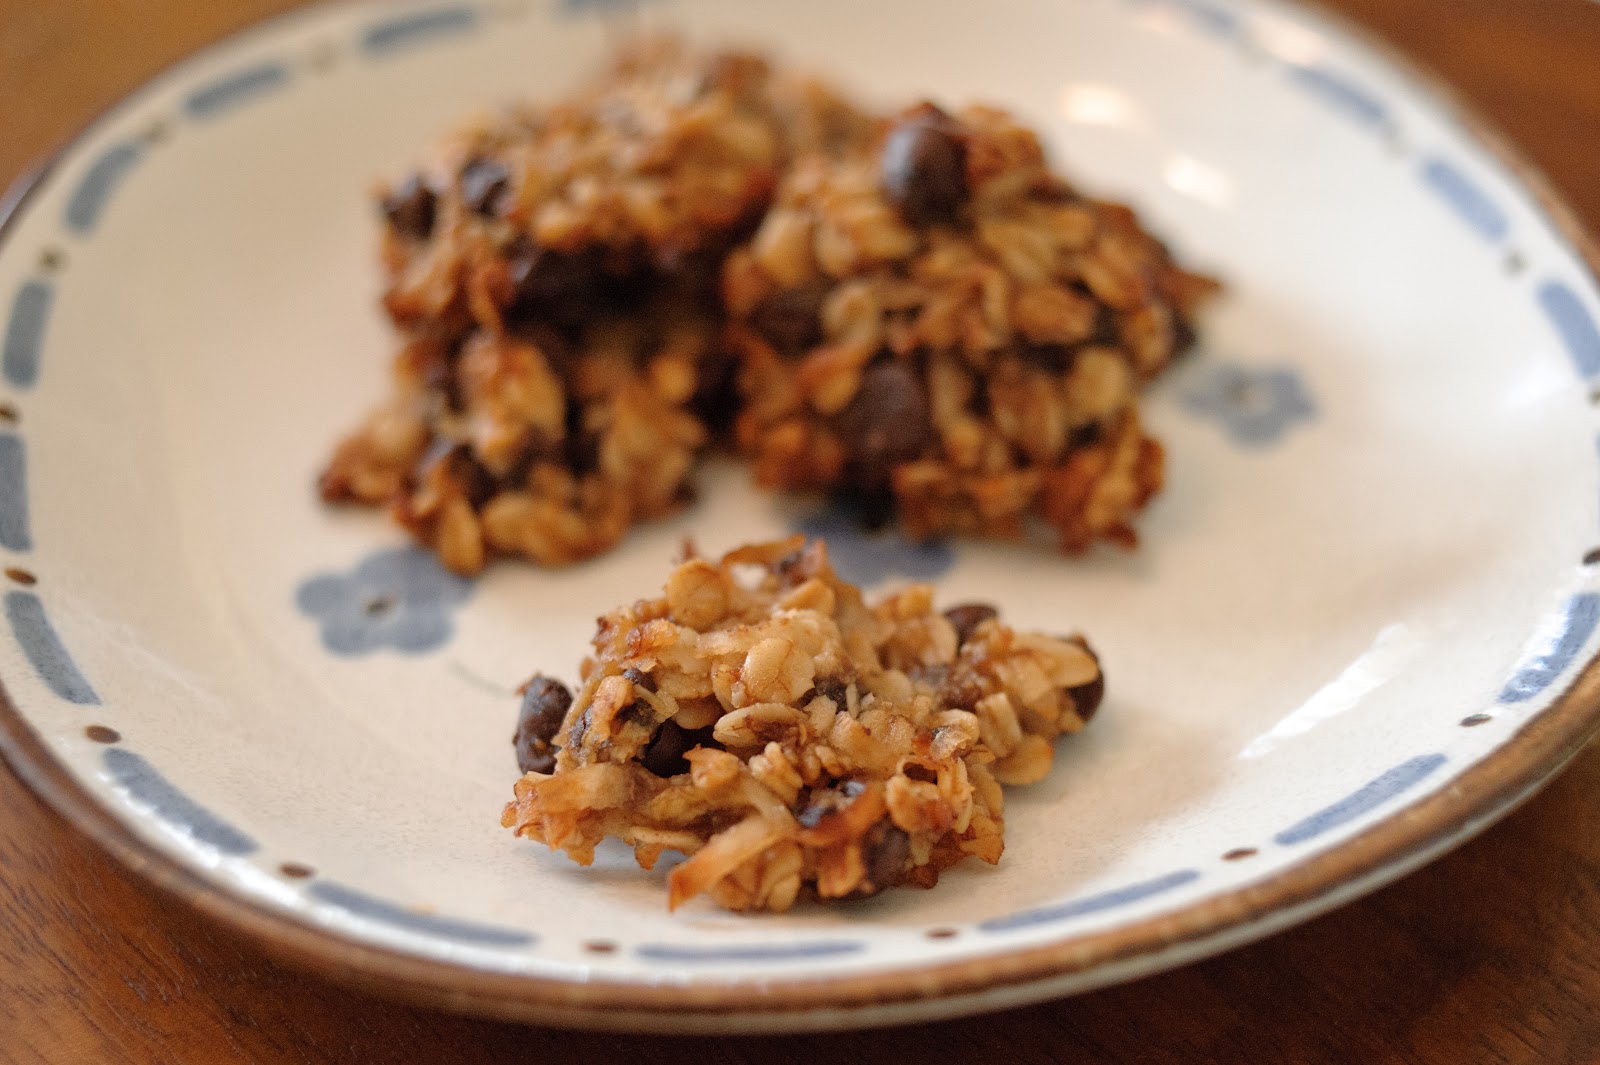
I had a little leftover chocolate in my bowl.  I dipped cashews and banana pieces in there to get every last drop.  My 2 year-old’s chocolate mustache was a sight to behold!

Explore, experiment, enjoy! — Dana


To view even more of Dana’s unique recipe, you can visit her at Frugal Girlmet!


Monkey Bites (Banana Chocolate Chip Cookies)


monkey bite cookies

Christmas cookies are a tradition at my house – and yours too, I’m sure.  My Dad lives for Tollhouse chocolate chip cookies.  My favorites are peanut butter, with or without jam thumbprints and crushed walnuts.  When I worked outside the home, I made dozens of cookies each year for Christmas, sharing them with co-workers and other friends and family.  Now that I am home with my girls, I have to be much more careful – I can’t have all those cookies around, since I don’t have anywhere reliable to offload them, and I DON’T want to eat them all myself!  So I am committed to striking a balance between festivity and nutrition.  Enter:  Monkey Bites!

These cookies have all the flavor (and more!) of your typical chocolate chip cookie, but instead of being filled with flour and sugar, you get bananas and oats.  These are soft cookies, and I keep them in the fridge when I’m done.  But the best part of Monkey Bites is that they use three of these:

overripe banana

So if you are looking for a healthier chocolate chip cookie (or you have a few squishy bananas to contend with), try these Monkey Bites.  And feel free to customize:  butterscotch or peanut butter chips would be delicious, or add dried cranberries or cherries to pair nicely with the chocolate chips.  The sky is the limit!

Monkey Bites

Ingredients:

  • 3 overripe bananas
  • 2 cups oats
  • 3 tablespoons coconut oil or butter
  • 1 teaspoon vanilla extract
  • 1/2 teaspoon cinnamon
  • 3/4 cup (or about half a bag) of chocolate chips
  • 1/2 cup shredded unsweetened coconut

Directions:

  1. Preheat oven to 375*F.  Lightly grease a cookie sheet or use a Silpat liner.
  2. In a large bowl, mash bananas with a fork.  Stir in the rest of the ingredients, mixing well.
  3. Using a spoon and fork, scoop up a largish tablespoon of cookie dough and place on baking sheet.  You’re going to have to mold it into shape, because these don’t spread.  Mine are about 2″ in diameter and about 1/4″ high.  Try to make them a uniform size so they bake evenly.
  4. Bake for 15-20 minutes.  You want them to be firm, and the chocolate chips should be starting to melt.  These are soft cookies but you don’t want them squishy.  Let cool on baking sheet for 10 minutes, then store covered in the fridge.  You can put them in a toaster oven to warm them and crisp them up a little.

Explore, experiment, enjoy! — Dana


To view even more of Dana’s unique recipe, you can visit her at Frugal Girlmet!

Mocha Brownie Torte

mocha brownie torte
I remember the first time I had something other than pumpkin pie for dessert at Thanksgiving, and it BLEW MY MIND.  We spent the holiday with another family when I was 12, and for dessert they had pumpkin pie and a chocolate silk pie.  It was inconceivable to me that there could even be anything else for dessert besides the standard pumpkin pie, yet here was chocolate! It was a game-changer for me.  So while I always look forward to pumpkin pie, I like to make a second dessert too.  Believe it or not, there might be someone at your table who doesn’t adore pumpkin pie.  For a change of pace, and for those non-pumpkin people, may I suggest Mocha Brownie Torte?
You can, of course, omit the nuts if you have an allergic family member, but I really recommend you leave them in – the walnuts add crunch amidst the dense and chewy brownie. And the frosting? Heck, I’d happily mix up a batch right now to eat with a spoon. I dare say I like the frosting more than ice cream. Yes, it’s that good!  To simplify your Thanksgiving day, bake the cakes the night before, cool on racks, and wrap in plastic wrap overnight.  The morning of Thanksgiving, frost the cake and let it chill in the fridge while you make the rest of your dinner.
Mocha Brownie Torte
(recipe is courtesy of my Mom’s battered and splattered 1970’s Betty Crocker Cookbook)
Ingredients:
  • 1 package (15 oz.) fudge brownie mix
  • 1/4 cup water
  • 2 eggs
  • 1/2 cup chopped walnuts (pecans would be nice too)
  • 1 1/2 cups chilled whipping cream
  • 1/3 cup packed brown sugar
  • 1 tablespoon powdered instant coffee or espresso
  • Shaved chocolate for garnish
Directions:
1.) Preheat oven to 350 F. Mix brownie mix, water and eggs. Stir in the nuts. Grease and flour (2) 8-inch cake pans. Divide the brownie mix evenly in the pans.
2.) Bake for 20 minutes. Remove from the oven and let cool in the pans for 5 minutes. Remove the cakes from the pans and let them cool completely on a baking rack.
3.) Chill a big metal bowl and your beaters in the freezer for a while. Pour the whipping cream into the cold bowl and beat with an electric mixer for 2 minutes. Gradually add the brown sugar and powdered coffee. Continue beating until stiff peaks form.
4.) Put one cake down on a serving tray, flattest side down. Top with one cup of the whipped cream frosting. Put the other cake on top of the frosting, so the flattest side is up, and use the rest of the frosting to cover the top and sides of the torte. Grate or shave some dark chocolate over the torte and chill for at least an hour before serving.

Explore, experiment, enjoy! — Dana


To view even more of Dana’s unique recipe, you can visit her at Frugal Girlmet!

Roasted Plums with Homemade Ricotta


baked plums w ricotta

Last week I posted a recipe for Homemade Ricotta.  Did you try it at your house?  Did it totally blow your mind?  Now that you know how to be a Blessed Cheese Maker, here’s an idea for what to do with your ricotta:  Roasted Plums with Homemade Ricotta!

Plums will only be around for a few more weeks before autumn rolls in and we have to say goodbye to summer fruit.  You can use any other stone fruit here – peaches or nectarines would be just as yummy.  You can also play around with the toasted nuts you use.  I had almonds on hand, but you can try pistachios, hazelnuts, or even walnuts.  My older daughter is allergic to all nuts, so she goes without, and you can too, if nuts aren’t your thing.  Add a shake of cinnamon and a drizzle of honey and you have a nutritious, not-t00-sweet dessert!


baked plums_

Roasted Plums with Homemade Ricotta

(serves 4)

Ingredients:

  • 4 plums
  • 1 teaspoon pumpkin pie spice or cinnamon
  • 2 teaspoons honey, plus more for serving
  • 1 cup Homemade Ricotta (or use store-bought)
  • 1/4 cup crushed almonds, or other nuts, or cookies (amaretti would be super!)

Directions:

  1. Preheat oven to 400*F.  Wash the plums, then cut in half and remove the stones.  Place all plum halves, cut-side up, on a foil-lined baking sheet.  Sprinkle with pumpkin pie spice or cinnamon, and drizzle with 2 teaspoons honey.  Bake for 20 minutes.
  2. Remove from oven.  When cool enough to handle, you can slip off the skins if you want.  I like the extra fiber they add, so they stay on at my house.  To serve:  Place 1/4 cup ricotta in a dish, along with two plum halves.  Top with crushed nuts and a shake of cinnamon.  Drizzle with a little honey.


Explore, experiment, enjoy! — Dana


To view even more of Dana’s unique recipe, you can visit her at Frugal Girlmet!

Tropical Granita

Tropical Granita

In my last post on the joys of Homemade Coconut Milk, we’ll look at the most traditional use of coconut:  Dessert!  Coconut milk can be used in savory or sweet dishes, but I think most people like to find coconut mingling with chocolate or fruit.  Here’s a recipe that will satisfy your sweet tooth in a healthy way – Tropical Granita!

For some reason, my girls won’t try new fruits readily, but if I put them in a smoothie or in this granita, they love it!  A granita, if you don’t know, is like a cross between a sorbet and shaved ice.  It’s icy, flaky, and refreshing!  You can use any fresh, juicy fruit you want here – mangoes, peaches, any berries – but be sure you add at least one banana.  The bananas create a thicker texture and enough sweetness that you don’t need to add any sugar!  You could use frozen fruit too – pineapple and raspberries would be lovely!  I used nectarines, bananas, and strawberries.

As with all homemade recipes, there are pros and cons.  The pro, of course, is there are no sweeteners, preservatives, artificial color, etc.  The con is that since there are no stabilizers and gums, this granita is a little more difficult to scoop than commercial ice cream.  I take it out of the freezer about half an hour before we eat it, so it can soften up a little.  It’s a great motivator – I tell my daughter I’m taking dessert out of the freezer, so if she wants to eat some, she better start eating that broccoli on her plate!

Tropical Sorbet

Ingredients:

  • 1 cup dessicated coconut and 1 1/2 cups water (or one can coconut milk)
  • 3 nectarines or peaches
  • 1 ripe banana
  • 1 cup strawberries
  • optional toppings:  whipped cream, shredded coconut, strawberry jam

Directions:

  1. In a blender, blend the coconut and water.  Strain through a colander and cheese cloth.  Return coconut milk to the blender.  (If using canned coconut milk, just pour it in the blender!)
  2. Boil a pot of water.  Score an X on the bottom of each peach or nectarine.  Drop each nectarine into the water and let it boil for 30 seconds.  Remove the nectarines to an ice bath.  When cool, peel off the skin.  Cut the flesh from the pits and add to the blender.
  3. Add the banana to the blender and blend for 30 seconds.  Remove stems from strawberries and cut in half.  Add to blender and pulse a few times – I like to see chunks of berries!
  4. Pour into a large, shallow container and cover with plastic wrap.  Freeze until firm, at least 6 hours.  To serve, let thaw for about half an hour, and then scrape up with a spoon or fork.  Mound in a dish and serve with whipped cream, more diced berries or coconut flakes, or a dollop of strawberry jam!

These make great popsicles too!

Explore, experiment, enjoy! — Dana


To view even more of Dana’s unique recipe, you can visit her at Frugal Girlmet!

Homemade Coconut Milk and Coconut Chia Pudding

Coconut Milk Jar
I think I speak for everyone who blogs for At Home with GCH when I say that we are not afraid of a little hard work.  Some things are worth the extra time, effort, or energy.  From Christi’s homemade laundry detergent, to Coleen’s gluten-free goodies, we all have tricks to share so you can give your family the safest, freshest, and healthiest choices possible.  I’d like to toss my hat into the ring and offer a recipe for Homemade Coconut Milk!

Coconut milk is a key ingredient in many Indian, Thai, and other Southeast Asian recipes.  It’s also a great staple to have on hand if you are lactose intolerant, or if you are allergic to soy or almond milk.  And while you can find it in a can in many supermarkets, it is quite easy to make at home!  All you need is dried or desiccated coconut flakes, a blender, a colander, and cheesecloth.  Now, this is not the coconut you make into a pie – that stuff is full of sugar and preservatives!  Make sure it is unsweetened, dried coconut.  You can use fresh coconut too, if you can find one. (I can get them at my local Thai market, but you may not have one of those nearby.)  The coconut milk is good for about a week in your refrigerator.  I keep mine in a Ball jar with a lid, but I can’t make it last more than 3 days – it’s that delicious!

What you do with it is up to you.  Pour it over your cereal (or Christi’s Granola), use it in coffee in place of creamer, or make this delicious Coconut Chia Pudding.  Chia seeds can be found online at Amazon, at nearly all health food stores or Whole Foods, and at Trader Joe’s.   Chia seeds are teeny, tiny, little health bombs!  Full of Omega-3 fatty acids, protein, and other necessary things, chia seeds can add crunch to homemade crackers, or top sweet potatoes and salads.  Even better, when mixed with liquid, they create a gel, and make a delicious “pudding” that feels decadent, but is actually quite healthy.  Think tapioca or rice pudding, without all the diet-busting starch!

Coconut Chia Pudding


Next week I’ll have more recipes that use coconut milk, but for now, here are the basics.  Check it out!

Homemade Coconut Milk

Ingredients:

  • 1 cup shredded, dried coconut
  • 1 1/2 cups boiling water

Directions:

  1. Boil water.  (I know, but it has to be said.)  In the pitcher of a blender or a large food processor (I use a food processor and it works fine), pour in one cup of coconut flakes.  Measure out 1 1/2 cups of boiling water and pour over the coconut.  Let sit for about 20 minutes.  Then blend for 2 or 3 minutes if you have a really strong blender, or about 4 minutes in a food processor.  You want to see a foamy slurry.
  2. Line a sieve or colander with a large piece of cheesecloth, folded over on itself.  Place the colander over a large bowl.  Pour the coconut mixture into the cheesecloth and squeeze, squeeze, SQUEEZE!!!  Pour the coconut milk into a jar with a lid and keep refrigerated.
  3. Don’t throw away the coconut pulp!  This can be mixed into smoothies, or spread out on a baking sheet lined with parchment paper and baked at 200*F for about 1 to 2 hours.  When it is completely dry, grind again in the food processor … and you just made coconut flour!  And now for the other recipe…

Coconut Chia Pudding

Ingredients:

  • 1 cup coconut milk
  • 1/4 cup chia seeds
  • 1/2 teaspoon honey (optional, depending on how ripe and sweet your fruit is)
  • 1 cup chopped fruit – I like strawberries, blueberries, or peaches, but find what you like best

Directions:

  1. In a Tupperware container with a lid, pour in one cup of coconut milk and 1/4 cup chia seeds.  Put the lid on and shake to combine.  Put in the refrigerator.  Shake again in one hour.  
  2. The chia pudding should be ready in about 3 hours.  When ready, it should be very thick, like tapioca pudding.  To serve, divide chia pudding between two bowls, drizzle with a tiny bit of honey if desired, and stir in the chopped fruit.  This makes a great dessert, or a nice, light breakfast.


Explore, experiment, enjoy! — Dana


To view even more of Dana’s unique recipe, you can visit her at Frugal Girlmet!