April 24, 2024

Toum – Lebanese Garlic Sauce

Toum

My sister had an addiction.  Drugs?  Alcohol?  Gambling?  No.  She was addicted to toum.  Toum is the thick, creamy garlic sauce she was eating at her favorite Mediterranean restaurant.  She talked about it.  She bought tubs of it to take home and put on home-cooked food.  And when she moved to a different city, she craved it.  She just sent me a recipe for it on Facebook this week, and I decided to try it.  I present to you Toum – Lebanese Garlic Sauce!

The original recipe is here, and there is a lot of information and background on the sauce.  Unfortunately, the recipe makes a huge quantity, and I didn’t want to commit to using 4 cups of oil on a recipe I’d never tried before.  So I made my own, much smaller batch, which is what I’m listing here.  There are only four ingredients, and you probably have all but one in your house right now.  Use fresh cloves of garlic, fresh lemon juice, sea salt or Kosher salt (not iodized table salt), and grapeseed oil.  Grapeseed oil is readily available and not expensive.  It is very pale in color and has a very mild taste.  (Some comments in the original recipe mentioned that olive oil can make a bitter sauce, so I think it’s best to avoid it.)

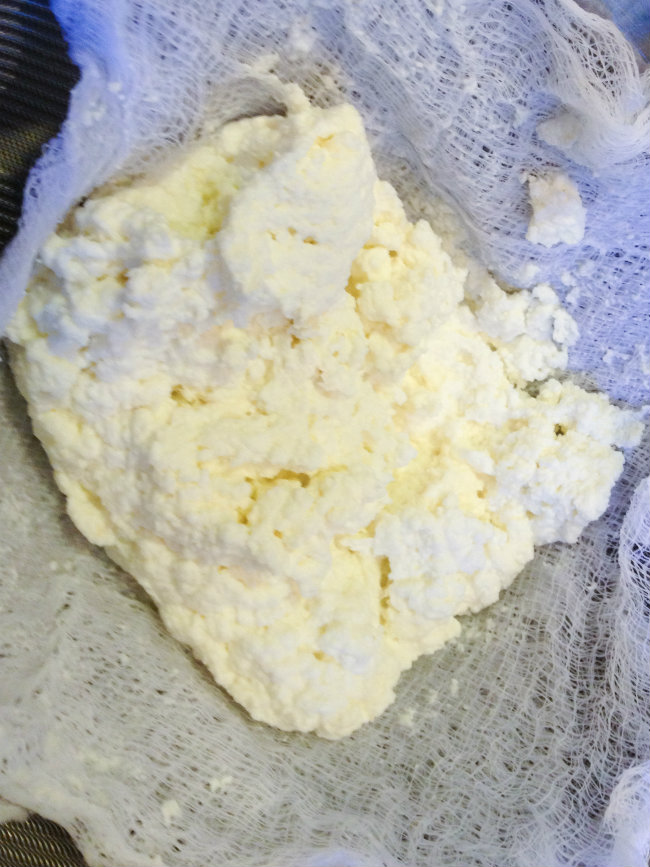
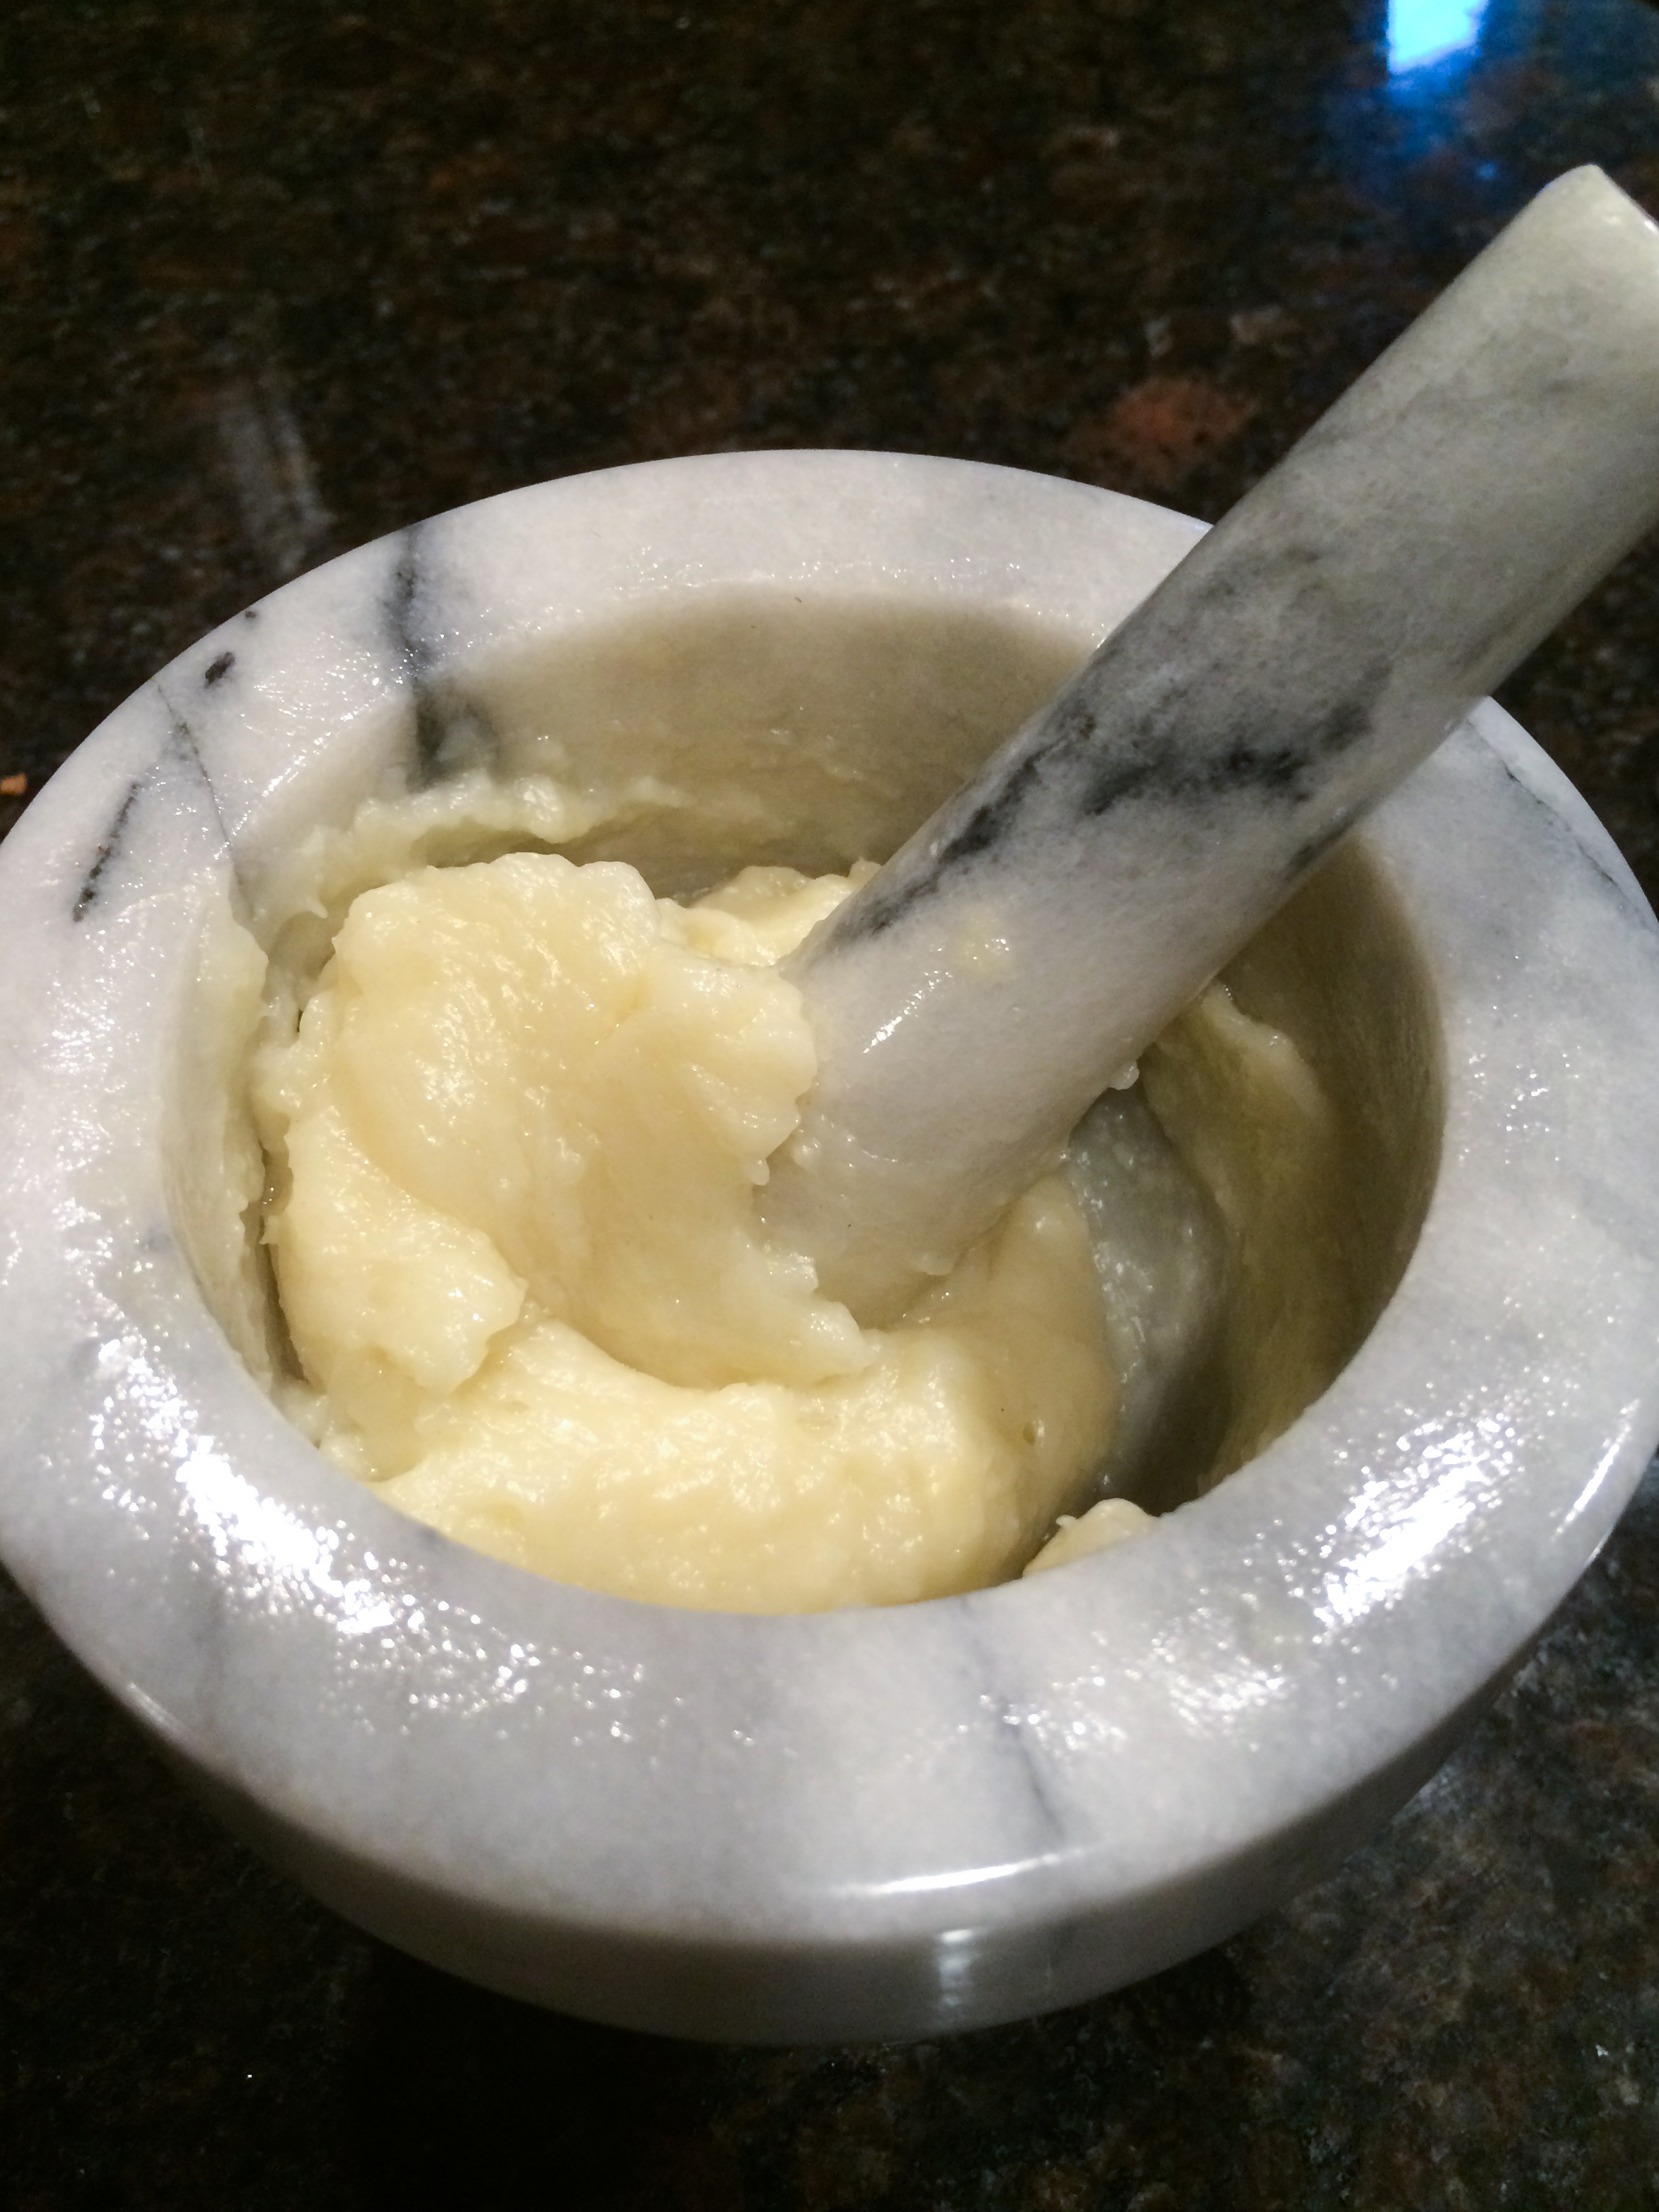
As you can see, I made it by hand with my mortar and pestle.  Whew, what a workout!  If you have a small and powerful blender, use that.  I have a large food processor that is great at mixing up dough, and not good at making small batches of anything.  Either way, it’s all about technique:  just like when you make mayonnaise, you MUST add the oil a tiny bit at a time, or else your emulsification will break and you’ll have a sad, oily mess.

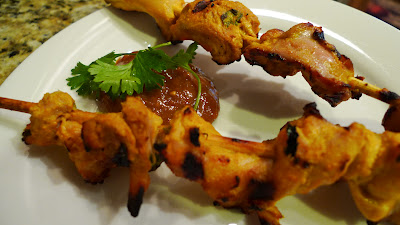
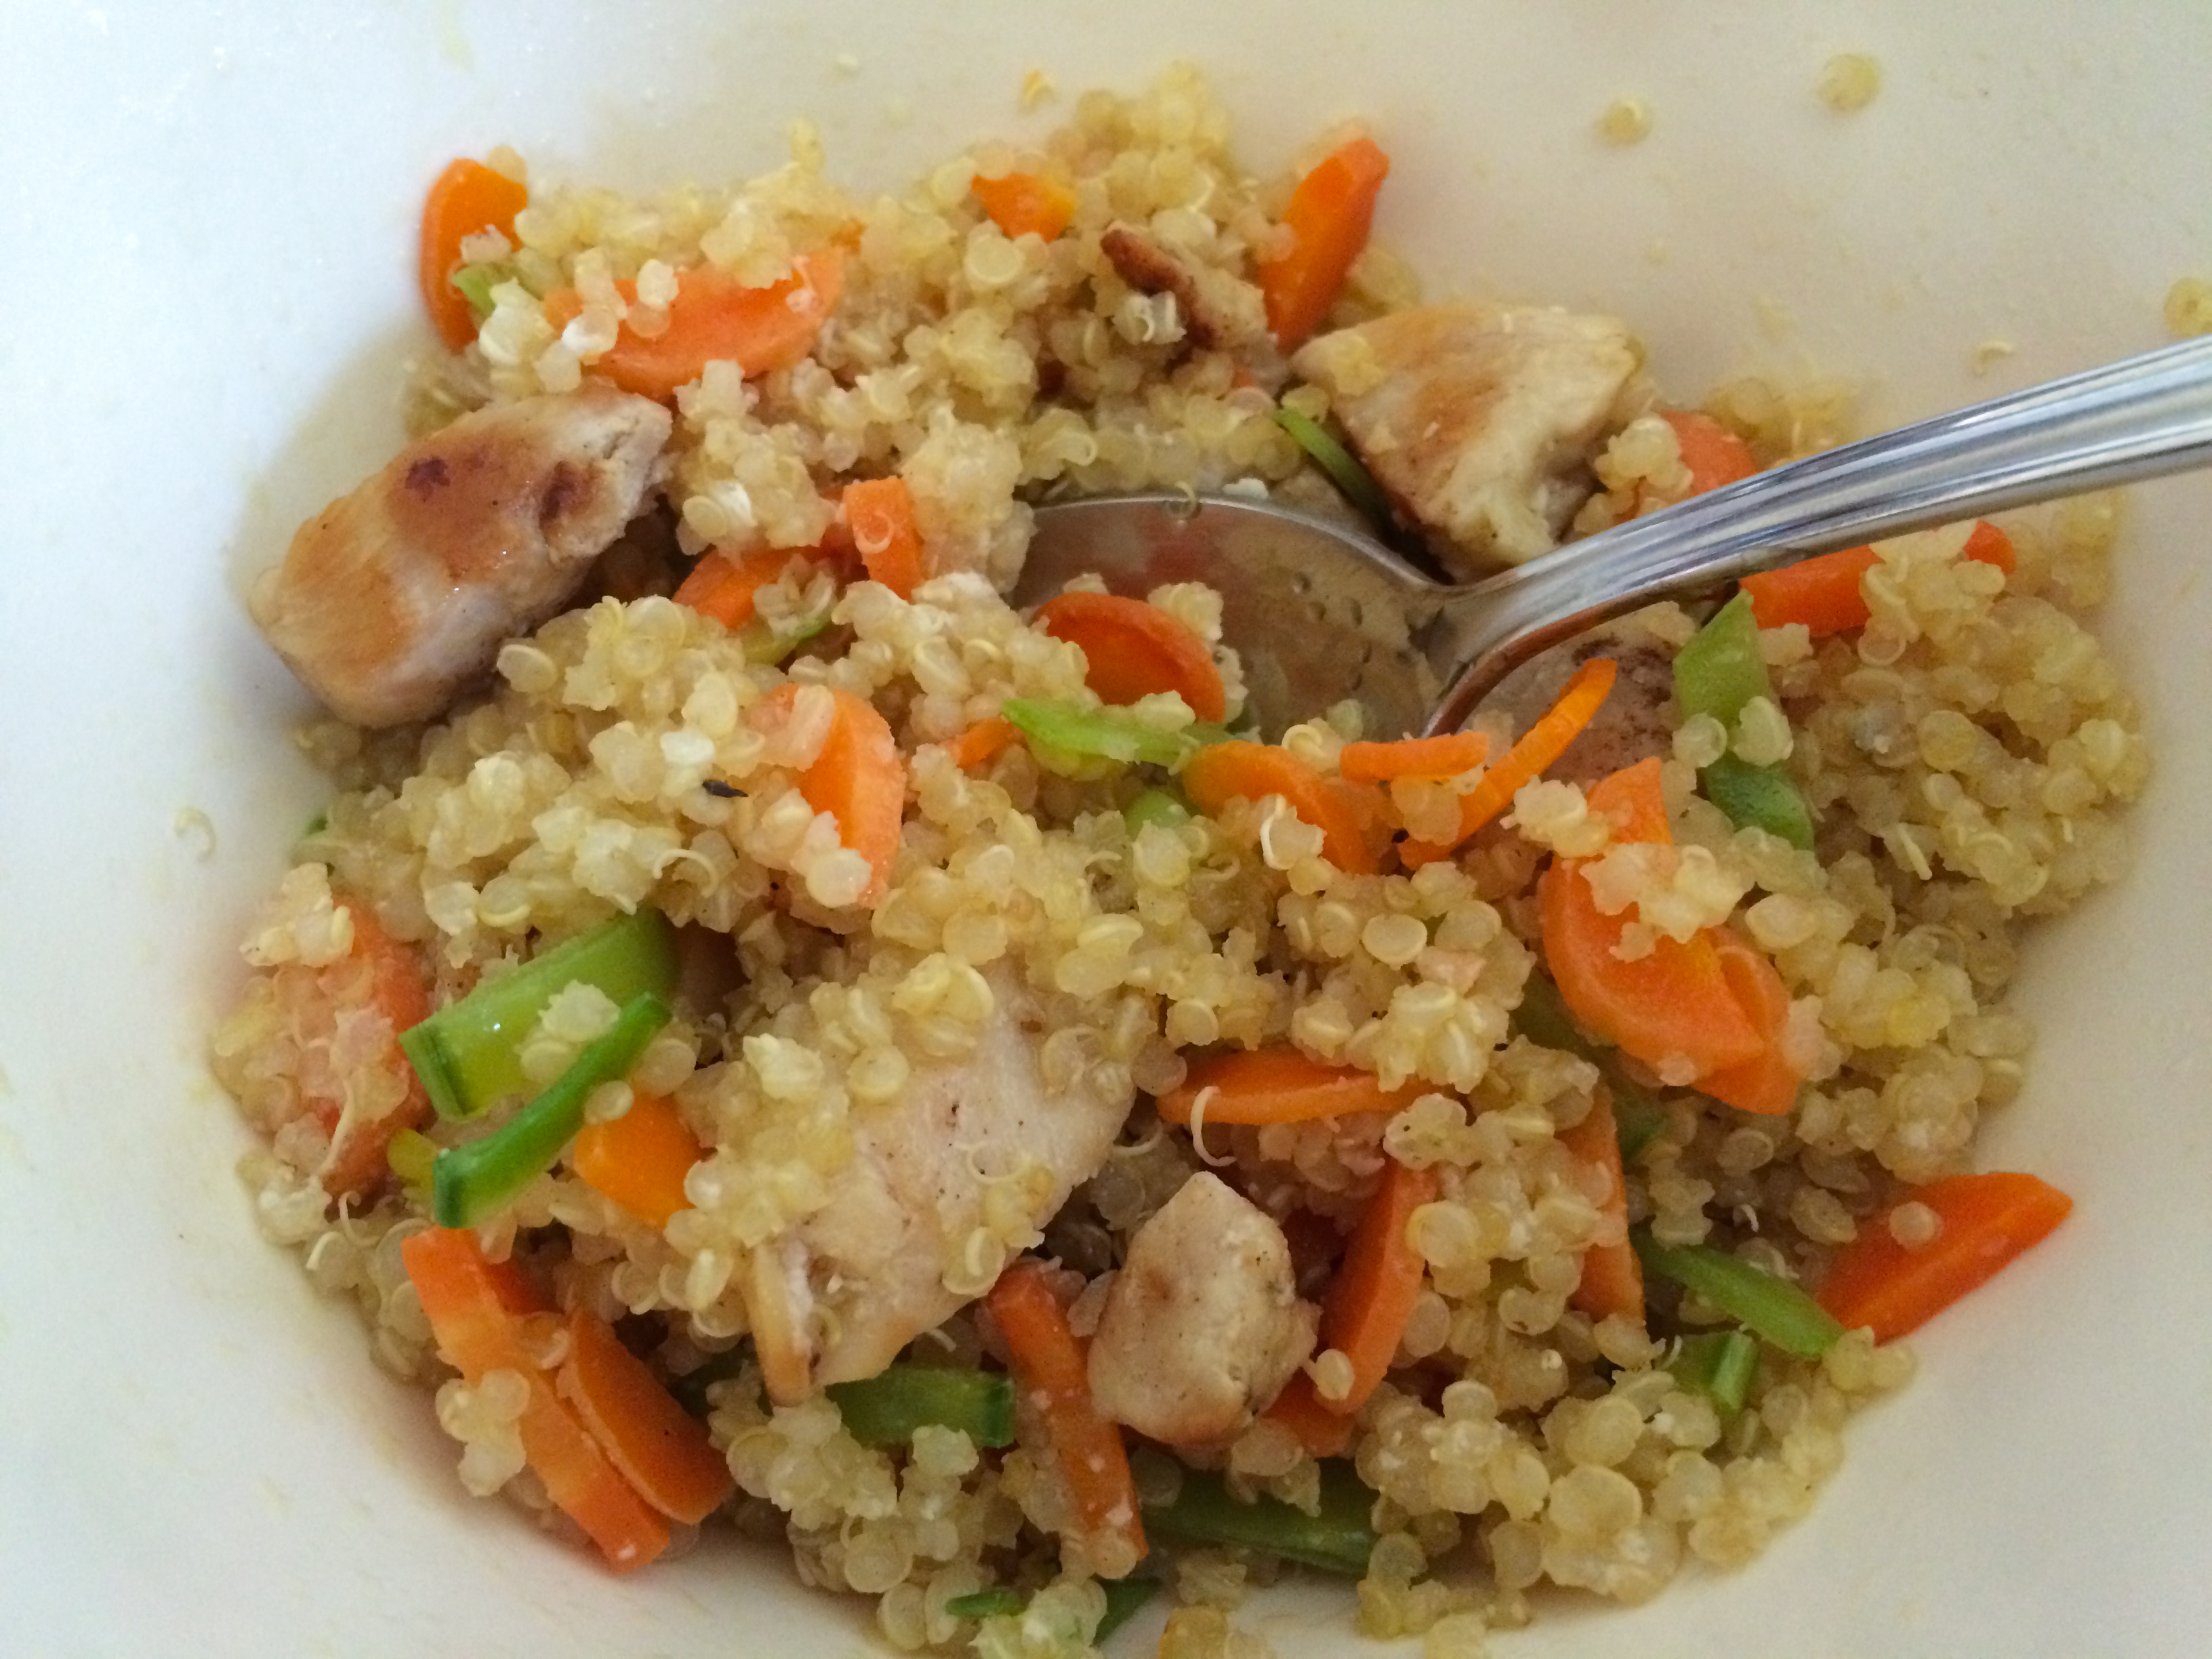
This sauce is friendly and gets along with all savory foods.  Yesterday I took a spoonful, shook it up with another spoonful of olive oil, a little lemon juice, and a drop or two of honey and made a delicious salad dressing.  Last night I made a wrap with grilled chicken and lettuce, and used the garlic sauce instead of mayo.  This morning I put a dollop of this garlic sauce in my breakfast bowl of fried eggs and roasted broccoli.  Right this minute I am eating the last of the batch of garlic sauce, mixed in with leftover quinoa, chicken, and vegetables.

Quinoa with Toum

…and now it’s gone.  I think I see why my sister buys it by the tub!

Toum – Lebanese Garlic Sauce

Ingredients:

  • six large cloves of garlic
  • half of one lemon
  • 1/2 teaspoon sea salt or Kosher salt
  • 1/2 cup grape seed oil

Directions:

  1. Cut the hard root end off the cloves of garlic, and cut out any bruises, brown spots, or sprouts.  Get the prettiest cloves of garlic you can find!
  2. In a mortar and pestle, mash them up.  If you are using a small and powerful blender or food processor, mash them up!
  3. Add a sprinkle of salt and a little squeeze of lemon and mash some more.  Then add about a teaspoon of oil.  If you are using a blender, you can keep the blender running as you let the oil in the top, in a very fine trickle.  If you are using a mortar and pestle, add a teaspoon and mash until it’s blended in.
  4. Take it slow.  Add a sprinkle of salt, a squeeze of lemon, and a touch more oil.  Alternate oil with salt and lemon.  Slower!
  5. Eventually, it should all come together into a creamy, fluffy blob of sauce.  If it just won’t come together, or you feel like you have too much oil, you can add another clove of garlic and another squeeze of lemon.  But if you take it slow, you’ll get it.

Explore, experiment, enjoy! — Dana


To view even more of Dana’s unique recipe, you can visit her at Frugal Girlmet!

Homemade Ricotta

Homemade Ricotta Resized

When I was in high school, 25 years ago, I thought the funniest movies in the world were Monty Python movies.  Yes, I was one of those nerds who could rattle off quotes from all the movies (in the intervening years, my skills have gotten rusty, but I still have a few).  One of my favorite scenes in the movie “The Life of Brian” was when a group of people are listening to the Sermon on the Mount.  Unfortunately, they are way, way at the back of the crowd and can’t hear well. When Jesus says, “Blessed are the peacemakers,” the crowd in back misinterpret it as “Blessed are the cheese makers.”  So when I came across this recipe for Homemade Ricotta, I immediately started giggling.  I want to be a blessed cheese maker, and you can be too!

You already have the ingredients you need.  Use whole milk, or else the ricotta won’t set up.  One lemon, a little salt, and a tablespoon of white vinegar – what could be easier?  You’ll also need a thermometer.  I have a candy thermometer that clips to the side of the pan, but you could use a meat thermometer, or one of those fancy infrared ones too!  The only equipment you might need to buy is cheesecloth.  I found it at my regular grocery store, and have used it before in making Homemade Coconut Milk.

Ricotta is one of those amazing ingredients that can be used in either sweet or savory recipes.  In the following two weeks, I’ll have recipes that use fresh ricotta in a zucchini “lasagna” (with no noodles!), and in a dessert with fresh summer fruit.  Until then, you can serve fresh ricotta as an appetizer, spread on thin slices of bread, with either cracked pepper and minced herbs, or with a light drizzle of honey and crushed walnuts.  Ready?  Let’s make some cheese!

Homemade Ricotta  (Makes one cup of ricotta)

Ingredients:

  • 4 cups whole milk
  • 1/2 teaspoon salt
  • 1 tablespoon lemon juice
  • 1 tablespoon white vinegar (you may need more, but I didn’t)

Directions:

  1. In a pot, heat milk and salt over medium-high heat.  Stir occasionally to make sure it’s not burning on the bottom.
  2. Prepare your utensils:  Line a mesh sieve with a double-layer of cheesecloth.  If you want to save the whey, place the sieve over a large bowl.  (I saved my whey – next week I’ll show you how I used it.)
  3. When the temperature of the milk reaches 185*F, turn off the heat and pour in the lemon juice and vinegar.  Stir gently.  You just made what Little Bo Peep was eating – curds and whey!  Let it sit for about ten minutes, and stir again.  If you see any milk in your pot that hasn’t curdled, you can add another teaspoon of vinegar, stir, and let sit another ten minutes.  Mine didn’t need any extra and separated easily.
  4. Pour the curds and whey into the cheesecloth-lined sieve.  The whey, the yellowish liquid, will end up in the bowl.  Let cool and refrigerate for later use.  Let the cheese curds, aka your lovely homemade ricotta, drain in the cheesecloth.  If you want it soft and moist, let it drain for about ten minutes.  This is good for spreading on bread, or in dessert applications.  I let mine drain for much longer – about half an hour – because I was baking it in a “lasagna” and didn’t want extra water in the casserole.
  5. This keeps for about 5 days, refrigerated.  I challenge you to make it last more than a few hours!

Explore, experiment, enjoy! — Dana


To view even more of Dana’s unique recipe, you can visit her at Frugal Girlmet!

Chicken Satay with Spicy Peanut Sauce


Chicken Satay

Finally, summer is here!  That means lots of grilling at our house.  One of my favorite things to grill are skewers.  You can get so creative with what you thread on those sticks!  Veggie kabobs are a must, with juicy mushrooms, sweet-and-spicy onions, and bell peppers.  Keep the skewers close at hand for this easy recipe:  Chicken Satay with Spicy Peanut Sauce!

I use boneless, skinless chicken thighs here, although you could use skinless breasts instead. Everything else should be easy to procure.  These are best when they’ve had a chance to marinate for at least 2 hours, but don’t let the chicken marinate more than eight hours, or the chicken will start to break down.

If you have any leftover skewers, these mildly spiced chicken bites make a fantastic salad!  Just chop them up and toss with salad greens, lots of cucumber, and red or yellow bell pepper.  Make the peanut sauce into a salad dressing by buzzing in a blender with a little water or more oil. Delightful!

Chicken Satay with Spicy Peanut Sauce

Ingredients:

Chicken Satay:

  • 1 pound boneless, skinless chicken thighs
  • 1 cup plain yogurt
  • 1 teaspoon curry powder
  • 1 teaspoon fresh grated ginger (use powdered if you can’t find fresh)
  • 2 cloves garlic, minced
  • 2 tablespoon minced fresh cilantro
  • juice from 1/2 lemon or lime
  • wooden skewers, soaked in water for 30 minutes, or use metal skewers

Peanut Sauce:

  • 1/2 cup chunky peanut butter
  • 1/2 teaspoon soy sauce
  • 1 clove garlic
  • 3 tablespoon brown sugar
  • 1/2 teaspoon minced ginger
  • 1/2 teaspoon Sriracha or hot sauce of your choice
  • juice from 1/2 lemon or lime
  • 1 teaspoon coconut oil or olive oil
  • optional:  a few dashes of nam pla (Thai fish sauce)

Directions:

  1. Slice the chicken thighs into 1″-wide strips
  2. Mix together the rest of the chicken satay ingredients and stir in the chicken.  Cover and refrigerate for two hours (or longer, up to 8 hours).
  3. While the chicken is marinating, make the Spicy Peanut Sauce.  Place all the ingredients in a blender or food processor and blend until smooth.  Refrigerate until ready to serve.
  4. When the grill is hot, thread the marinated chicken onto the skewers.  Grill for 5-8 minutes per side.  Serve with Spicy Peanut Sauce and more chopped cilantro.


Explore, experiment, enjoy! — Dana


To view even more of Dana’s unique recipe, you can visit her at Frugal Girlmet!