I’m still struggling to find a good name for this recipe. Two weeks ago, I had an omelet that had smoked salmon inside, and was topped by a cream cheese dill sauce. It was so good! It was like my favorite way to eat a bagel – without the bagel! So I played around at home, eliminating the omelet factor in the equation, and got straight to the point—Salmon with Dill Cream Cheese Sauce!
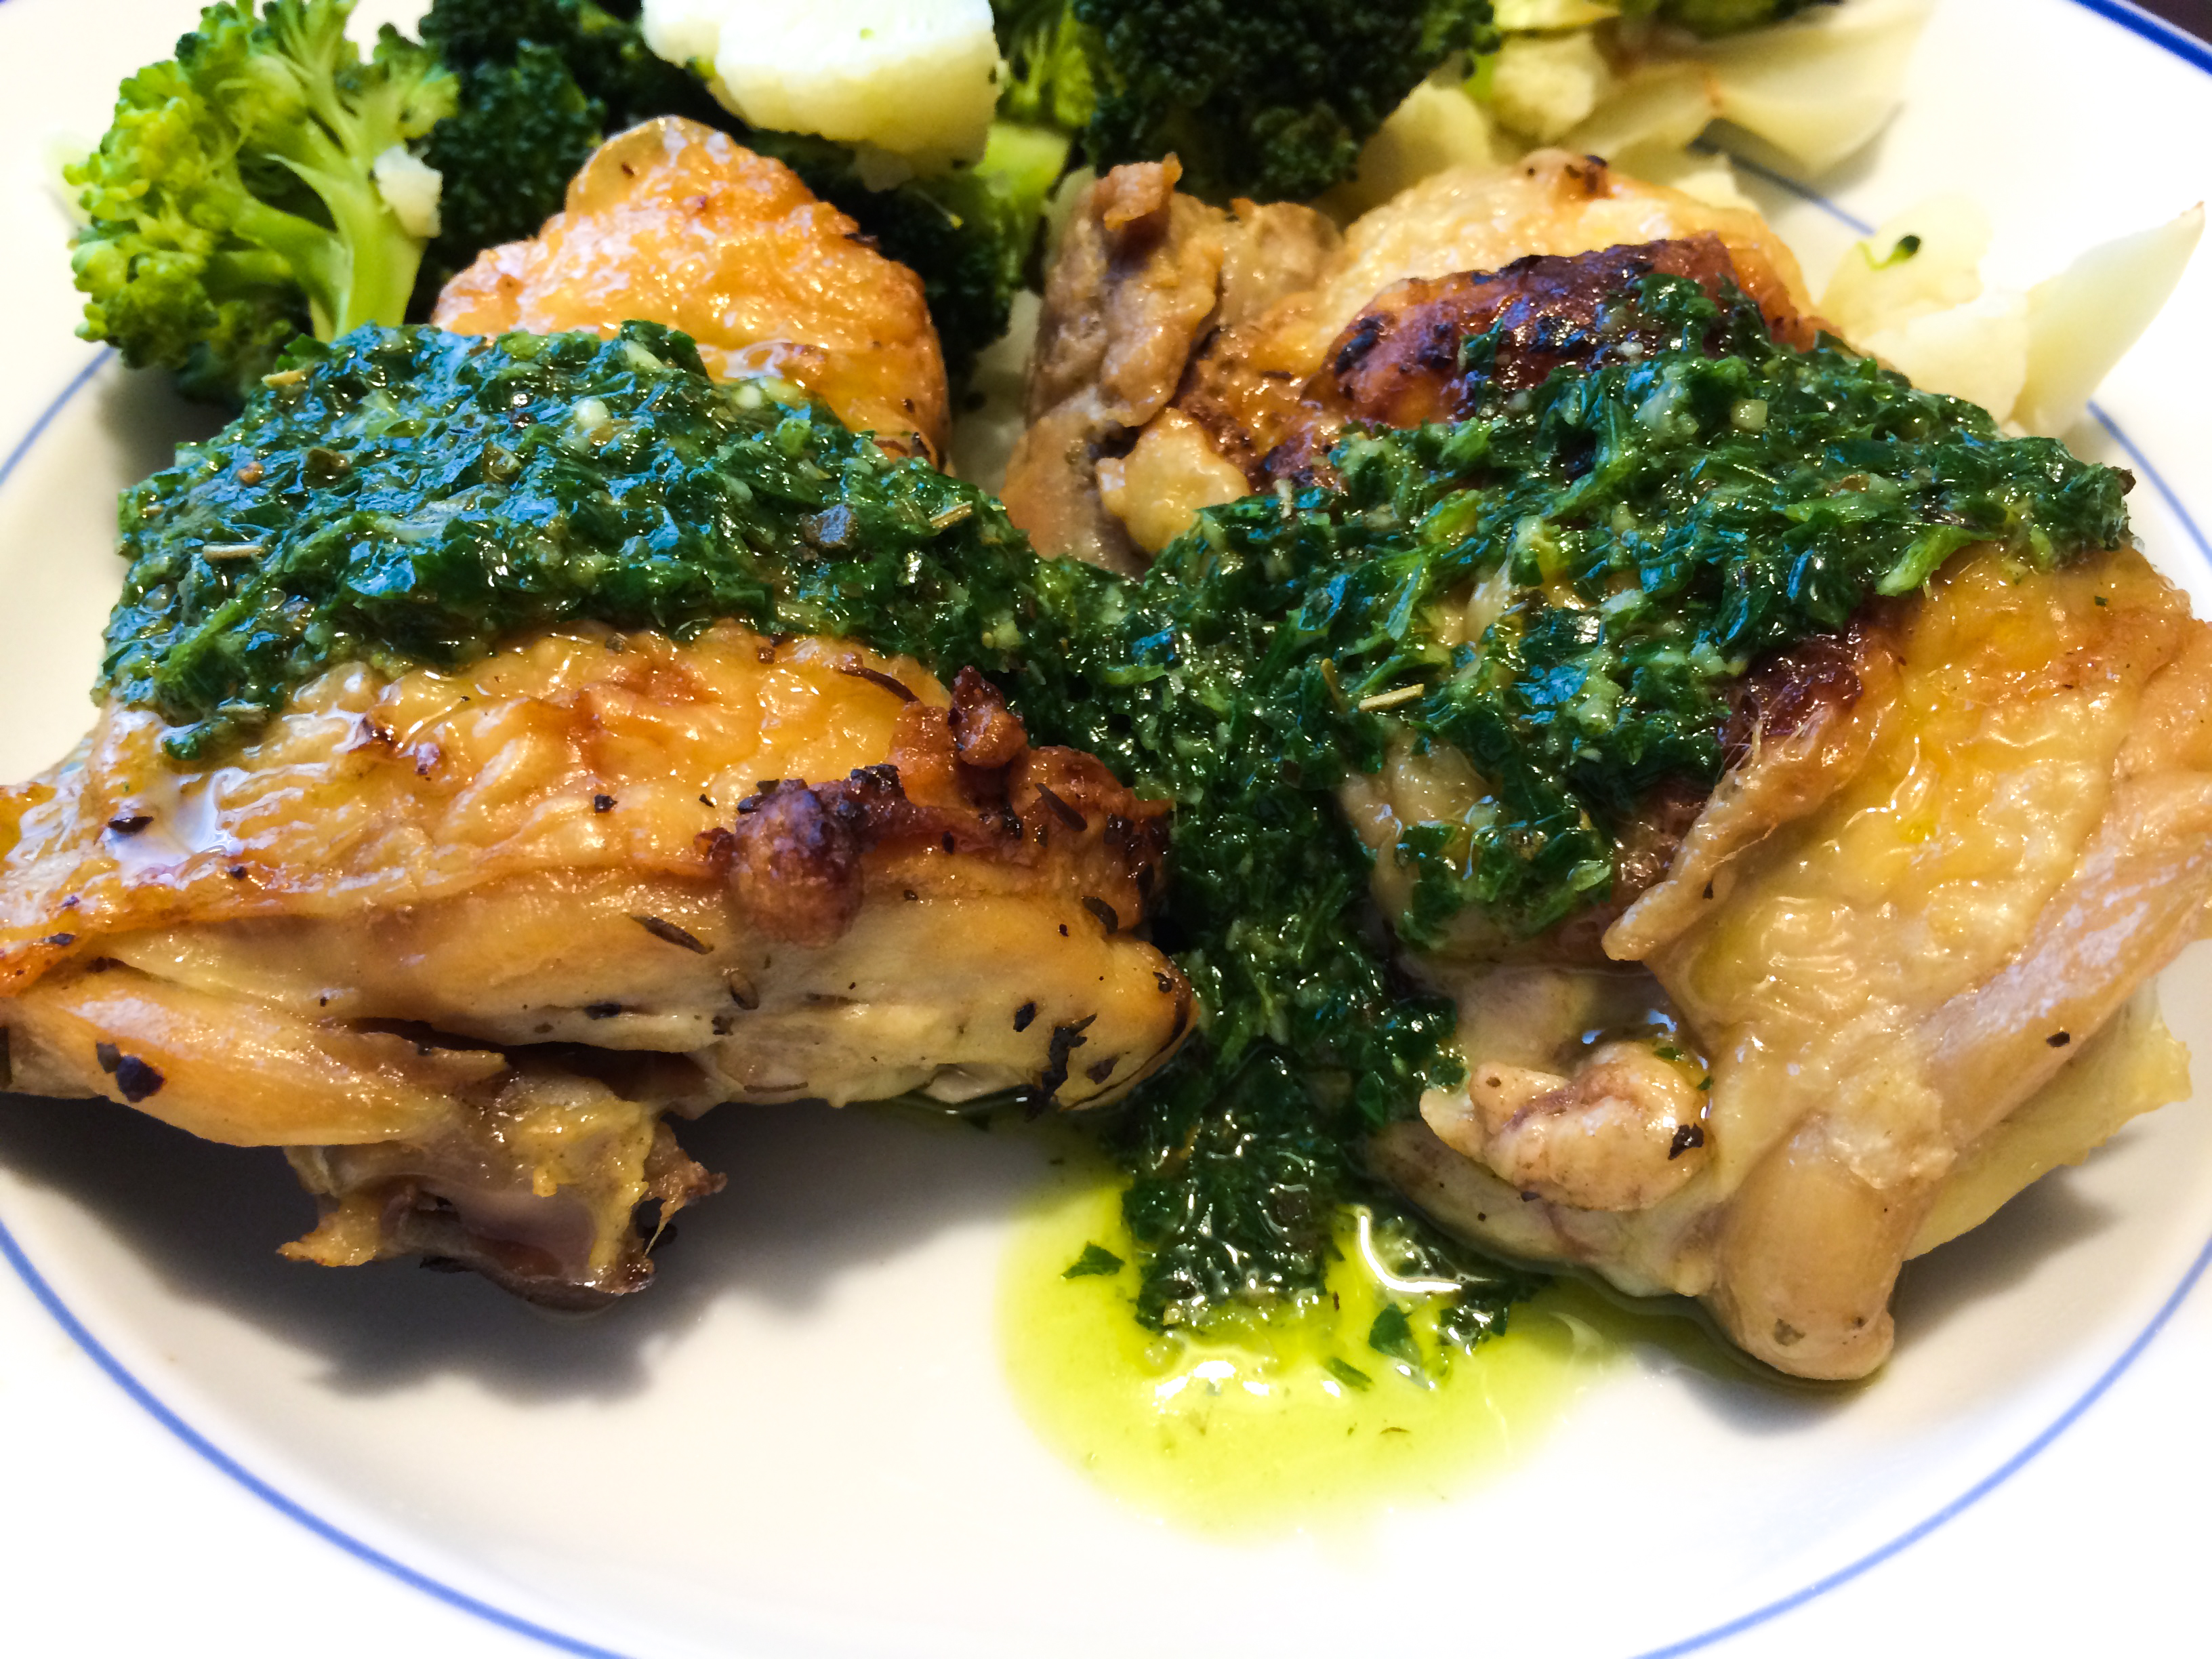
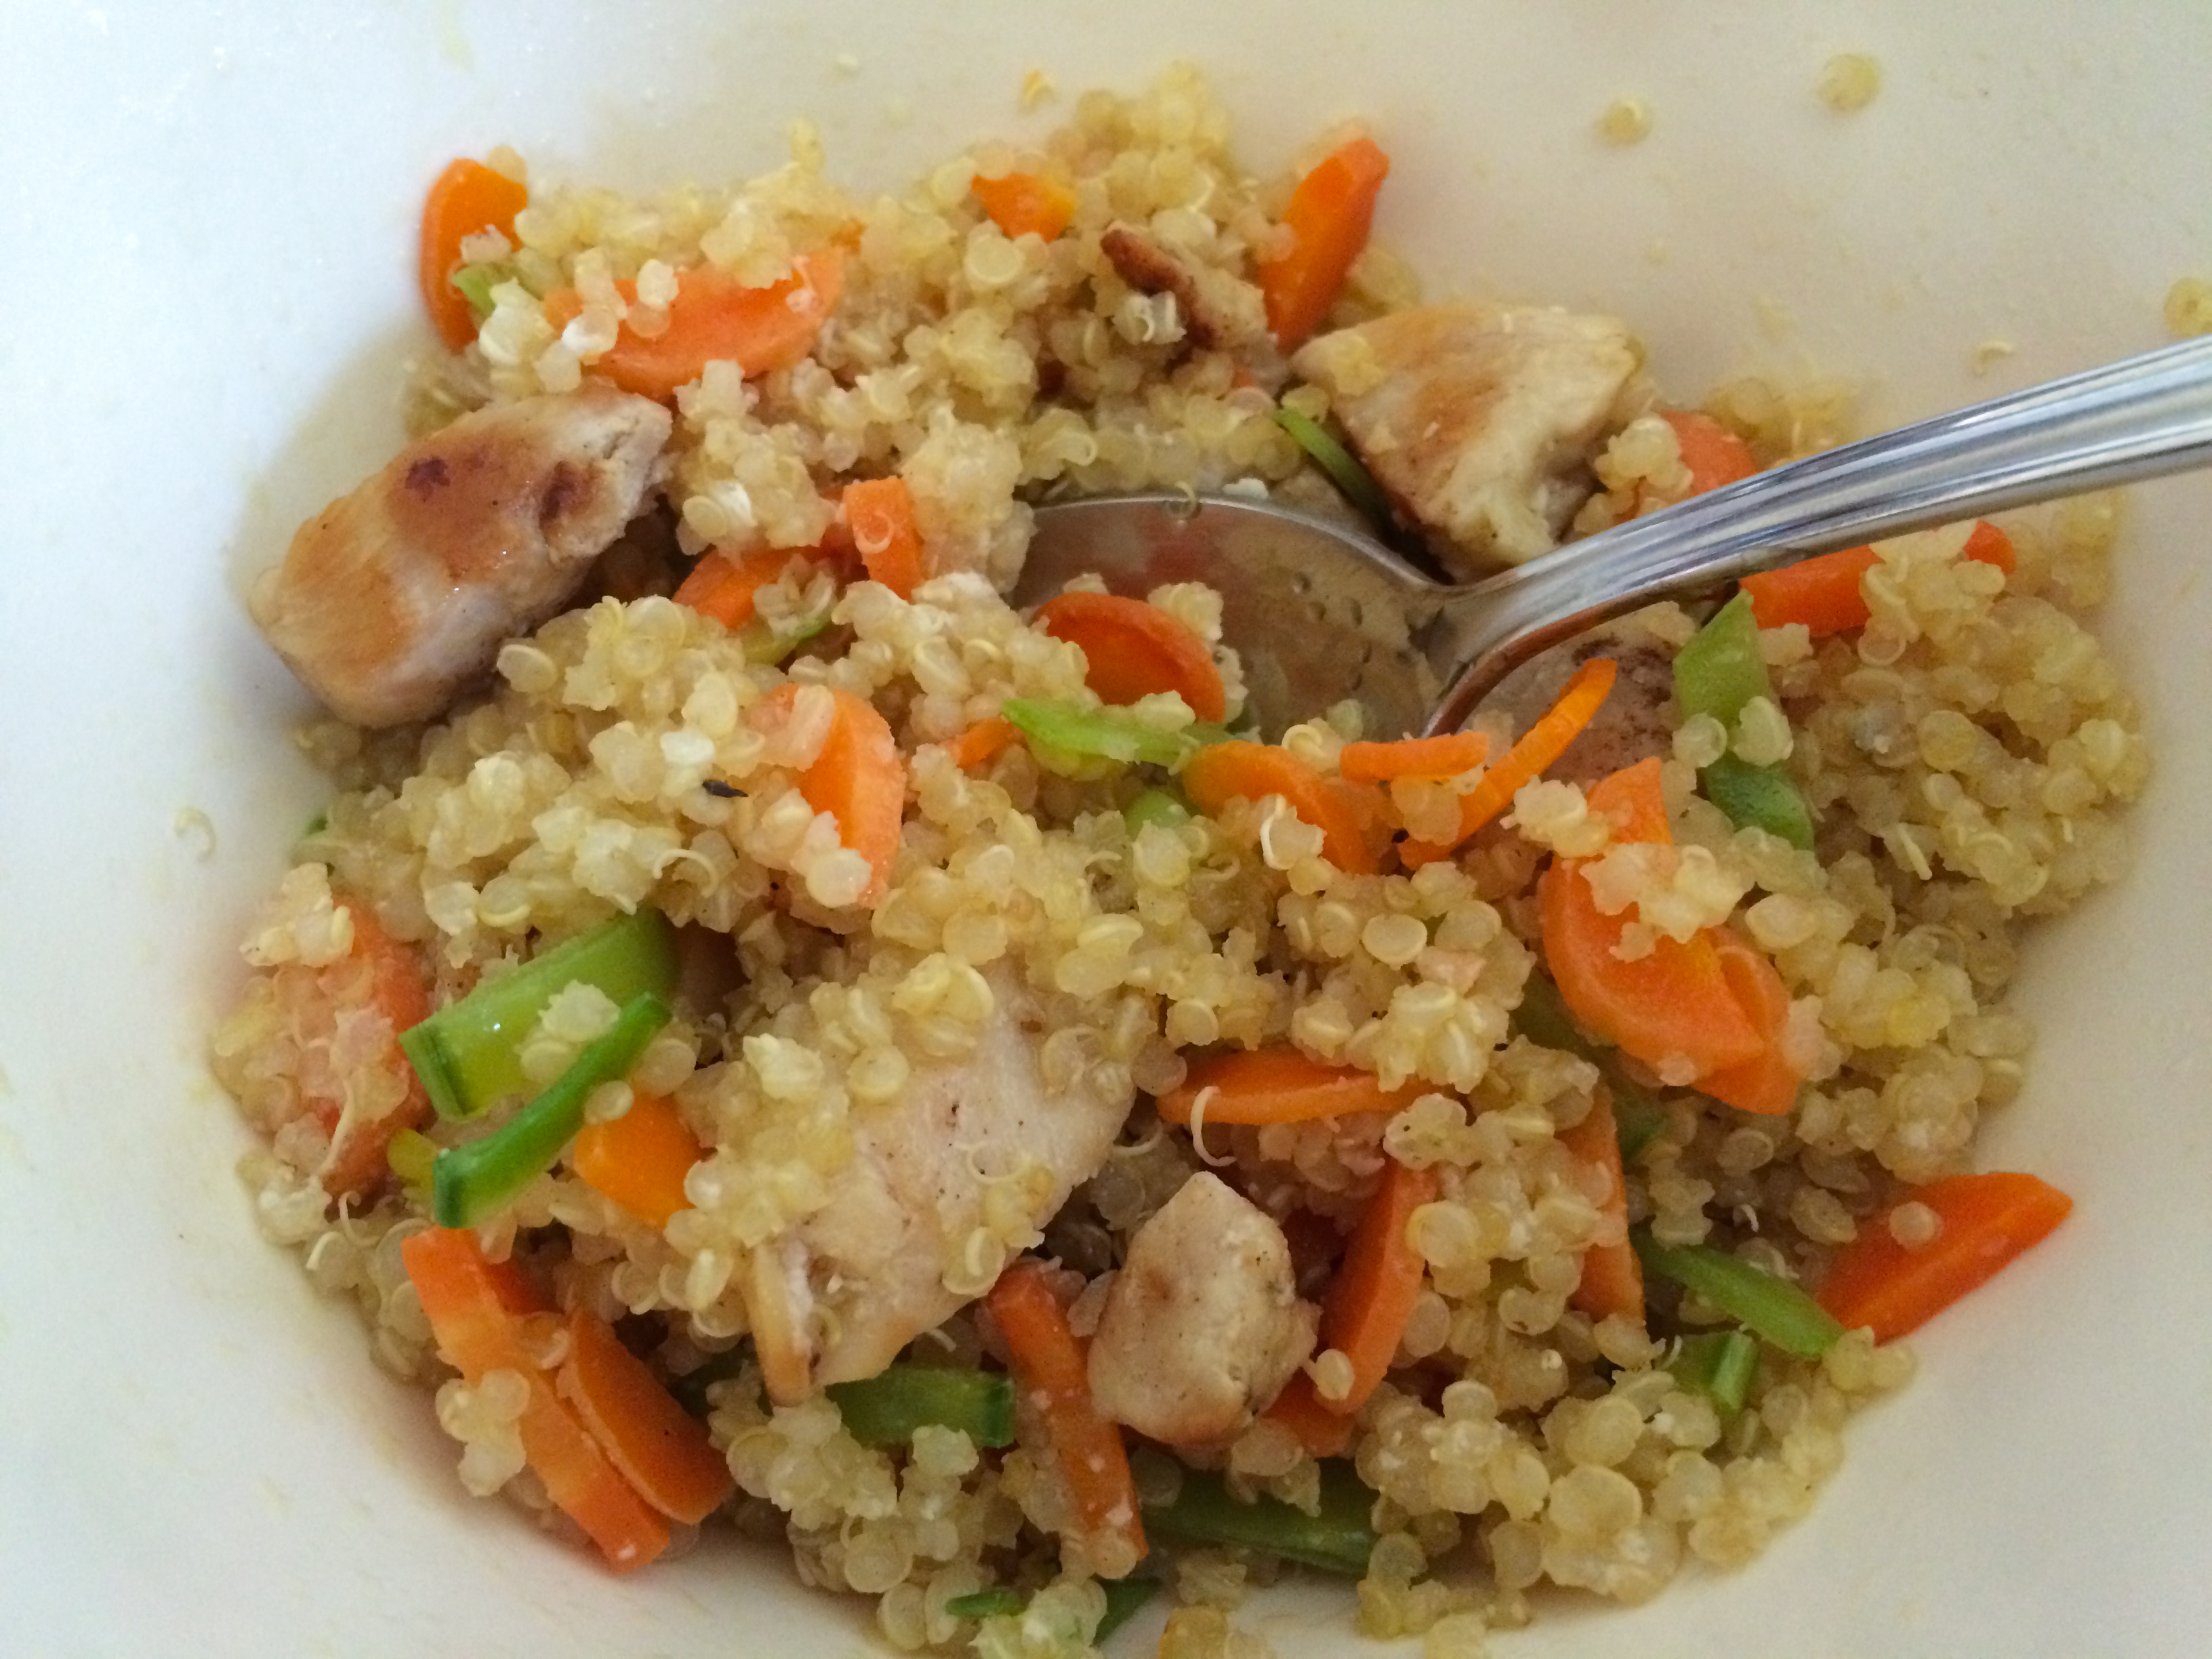
Eat this with a salad or some roasted broccoli or asparagus. The sauce recipe makes about half a cup, which is more than you’ll need to feed a family of four. But fear not, it won’t go to waste! It’s great on those same roasted vegetables, baked potatoes, and even as a dip for carrots (let it chill in the fridge for this, and maybe add a little more plain yogurt or diced green onion.)
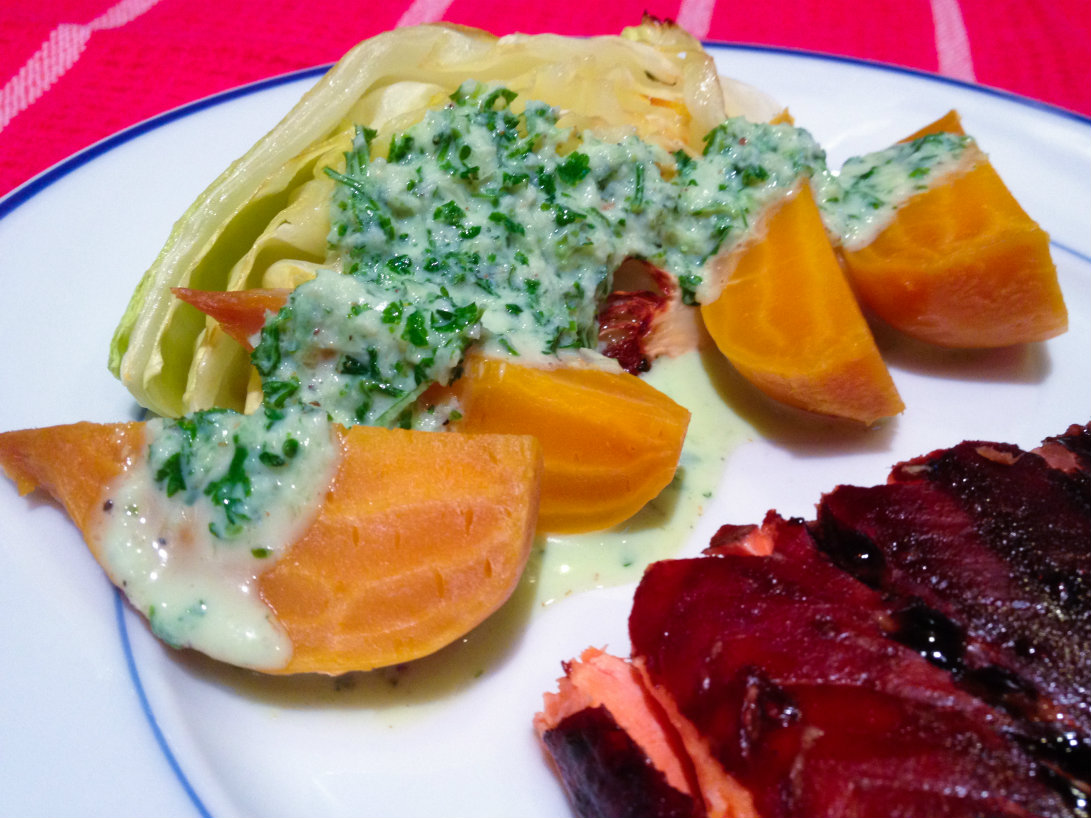
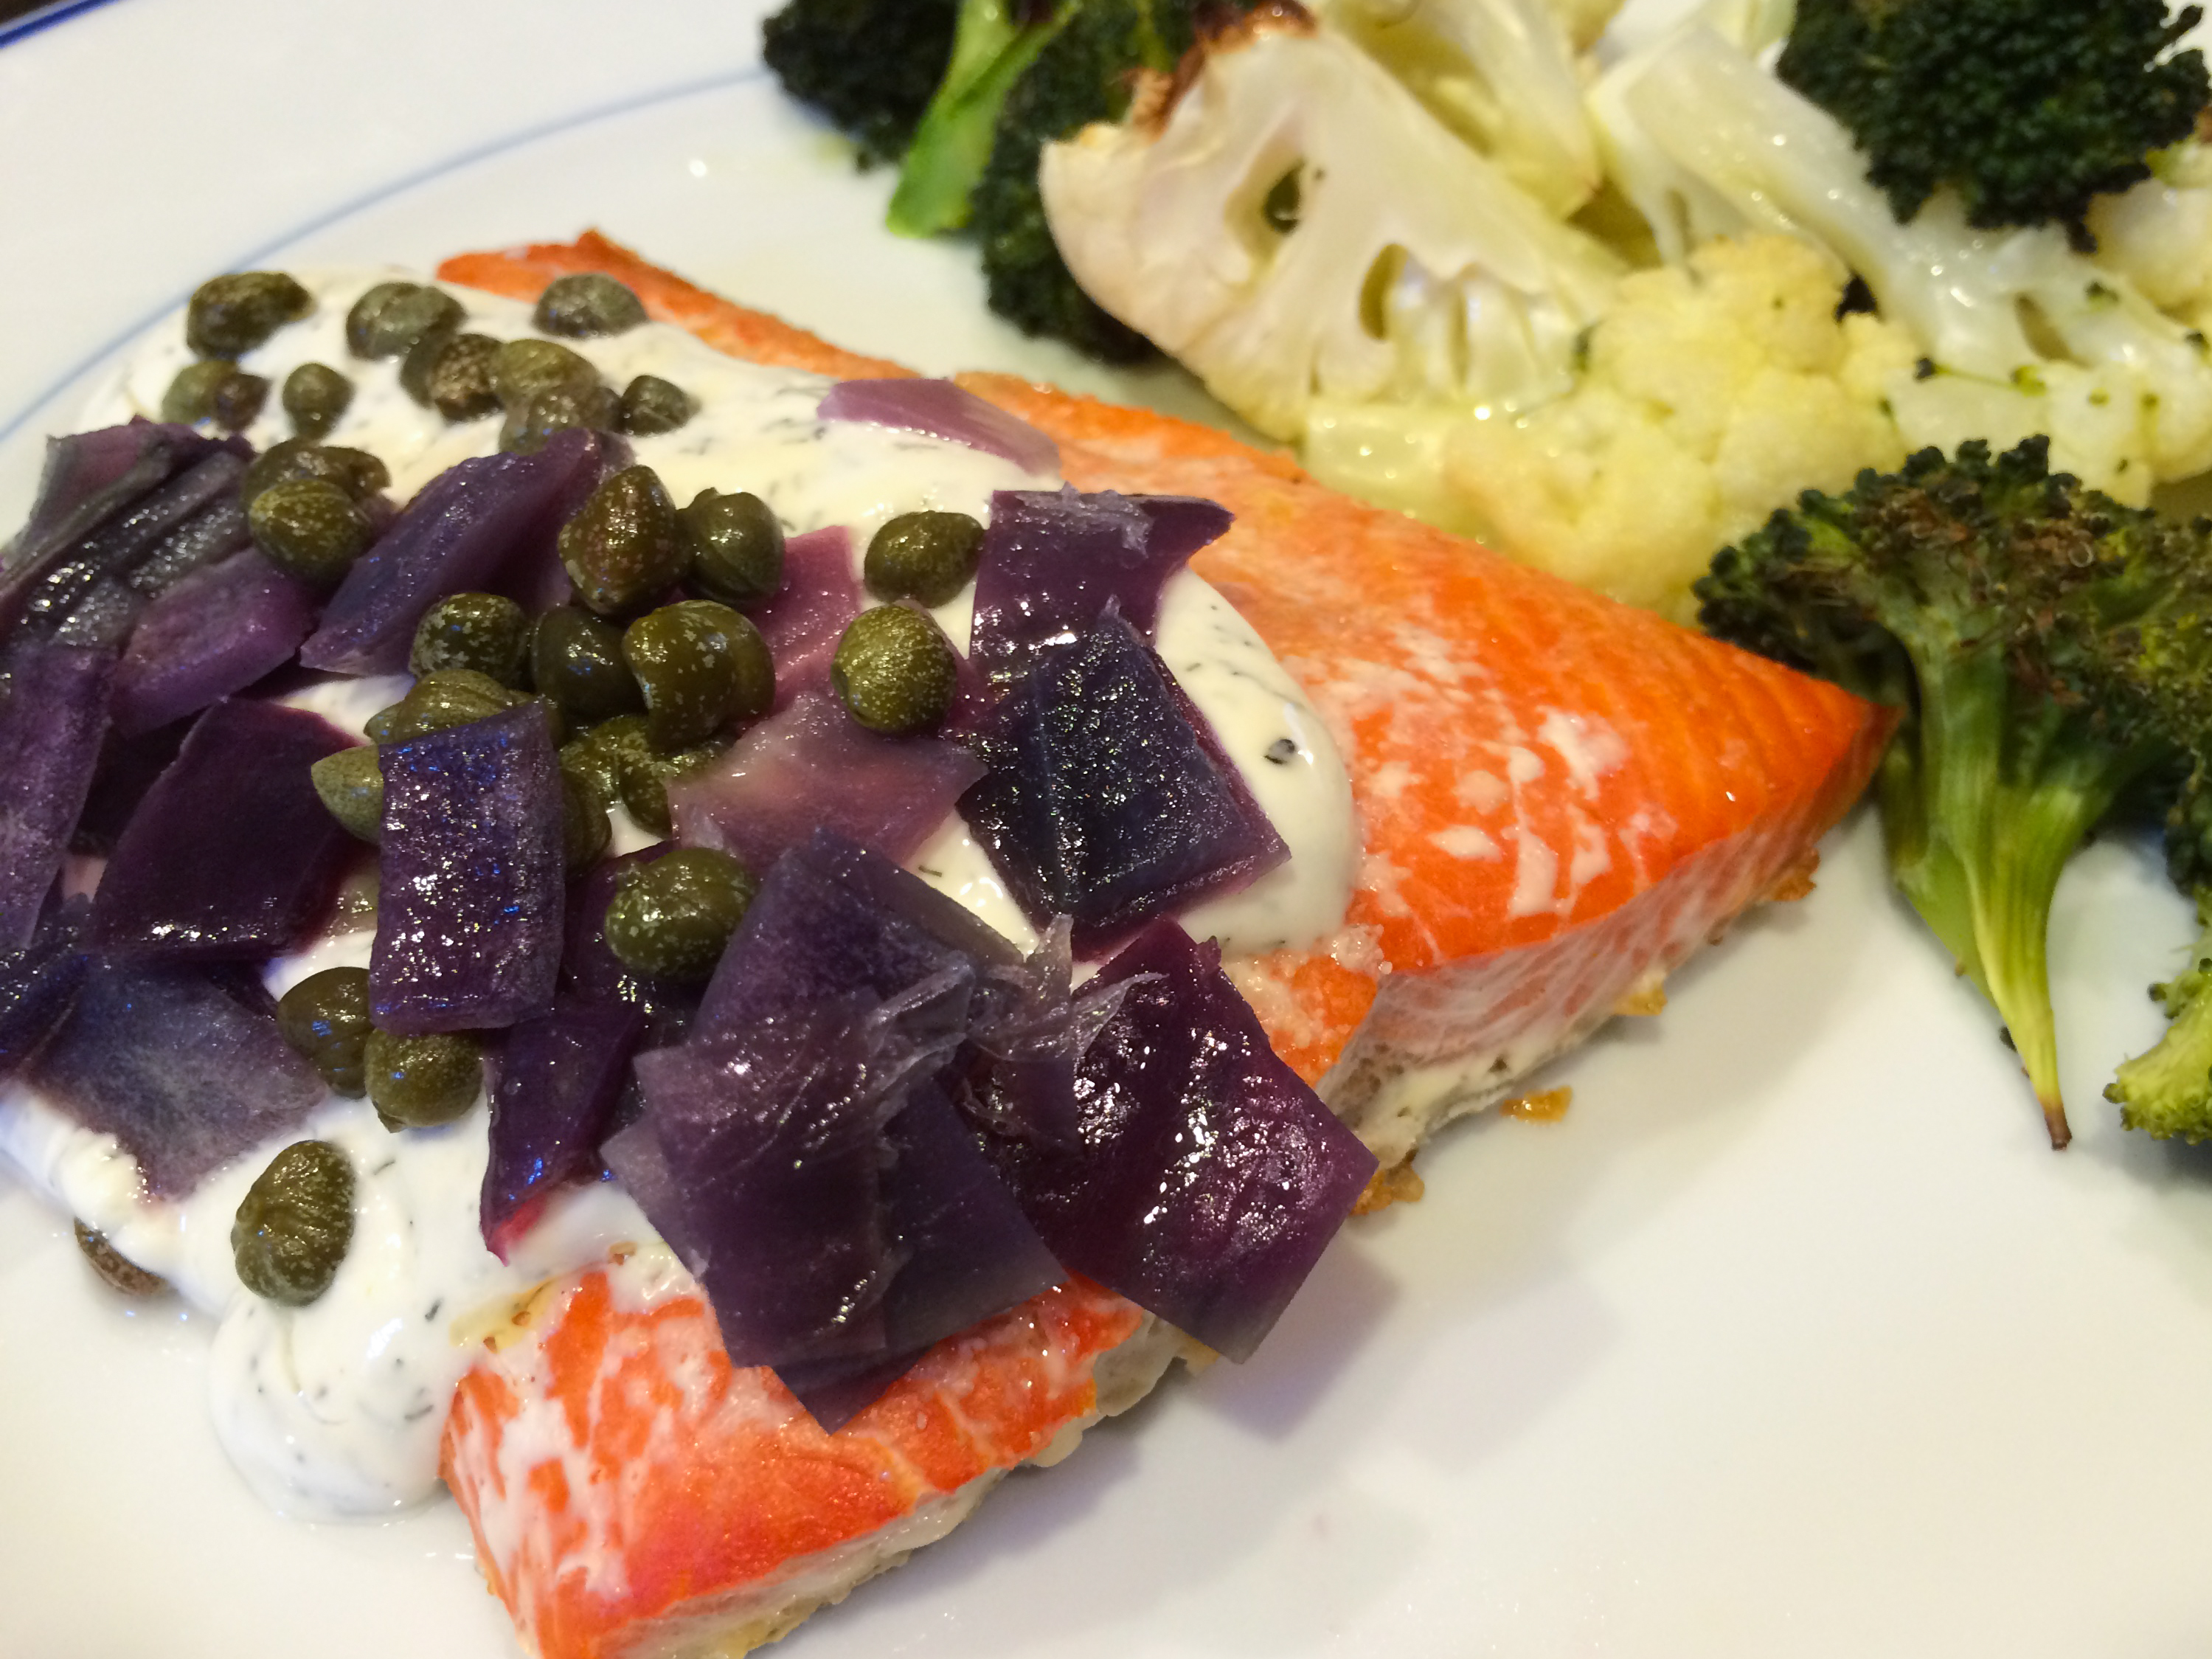
Salmon with Dill Cream Cheese Sauce
(serves 4)
Ingredients:
- about 1.5 pounds salmon fillets
- drizzle of olive oil
- 1 lemon
- 1 heaping tablespoon cream cheese
- 1 heaping tablespoon mayonnaise
- 1 heaping tablespoon plain yogurt
- 1/2 teaspoon dried dill (or use 1 teaspoon or more fresh dill)
- salt and pepper
- capers and diced red onion to serve
Directions:
- Heat the oven to 400*F. Line a baking dish with parchment paper (optional, but it makes clean up much easier). Lay salmon in baking dish in one layer – you may need to use another dish, or you can even use a sheet pan. Drizzle with olive oil and season with salt and pepper. Bake for about 14 minutes.
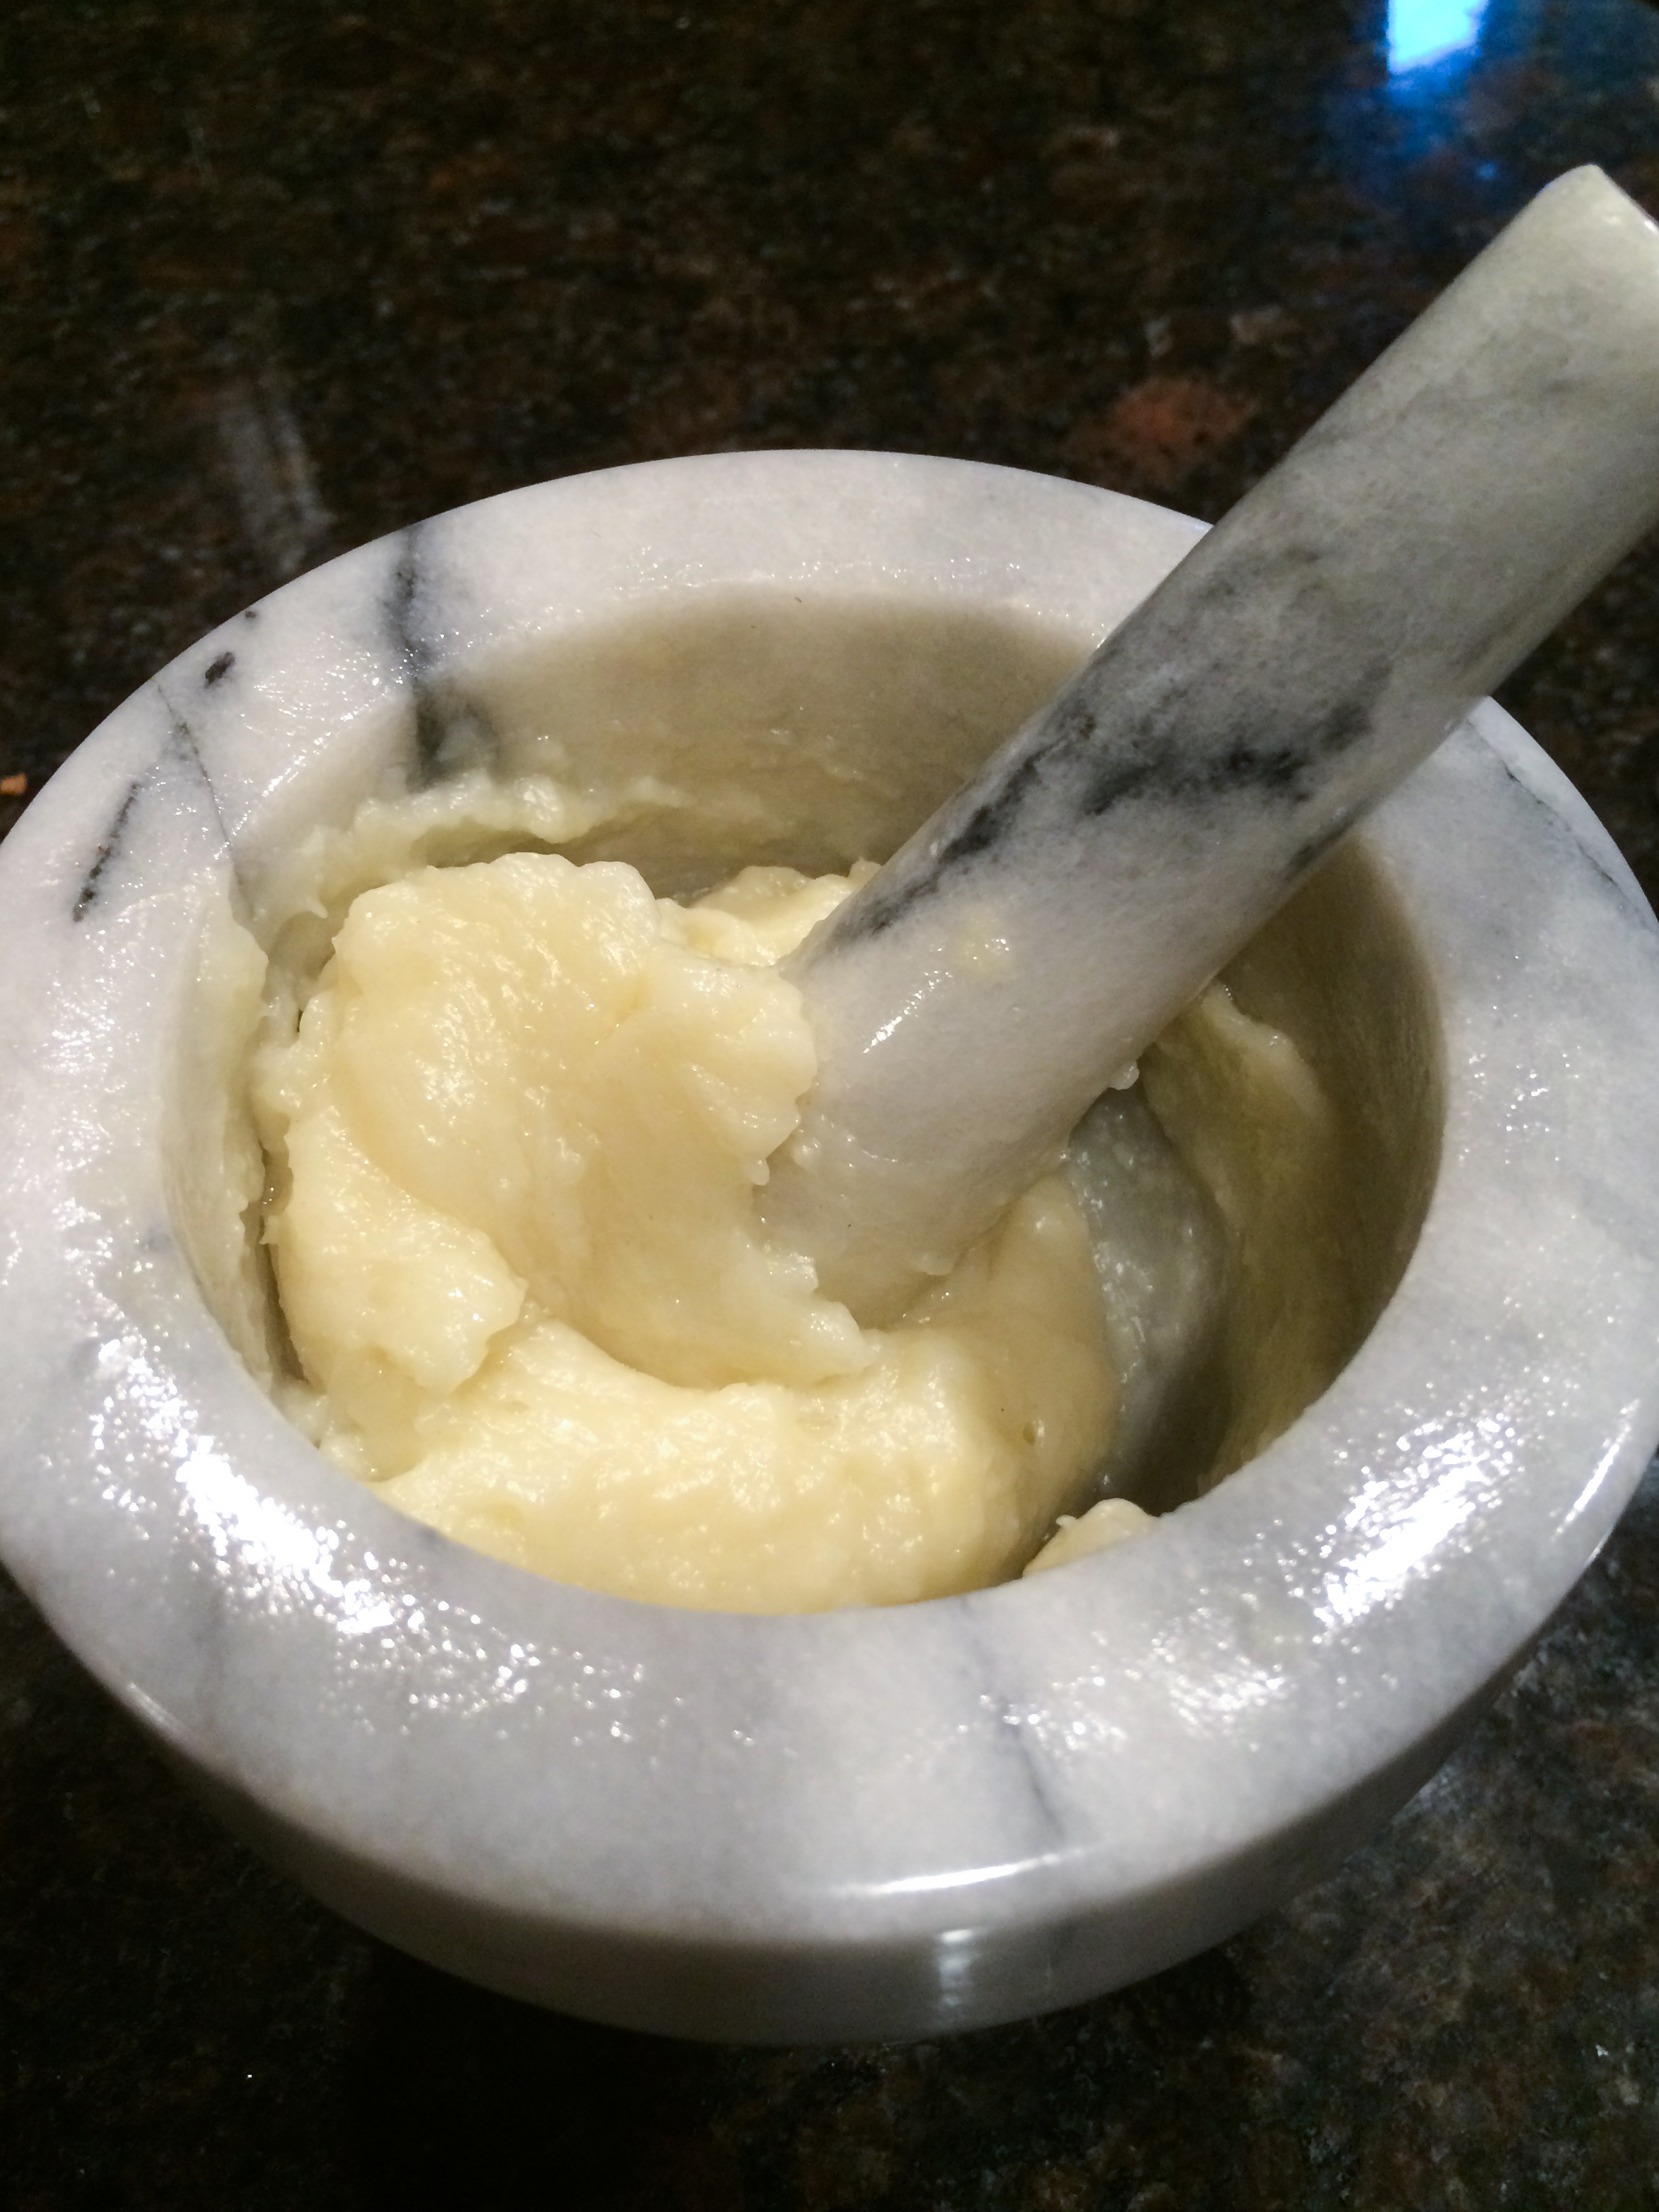
- Meanwhile, cut lemon in half and squeeze it into the bowl of a food processor. Scoop in the cream cheese, mayo and yogurt. Pulse to combine. Add in dill, salt and pepper, and blend again. Taste, adjust seasoning, and refrigerate until ready to serve.
- To serve, spoon a little sauce over the fish, and garnish with lots of capers and red onion.
Explore, experiment, enjoy! — Dana
To view even more of Dana’s unique recipe, you can visit her at Frugal Girlmet!