Yes, yes…that does say ‘butternut squash.’ I know, I know…a fall vegetable. But please indulge me! You know my love for butternut…and they had some beauties at the grocery store…and so I just HAD to buy just one more! And then I remembered that I had found a casserole recipe in an older (1994) little recipe book that I came across awhile back. The following has been adapted from the original.
This makes for a great meatless meal! Or perhaps you could cook up some chops or chicken breast to serve alongside for the meat-eaters. This casserole fits in so well with our healthy but oh-so-yummy POV, too! And, while butternut squash is a bit more carb-heavy than some other veggies, balanced out with the fiber and protein contained in it, makes for a great option for those of us keeping our carbs in check. Here is some nutritional info. Oh! And this would be an excellent use for Dana’s recipe for Homemade Ricotta!
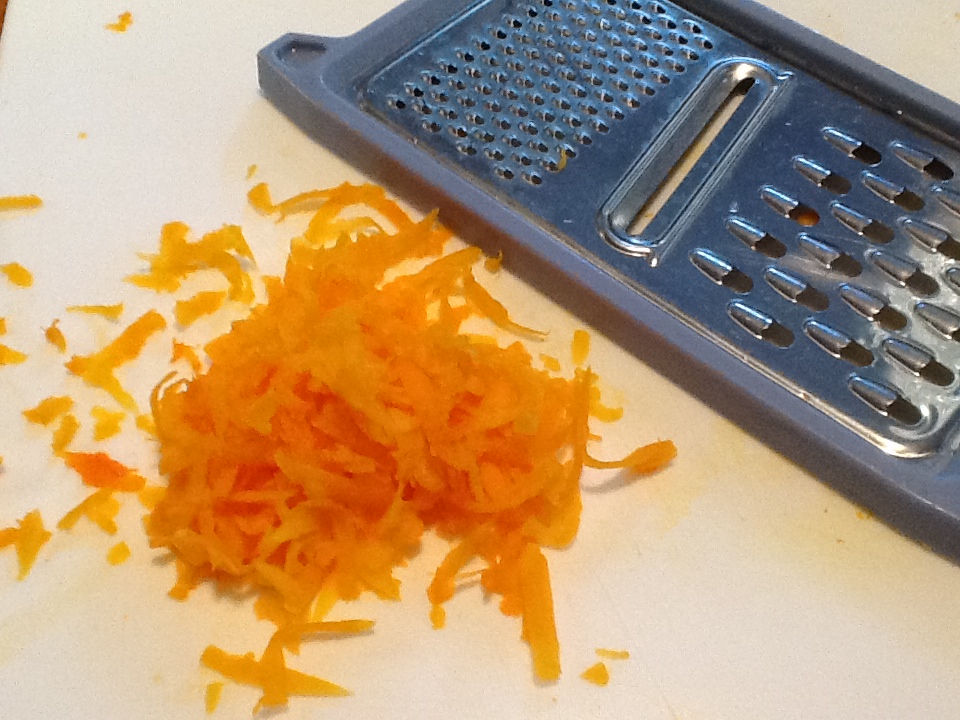
I would strongly suggest using a food processor to shred this much butternut…or you could work on your upper arm muscles! I did shred a bit using the largest holes on my handheld grater; so it does work!
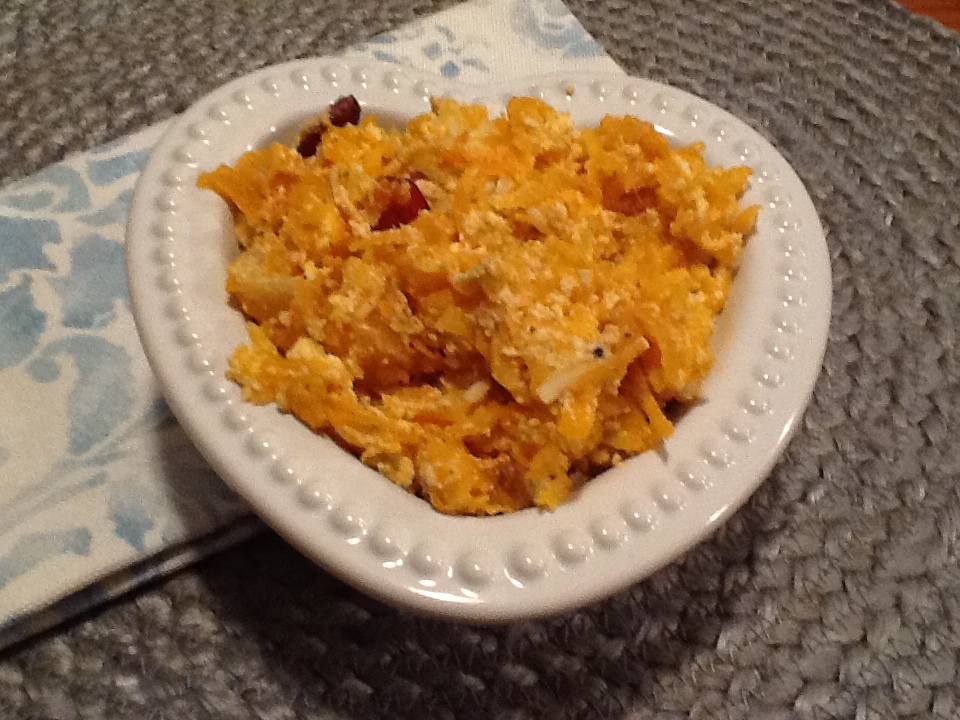
This is a dish with a lot of texture…this is NOT your gramma’s pureed butternut squash casserole traditionally served at Thanksgiving dinner! Try it, I do think that you will thoroughly enjoy it!
And, buh-bye, butternut squash…see you in the Fall!
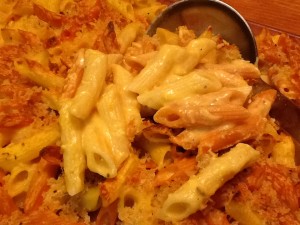
Creamy Butternut Casserole
(makes approximately 10 side dish servings)
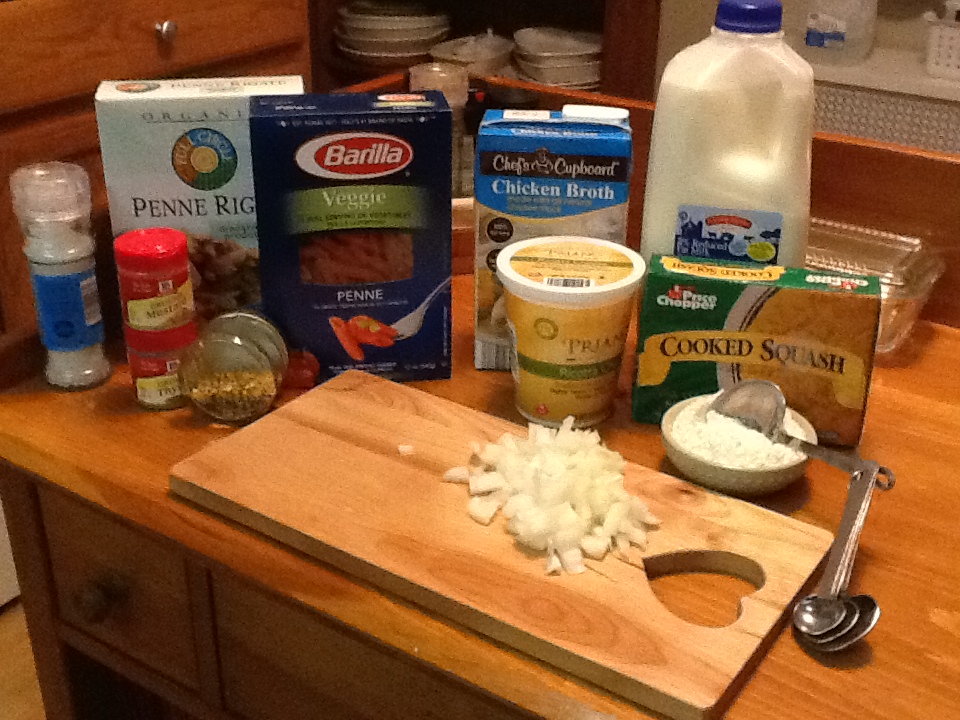
ingredients:
5 cups peeled and shredded butternut squash
juice of 2 lemons, approximately 1/4 cup *see tip
1/2 cup golden raisins
1/2 cup craisins
1 large mango, cut into small cubes
1 (15 ounce) container ricotta cheese
2 medium eggs
1 (5 ounce) container plain Greek yogurt (or sour cream)
1 teaspoon ground cinnamon
1/8 teaspoon ground nutmeg (fresh is best!)
1/4 teaspoon ground cardamom (optional)
LOTS of kosher salt and freshly ground pepper (I used lemon pepper)
1/2 cup shredded flavorful cheese (I used provolone)
directions:
- preheat oven to 375
- lightly grease an 11 inch x 7 inch (2 quart size) baking dish
- in a large bowl, toss shredded squash with lemon juice. put half in the bottom of the baking dish
- sprinkle the fruits over the top of the shredded butternut
- in a separate bowl, lightly beat the eggs and then combine with the ricotta, yogurt, spices and a generous amount of salt and pepper (this is a dish that requires seasoning!)
- spread the ricotta mixture over the top of the shredded squash in the baking dish
- add the remaining squash, spreading evenly over the dish
- cover TIGHTLY with foil (this will steam the butternut)
- bake at 375° for 30 minutes
- remove from oven, stir thoroughly, recover and return to oven for 15 minutes
- remove foil and sprinkle the top with the shredded cheese (if you are using); bake for an additional 10 minutes
- allow to sit for 5 minutes before serving
*tip: to get the most juice out of a lemon, heat in microwave for 15 seconds on 50% power. Then place on your countertop and roll back and forth ‘til it gets a little ‘squishy’. Cut in half (keep all the juice!) and squeeze into a measuring cup.
♥ ♥ ♥ ♥ ♥
God loves you! ♥ (Don’t ever forget that!)
♥ coleen