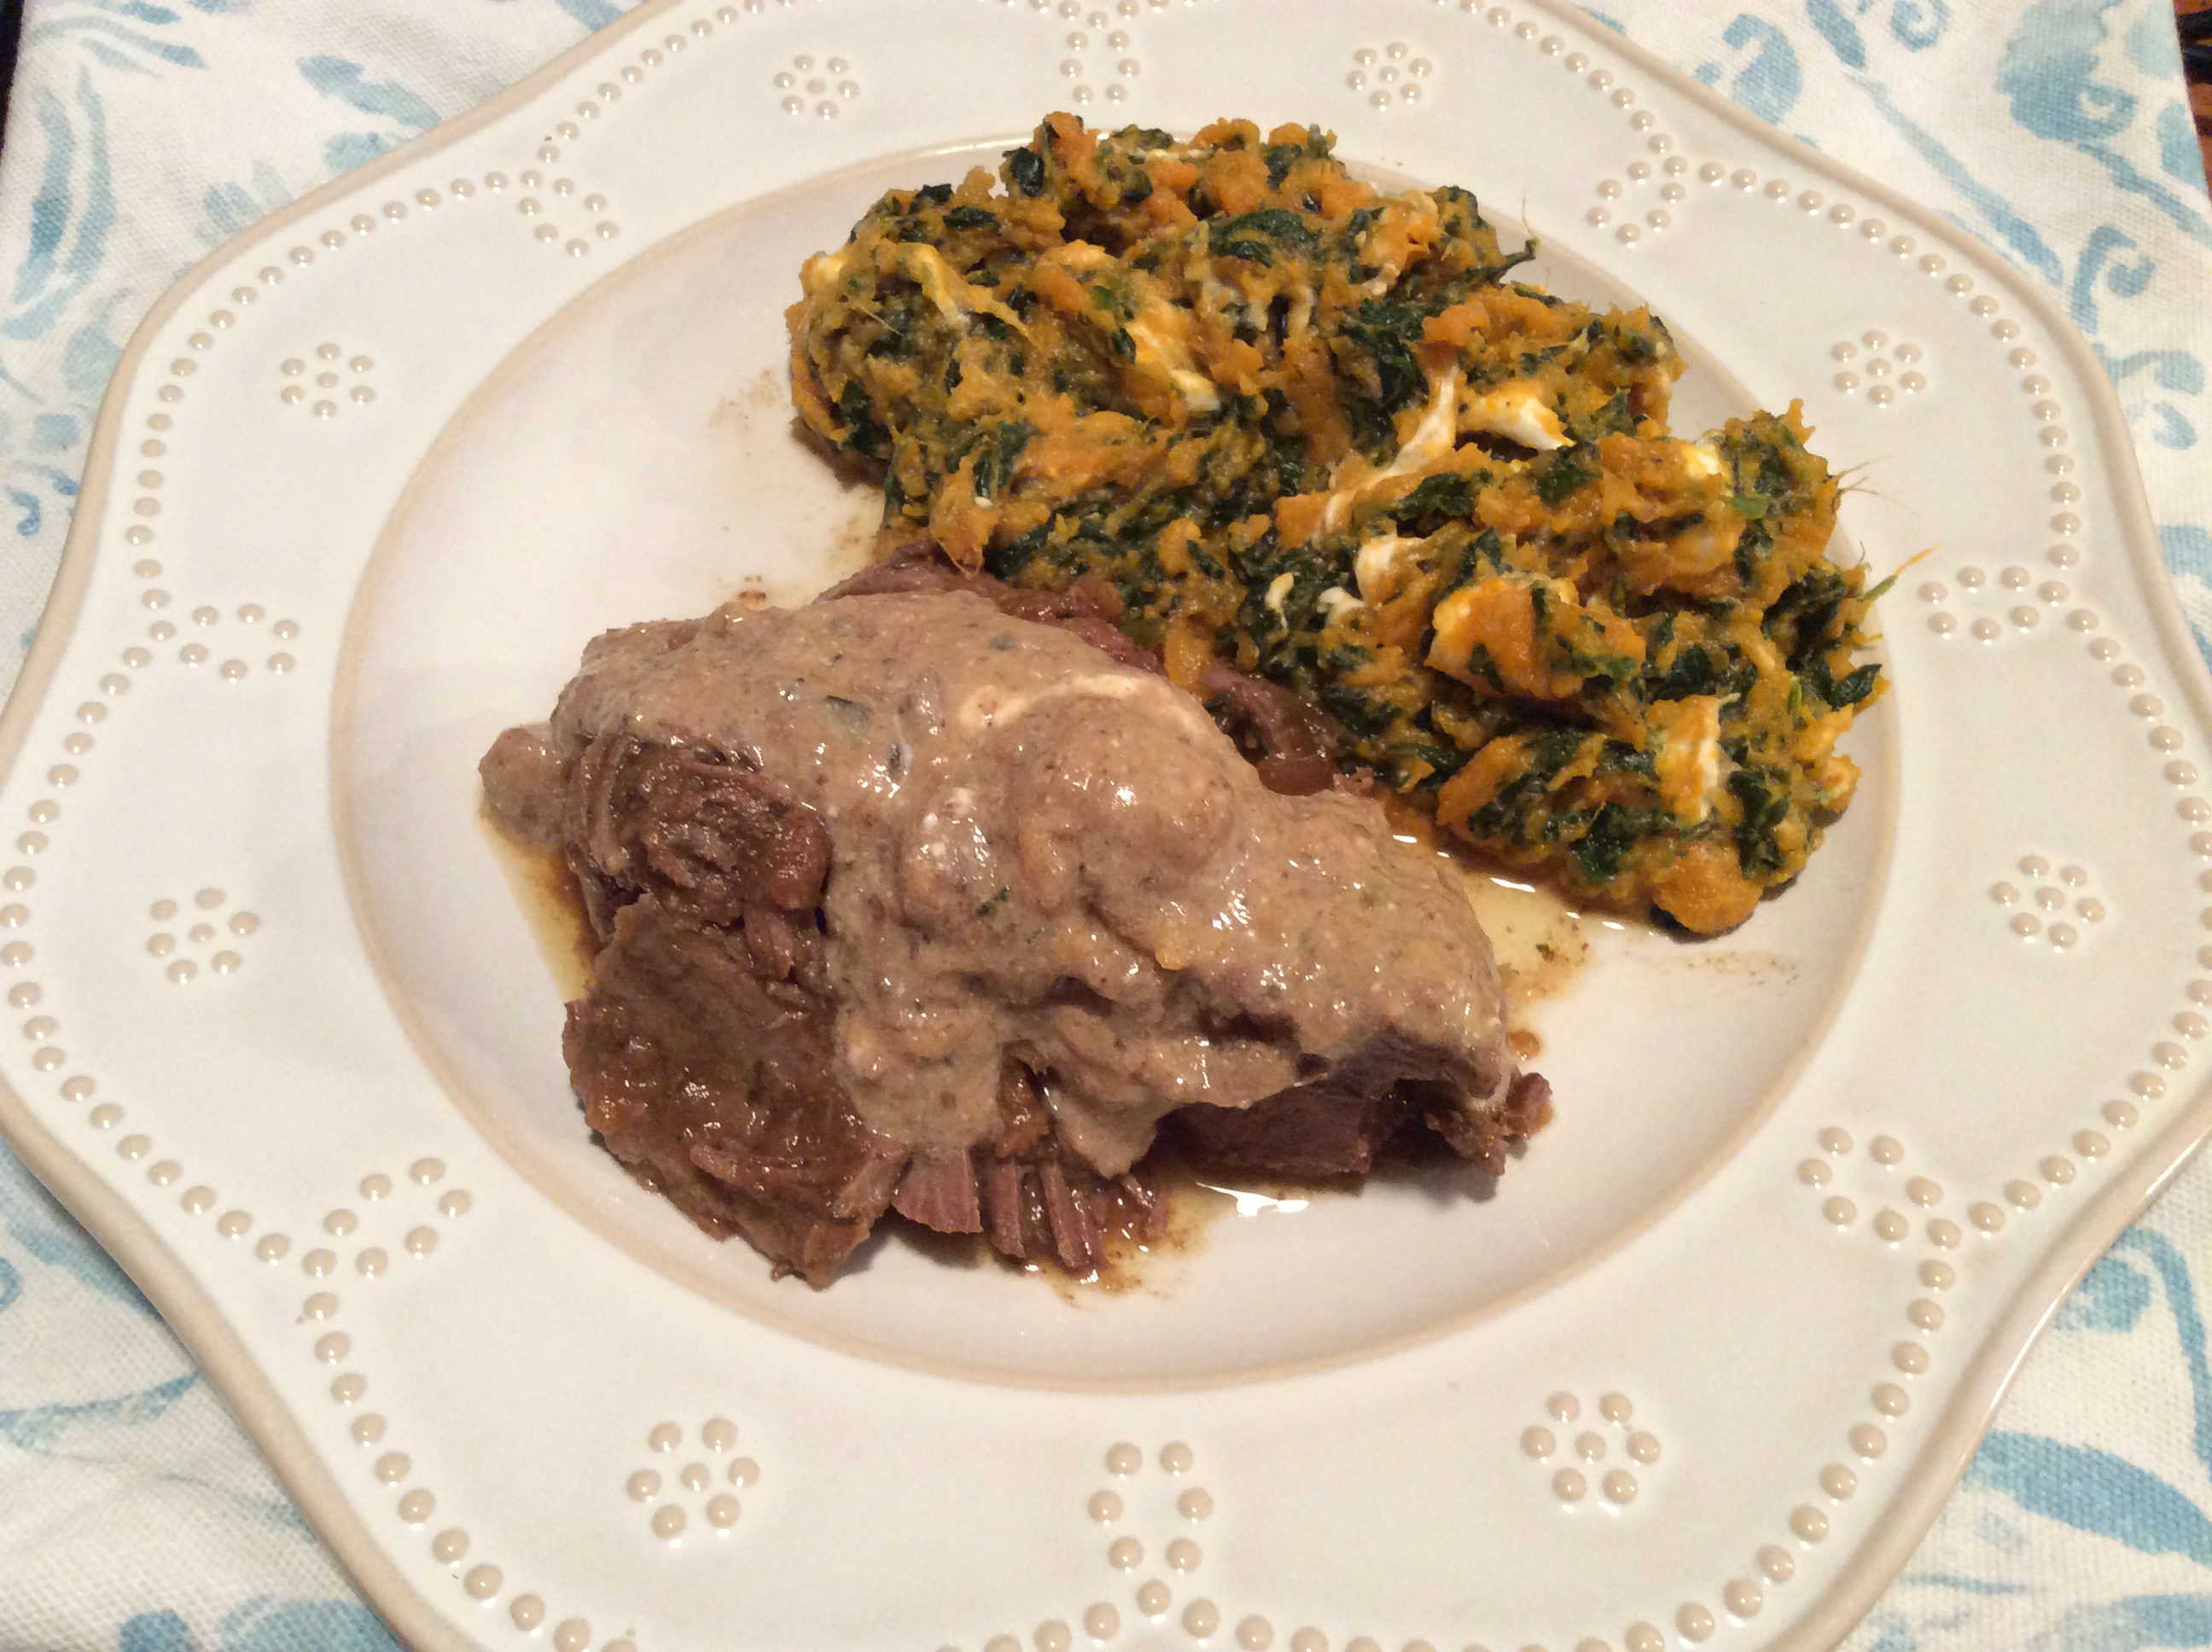
Oh! If only there were a way to share with you the aroma that filled the house when this was cooking away in the CrockPot…delectable! (But there is not…so…if you want to smell it you will just have to make this meal yourself!) My husband loves lamb! It is a bit of an indulgence, but he deserves it! This is a super-easy meal to put together, too! I served it with this Sweet Potato – Spinach Mash. This meal fit well into our healthy but oh-so-yummy POV also. Full of protein, low-carb…and delish! And if apricots are not your thing, this is equally delicious made with dried figs…soooo good! Enjoy!
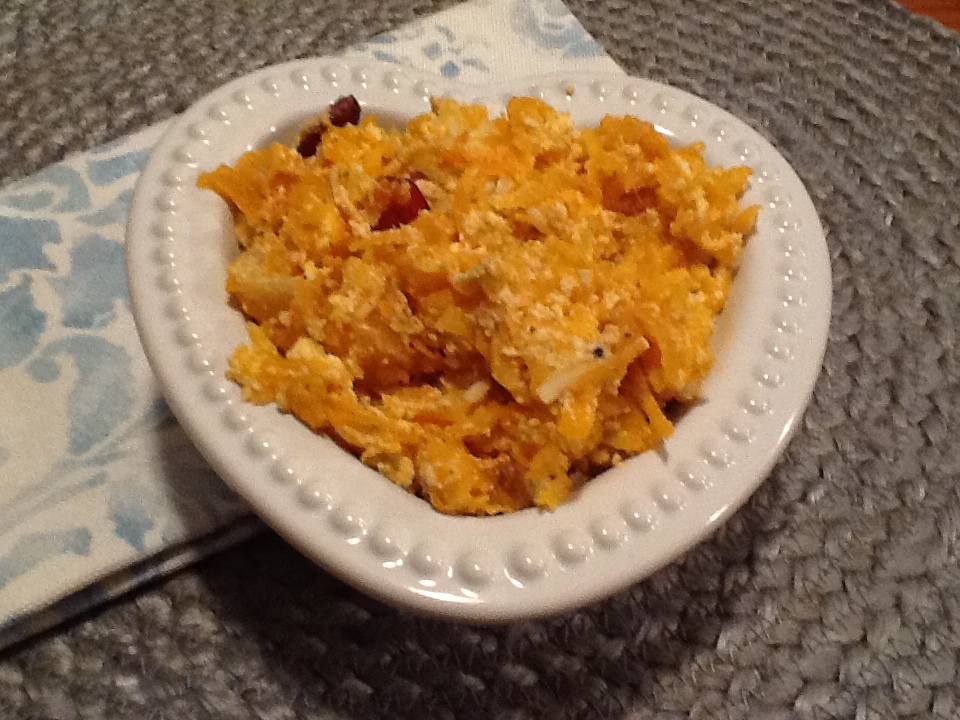
CrockPot Apricot Lamb Roast
ingredients:
3-4# boneless lamb roast
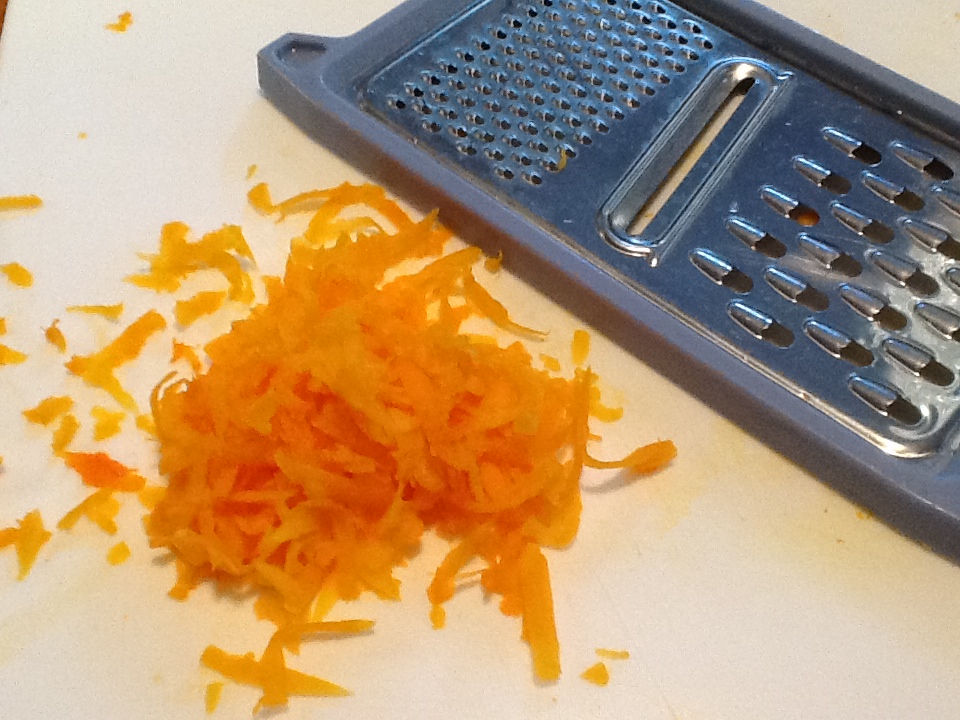
1 lemon, zested and juiced
2 tablespoons spicy mustard
2 tablespoons honey
2 tablespoons chopped garlic
1 teaspoon dried crushed rosemary
1 teaspoon dried thyme
1 teaspoon freshly ground pepper
1/2 cup (or more) dried apricots (or dried figs)
1 medium sweet onion, cut into thin wedges
1/2 cup pitted green olives
2-4 teaspoons cornstarch (or your favorite gravy thickener)
1/2 – 1 cup sour cream or plain Greek yogurt (optional)
directions:
- use a small CrockPot (I used my 2-quart insert); turn it on and put the lid on to begin warming it up
- add the onions, olives, and apricots to the bottom of the insert
- in a small bowl, combine mustard, honey, garlic, the spices, lemon zest, and lemon juice; stir with a spoon to form a paste
- rub this on all sides of the lamb roast; place into the CrockPot liner on top of the fruit and veggies
- cover and cook on low for 8 hours (you can check it with a meat thermometer, if you’d like, but I usually cook ‘til it’s very tender and falling apart)
- remove the meat; slice, and keep warm
- skim off (and discard) as much fat as you can (just use a small ladle)
- using an immersion blender right in the CrockPot liner, puree the fruit and veggies into a smooth sauce
- you can add the cornstarch to thicken as you puree, and/or a bit of sour cream
NOTE: the juices can be served as a simple au jus spooned over the meat, or you could even make a quick gravy!
♥ ♥ ♥ ♥ ♥
God loves you! ♥ (Don’t ever forget that!)
♥ coleen