Irish Soul Food!
St. Patrick’s Day is this weekend. Now if you’re like me, your carefree days are behind you and you will not be found in a pub, swilling green beer! But it is fun to partake in a little luck of the Irish, wear something green, and eat some Irish soul food. If Corned Beef and Cabbage is more effort than you want to put in, have I got the recipe for you!
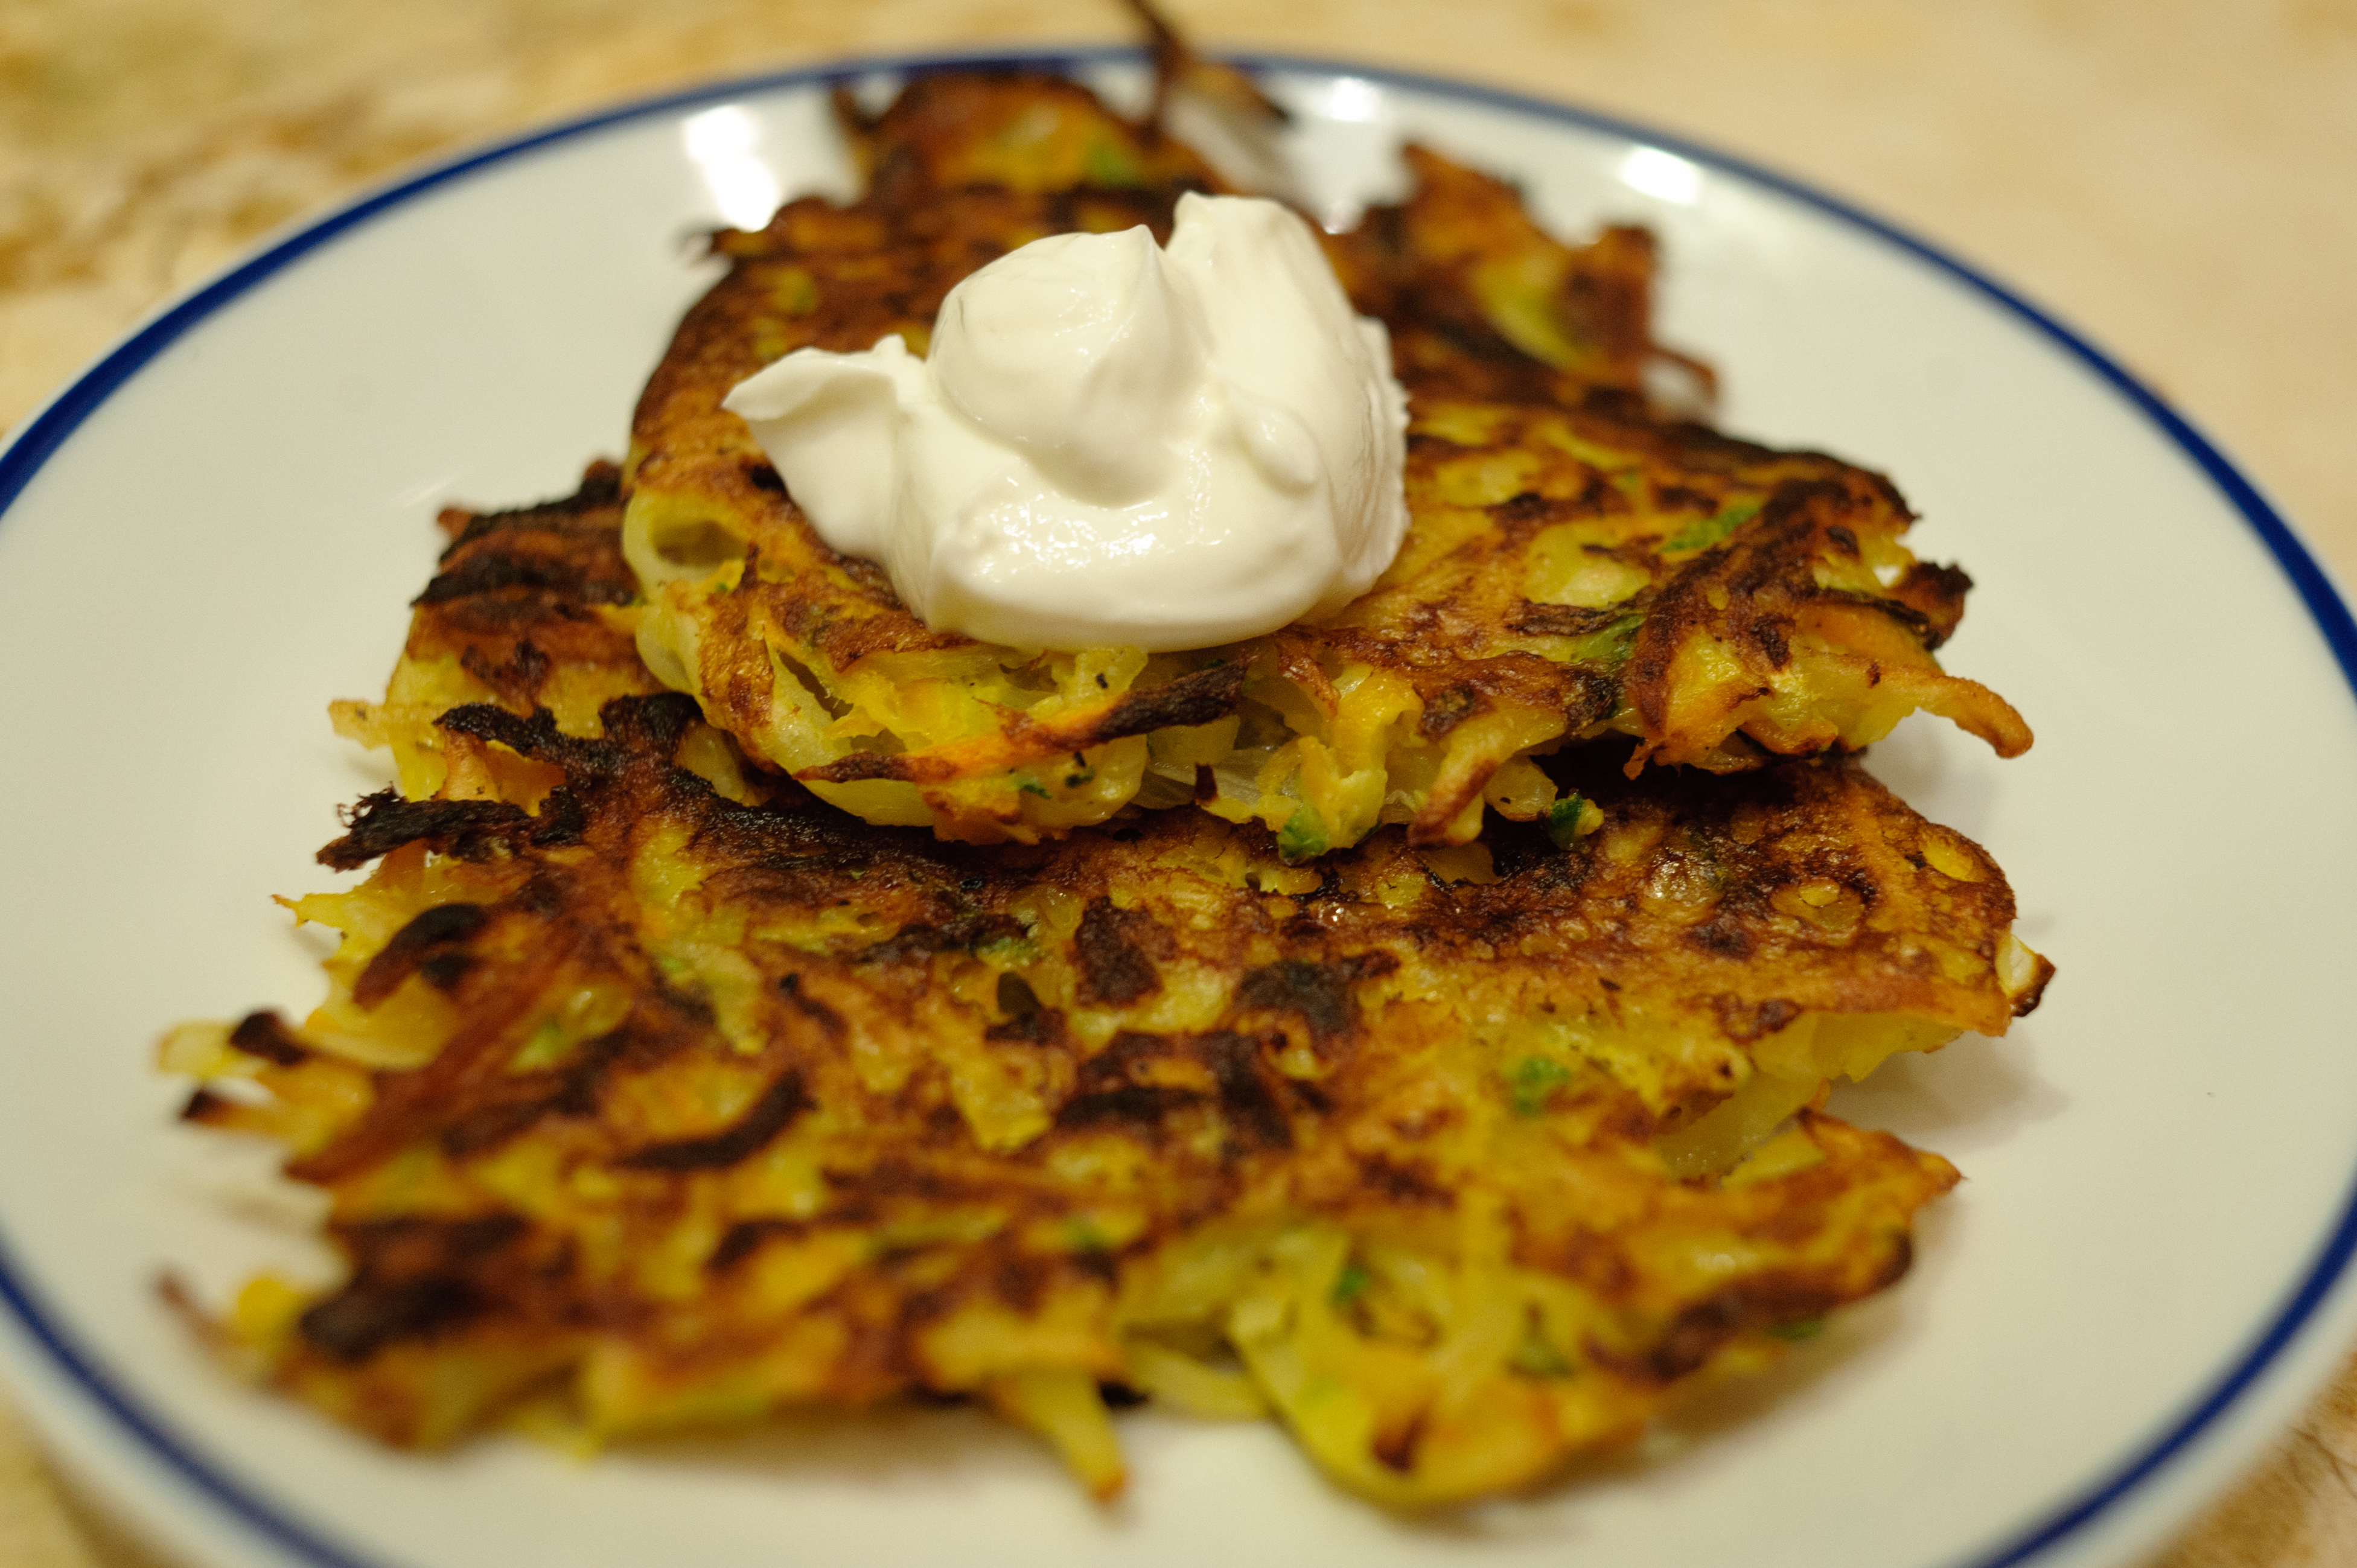
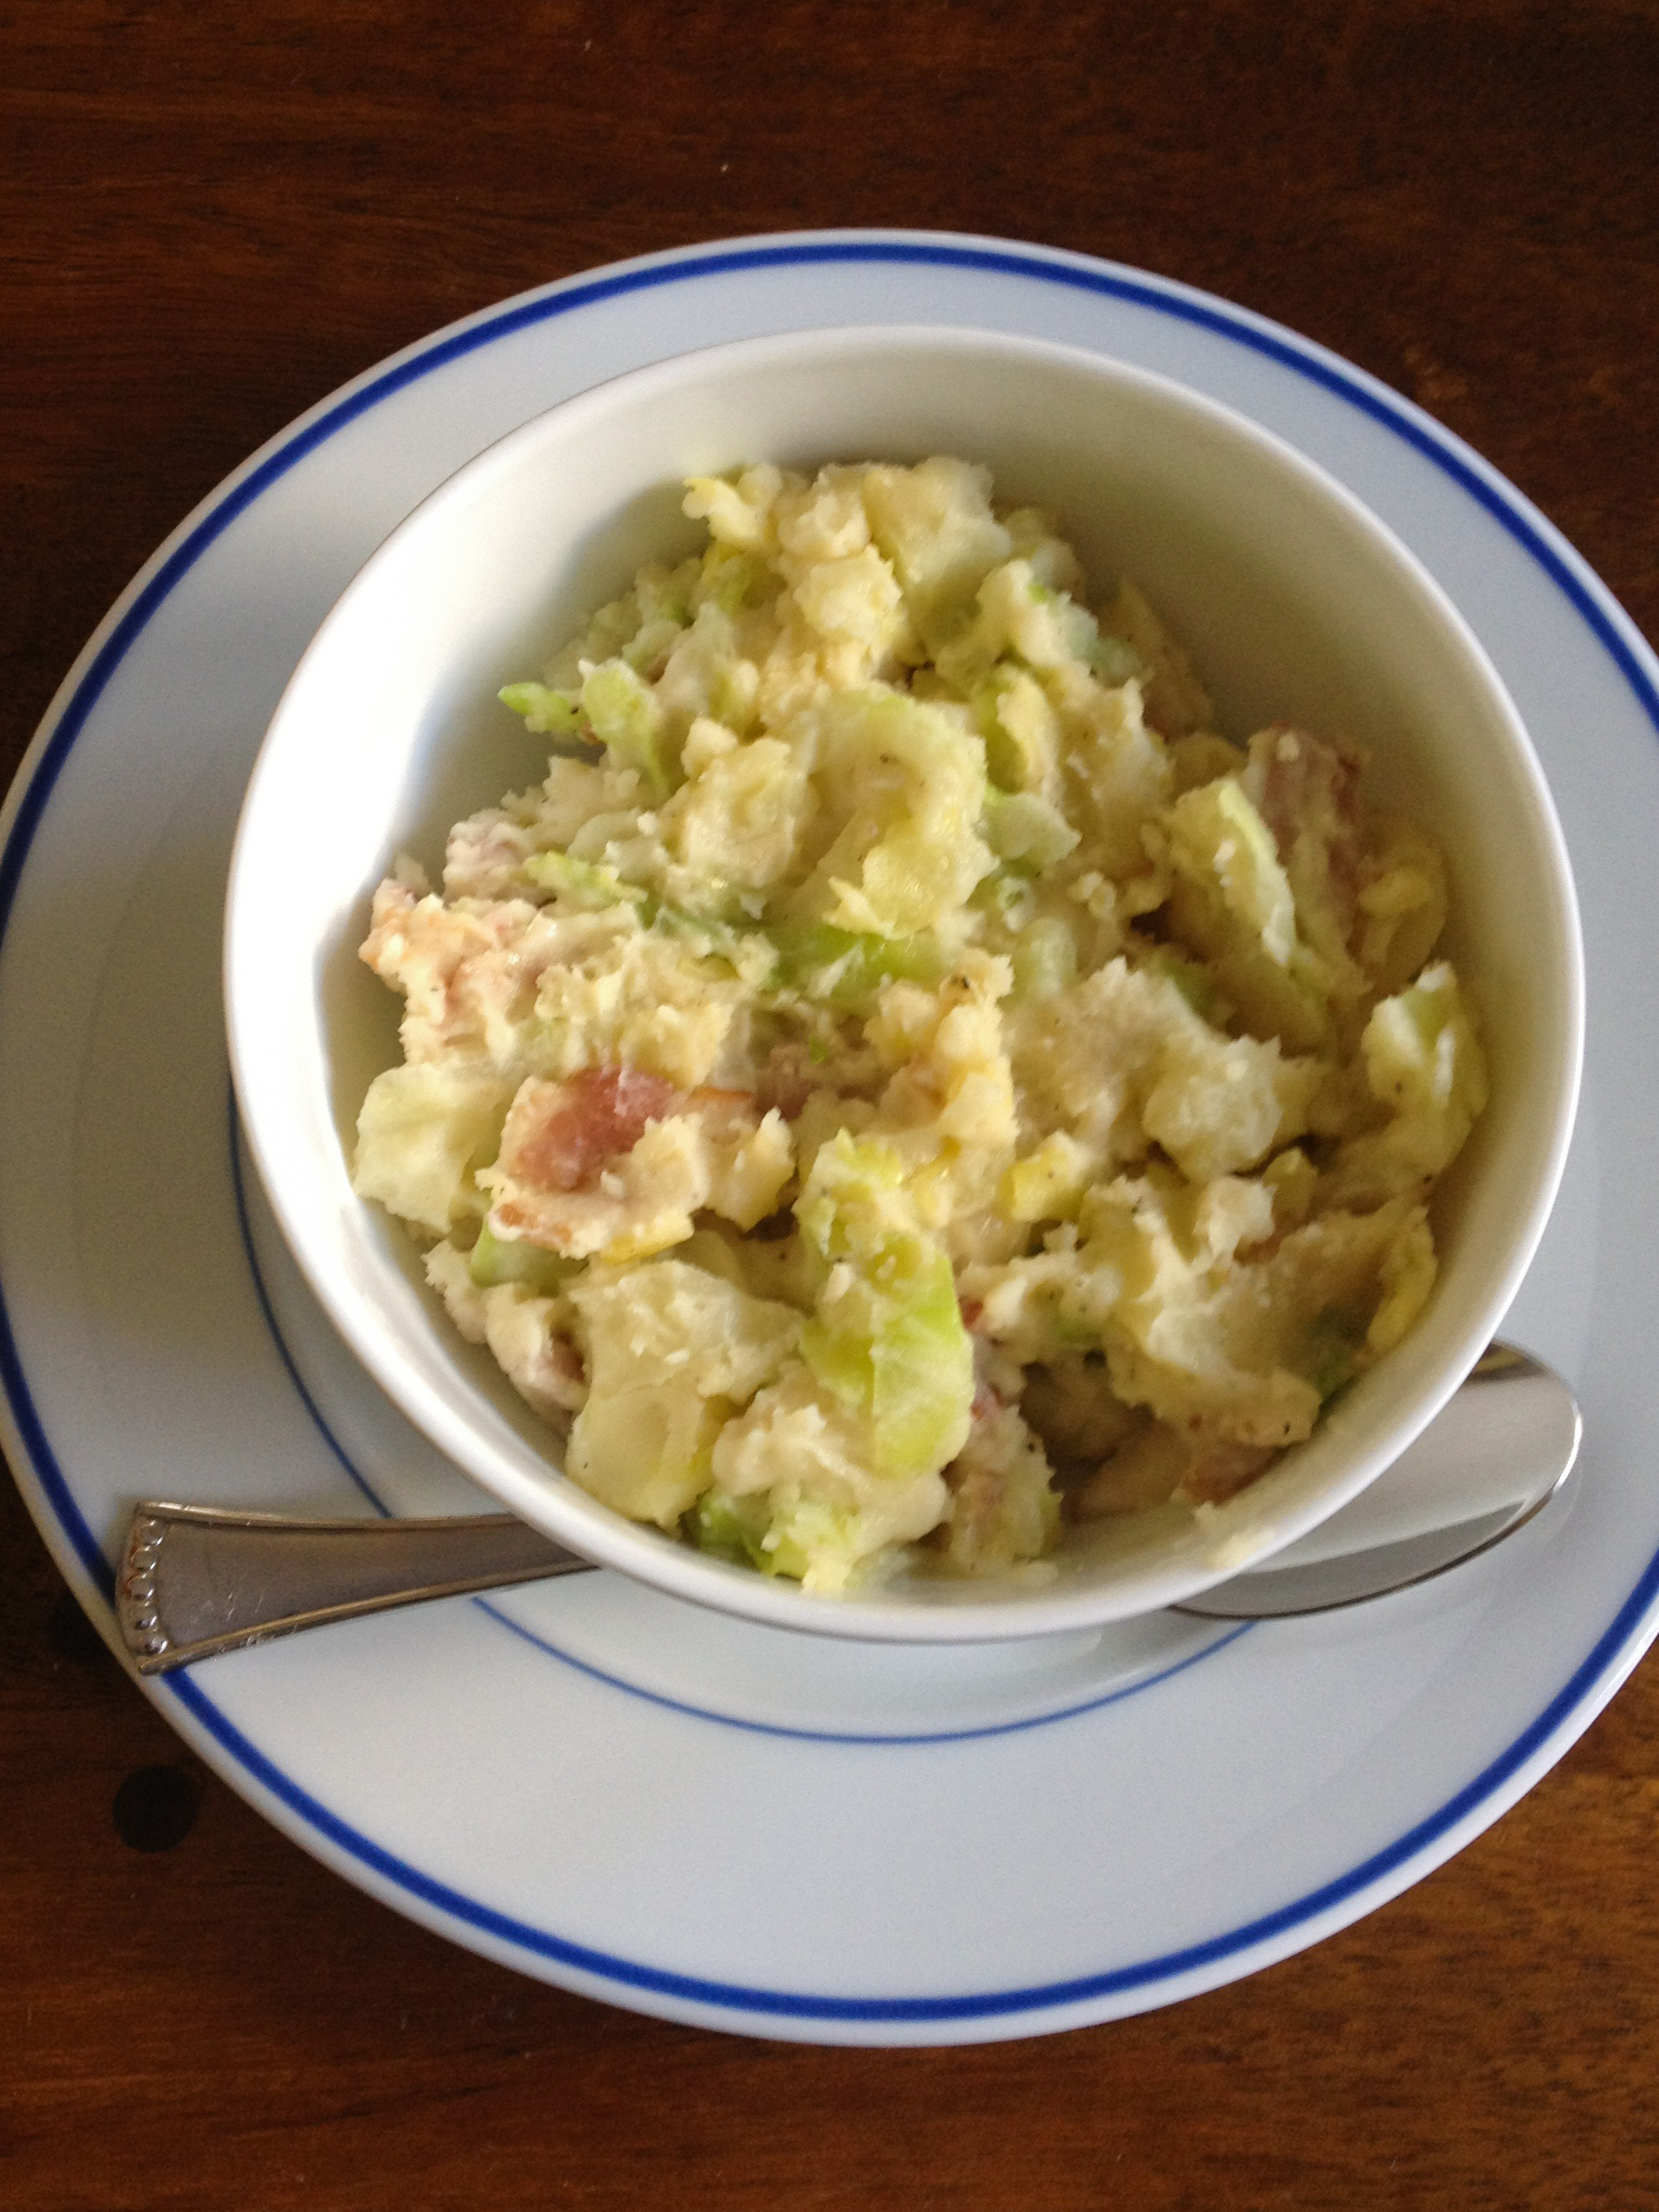
Colcannon is classic folk food, meaning it’s what the poor villagers could throw together in a pot to feed a large, hungry family. This is not a fancy dish, but it’s filling, easy, and incredibly tasty! If it’s still cold where you live, this will warm your tummy!
Irish Colcannon
Ingredients:
- 4 slices of bacon, diced
- 3 large or 4 small potatoes, scrubbed, peeled if desired, and cut into 1-inch chunks
- 1/2 head green cabbage, thinly sliced
- 3 tablespoons butter
- 1/2 to 3/4 cup milk
- 2 green onions, diced
- salt and pepper
Directions:
- Put bacon in a large pot over high heat. Cook until crispy, then remove the pan from the heat.
- While the bacon is cooking, simmer the potatoes in a little water and cover with a lid. When you can break the chunks of potato with a fork, add the cabbage and simmer until the potatoes are done, about 3 minutes more. You want the potatoes to be cooked through but not mushy.
- Lift the potatoes and cabbage from the water and add to the pot with the bacon in it. Yes, leave the grease in the pot! Over medium-low heat, fold in the butter and milk, stirring to combine and break up the potatoes. Season with salt and pepper and stir in the green onions.
Now…if you made this recipe, you have half a head of cabbage left over. May I suggest Roasted Cabbage Wedges? With a little olive oil, salt, and fennel seed, the cabbage becomes sweet, tender, and delicious! An unexpected way to eat this nutritious green veggie!
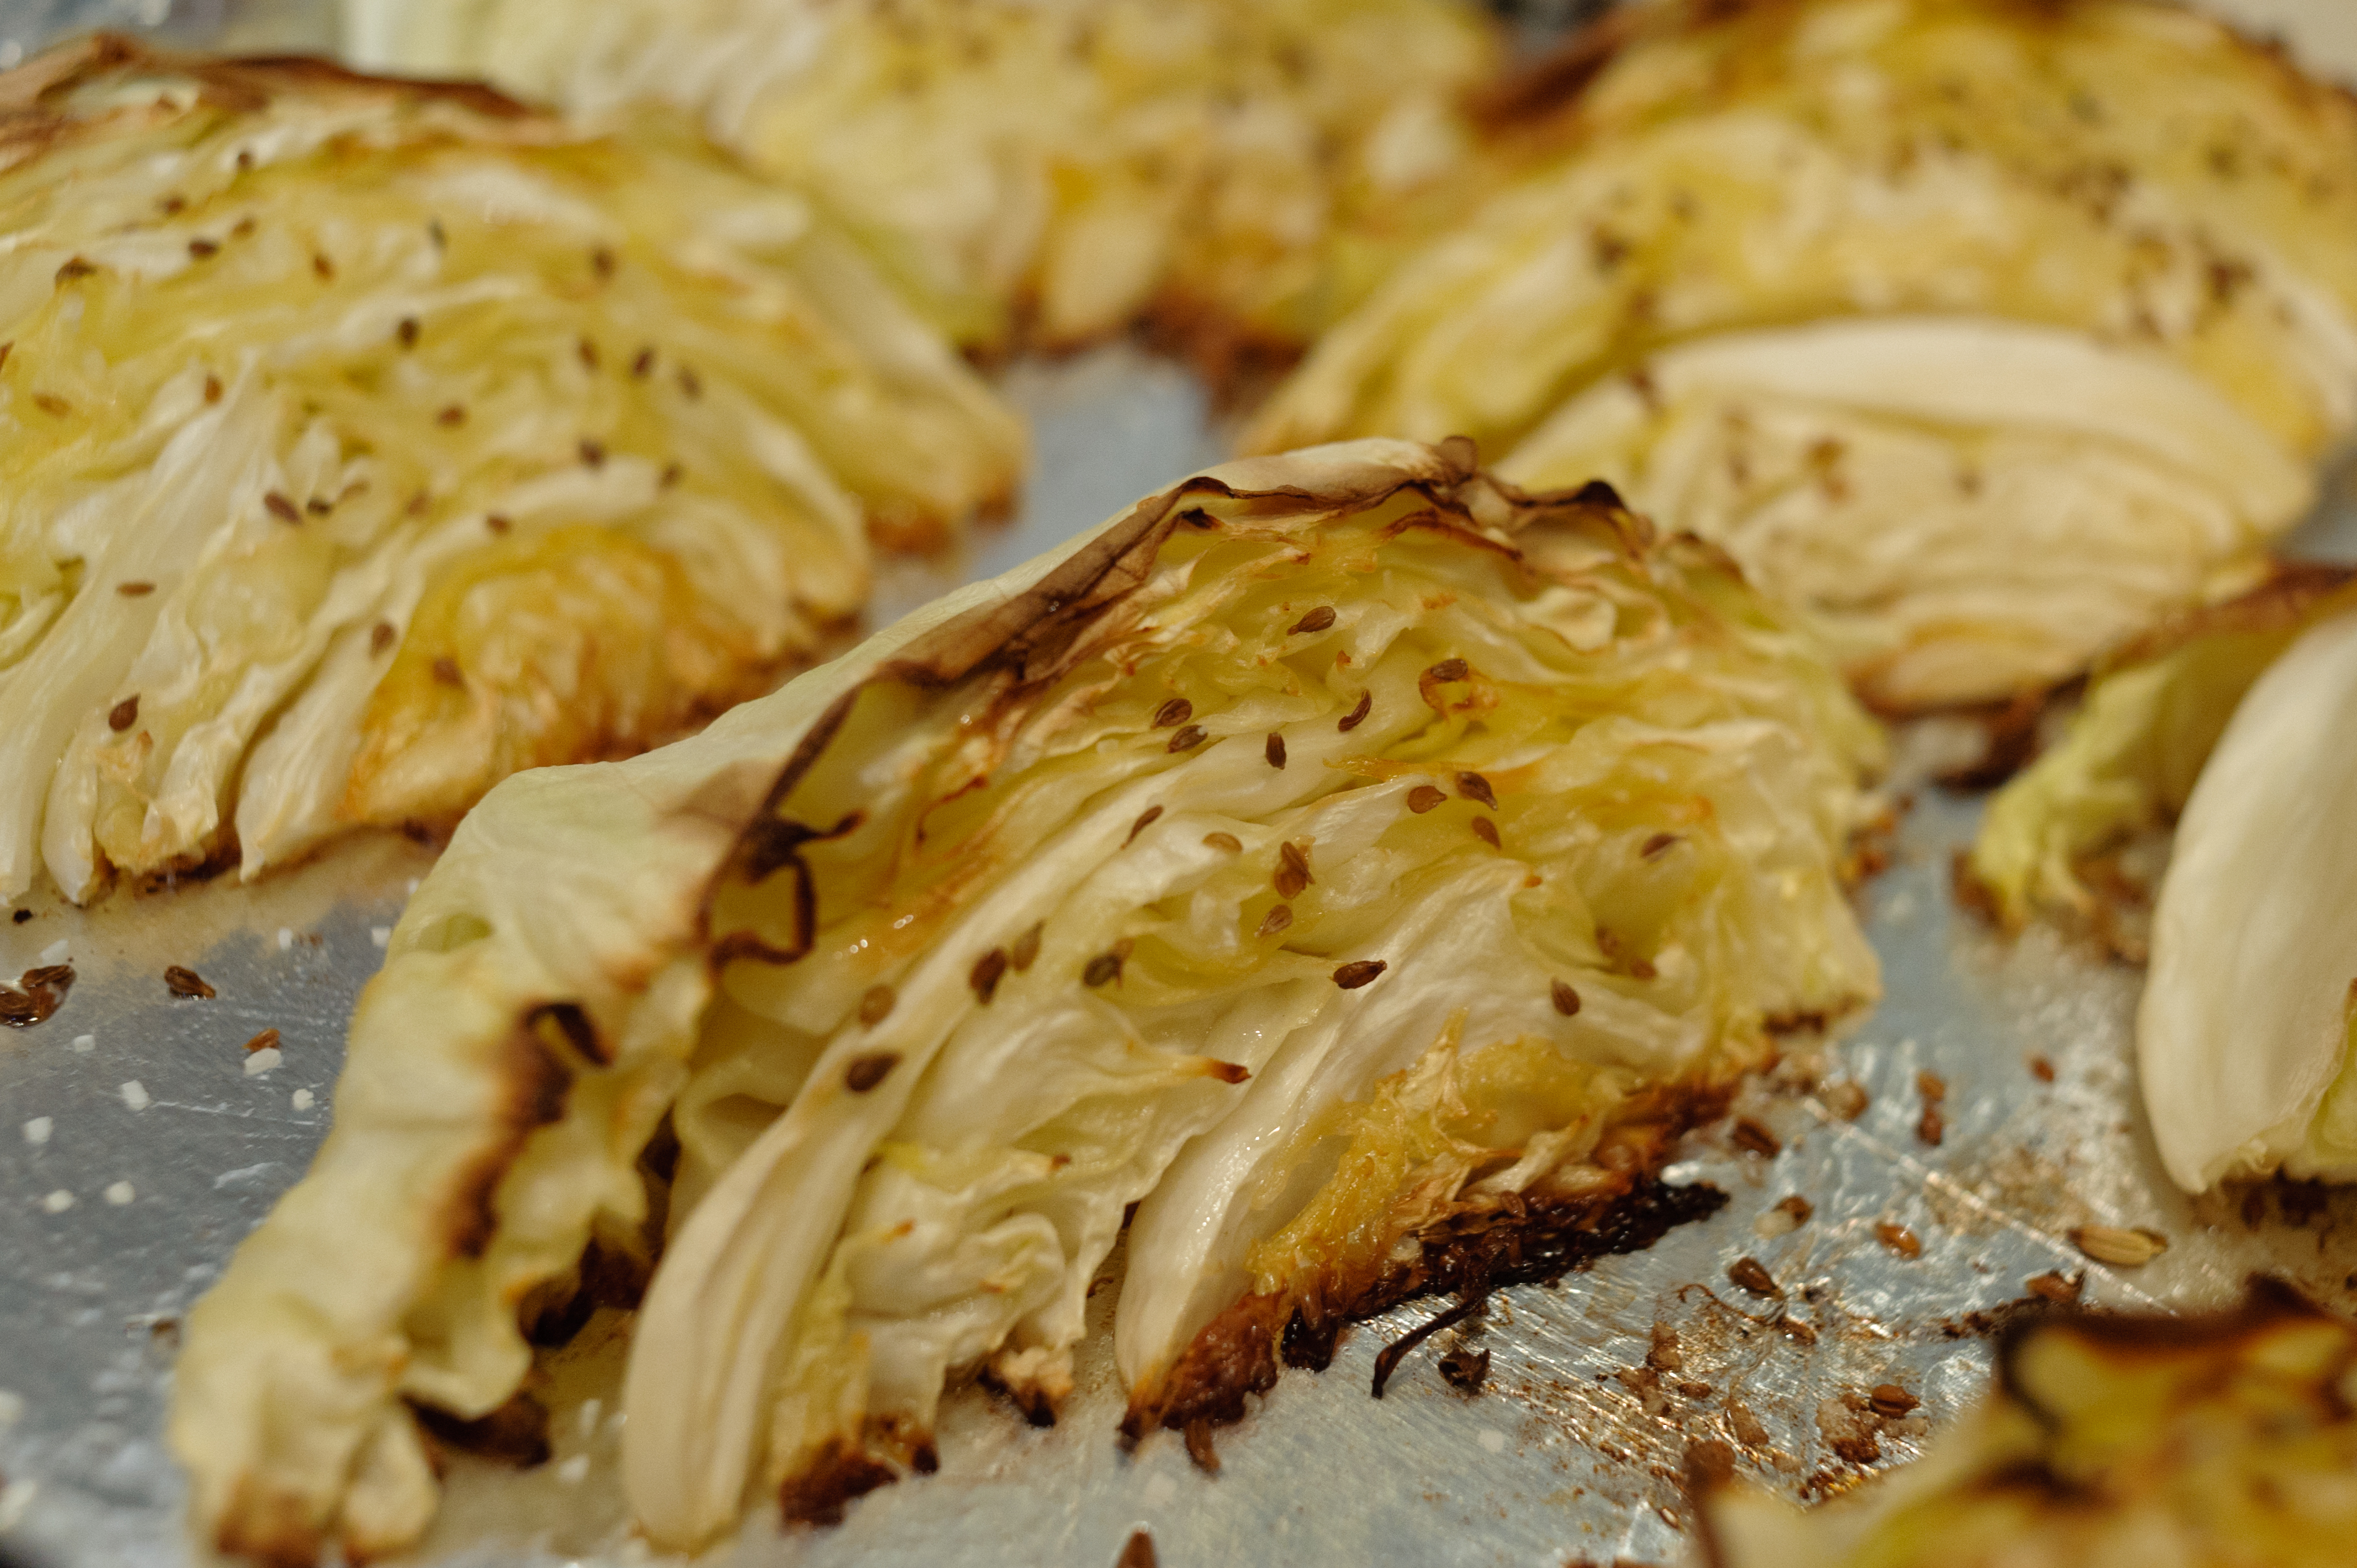
Roasted Cabbage Wedges
Ingredients:
- 1 head green cabbage (or half a head)
- olive oil
- salt and pepper
- 1 tablespoon fennel or anise seeds (optional, but I really like it!)
- 1/2 lemon
Directions:
- Preheat oven to 375*F. Cut the cabbage in half from top to bottom. Cut out the core, and cut each half into four wedges.
- Line a baking sheet with aluminum foil. Arrange cabbage wedges on the sheet and drizzle with olive oil. Sprinkle with salt and pepper, and fennel or anise seeds, if using. Bake for 10 minutes, or until the edges of the leaves take on some color. With a spatula, flip over the wedges and bake for another ten minutes. The cabbage wedges should be soft, with crispy edges. Serve with a squeeze of lemon if desired.
Explore, experiment, enjoy! — Dana
To view even more of Dana’s unique recipes, you can visit her at Frugal Girlmet!
If you would like to contact Dana in regards to this blog, please email her at Dana@girlfriendscoffeehour.com