March 29, 2024

At Home with GCH: Chicken en Papillote with Pesto

chicken en papillote

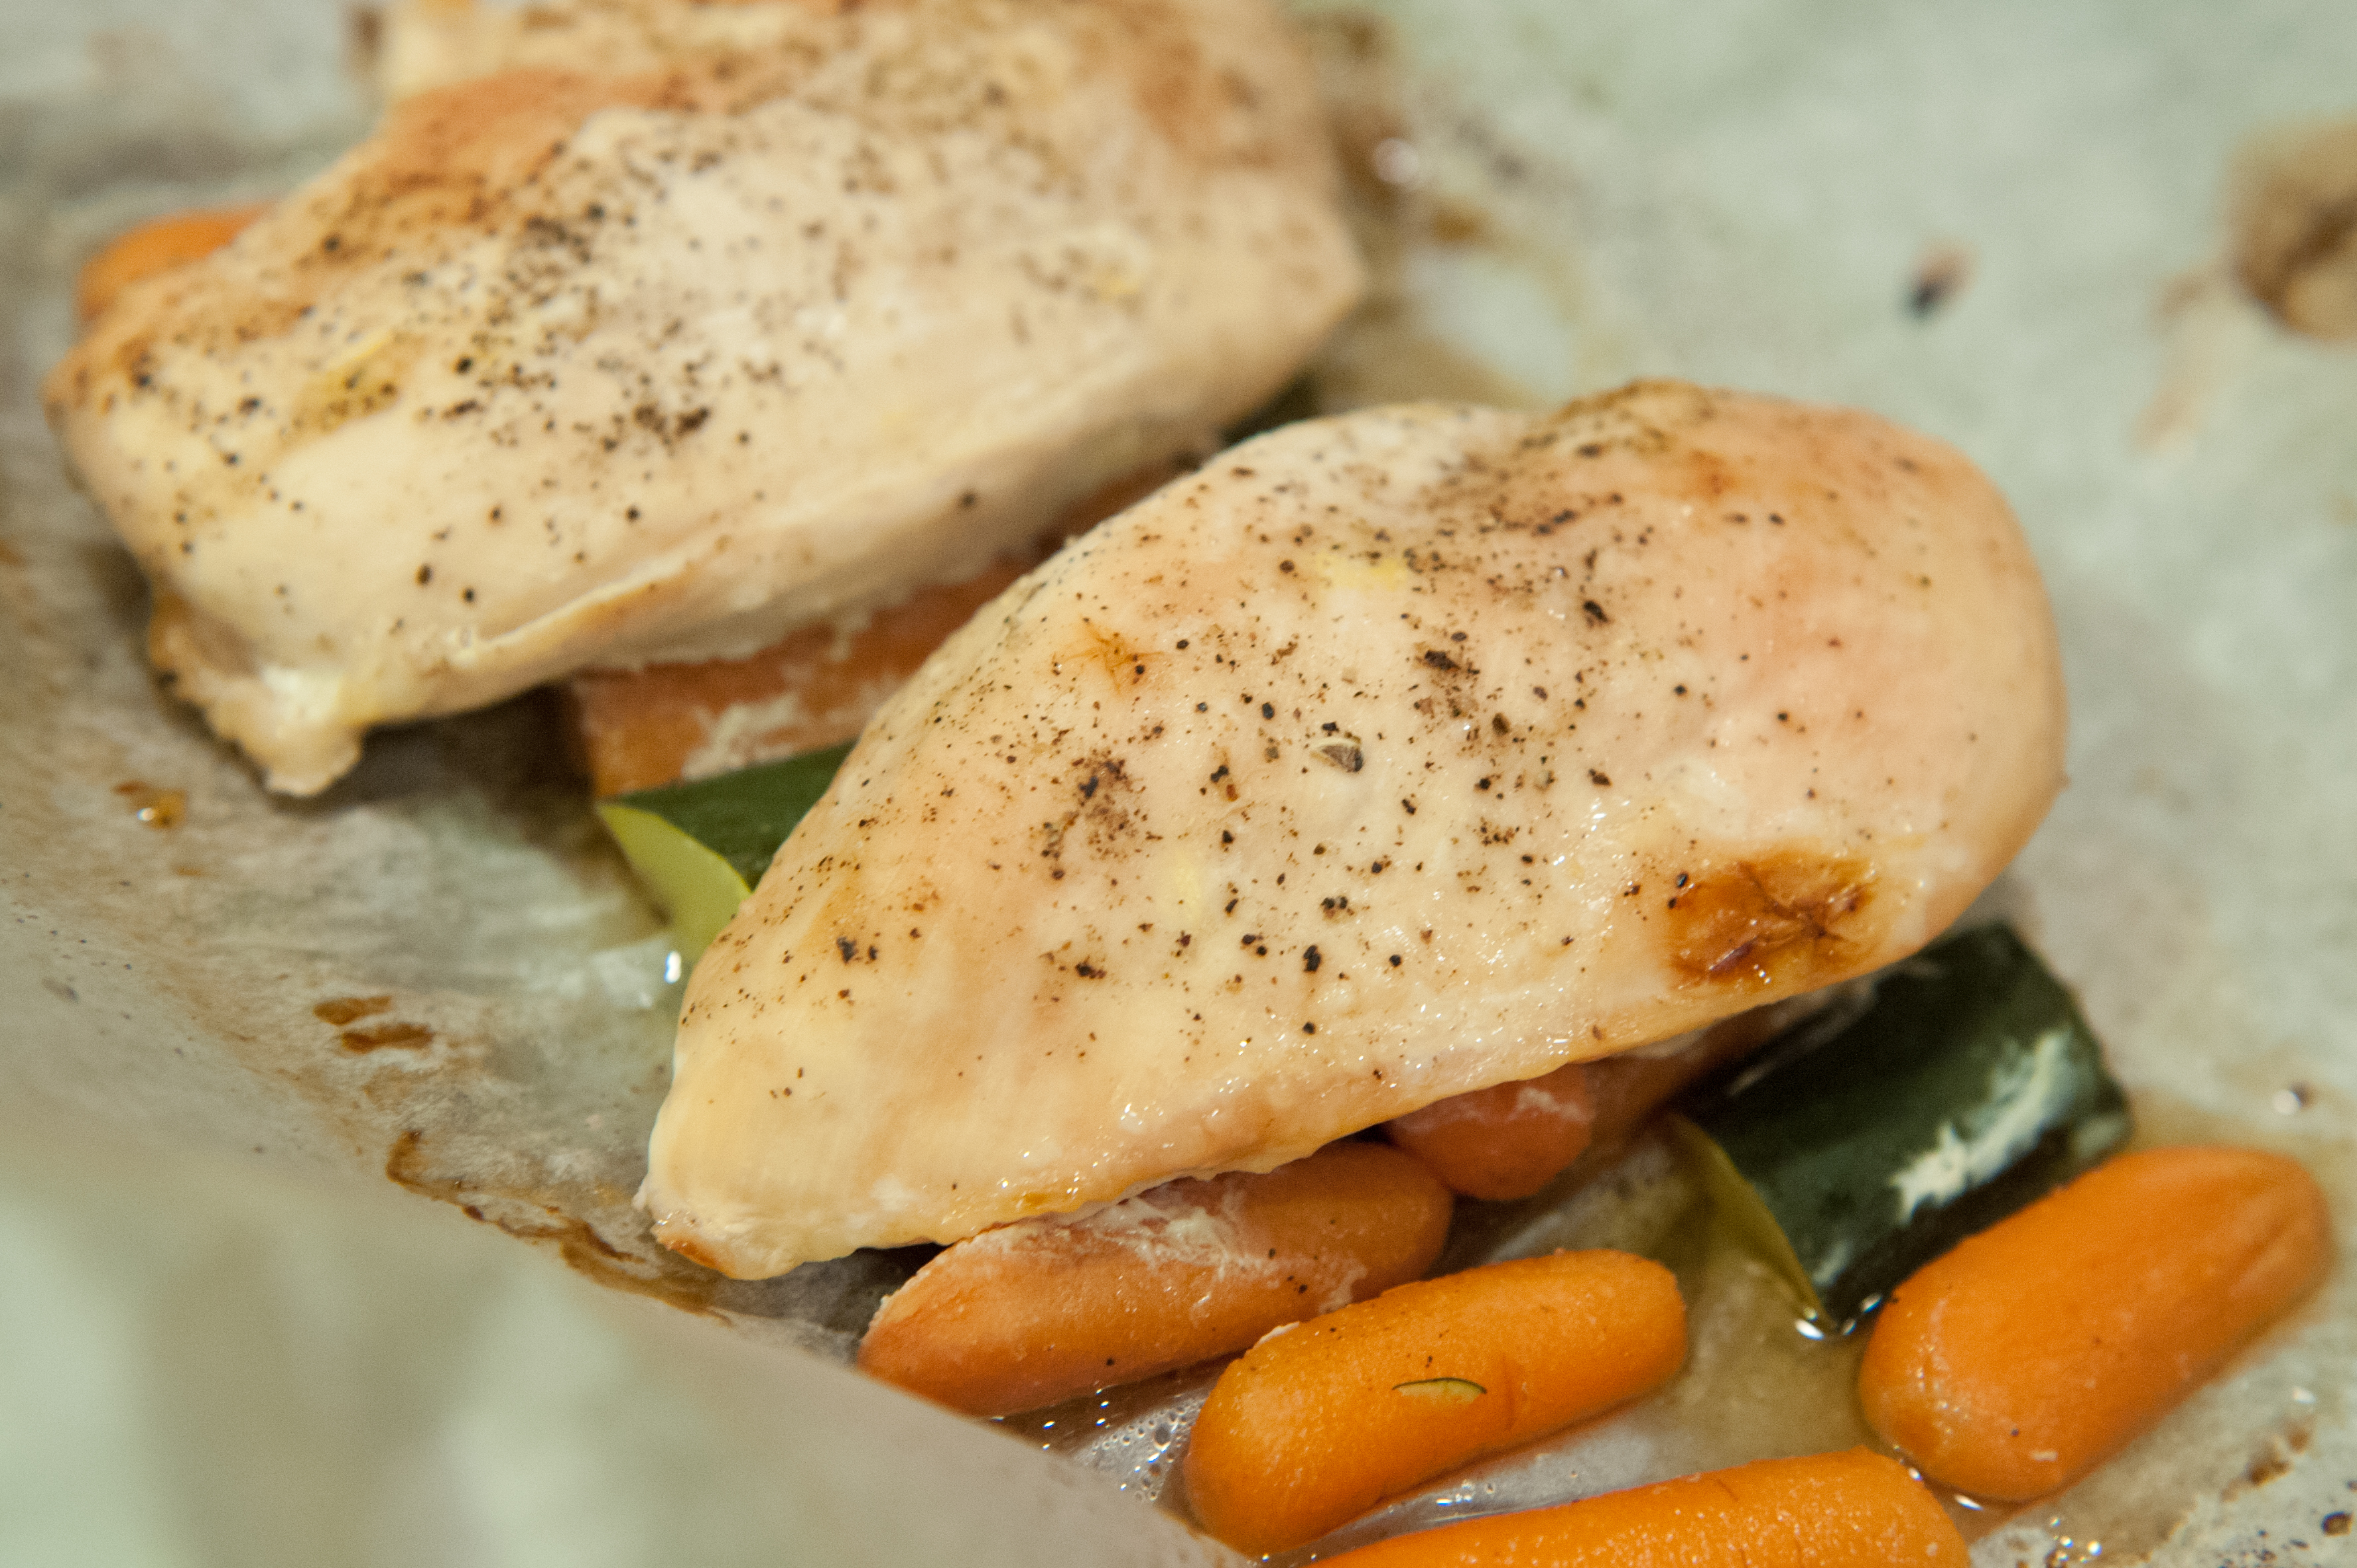
I know chicken breasts are good for me.  I know I should eat lots of lean protein.  But sometimes the idea of choking down a dry, mealy, overcooked hunk of chicken makes me shudder.  Yuck!  The trick to cooking chicken breasts is to keep them moist and flavorful, because once they get dry, they’re only good for throwing on top of a salad and drenching with dressing.  So I needed something to keep the moisture locked in.  If you have all day, use a crock pot.  If you only have an hour, use parchment paper!

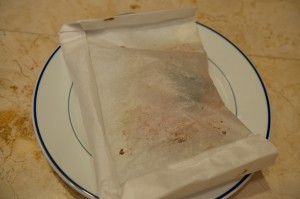
Cooking something “en papillote” is French for cooking “in paper.”  You might already have parchment paper if you do a lot of baking, but if not, you can find it near the aluminum foil in the baking aisle.  This recipe is infinitely customizable—just use whatever combination of vegetables you like, plus chicken breasts, and some seasoning on top.  Bake for an hour, open and enjoy!

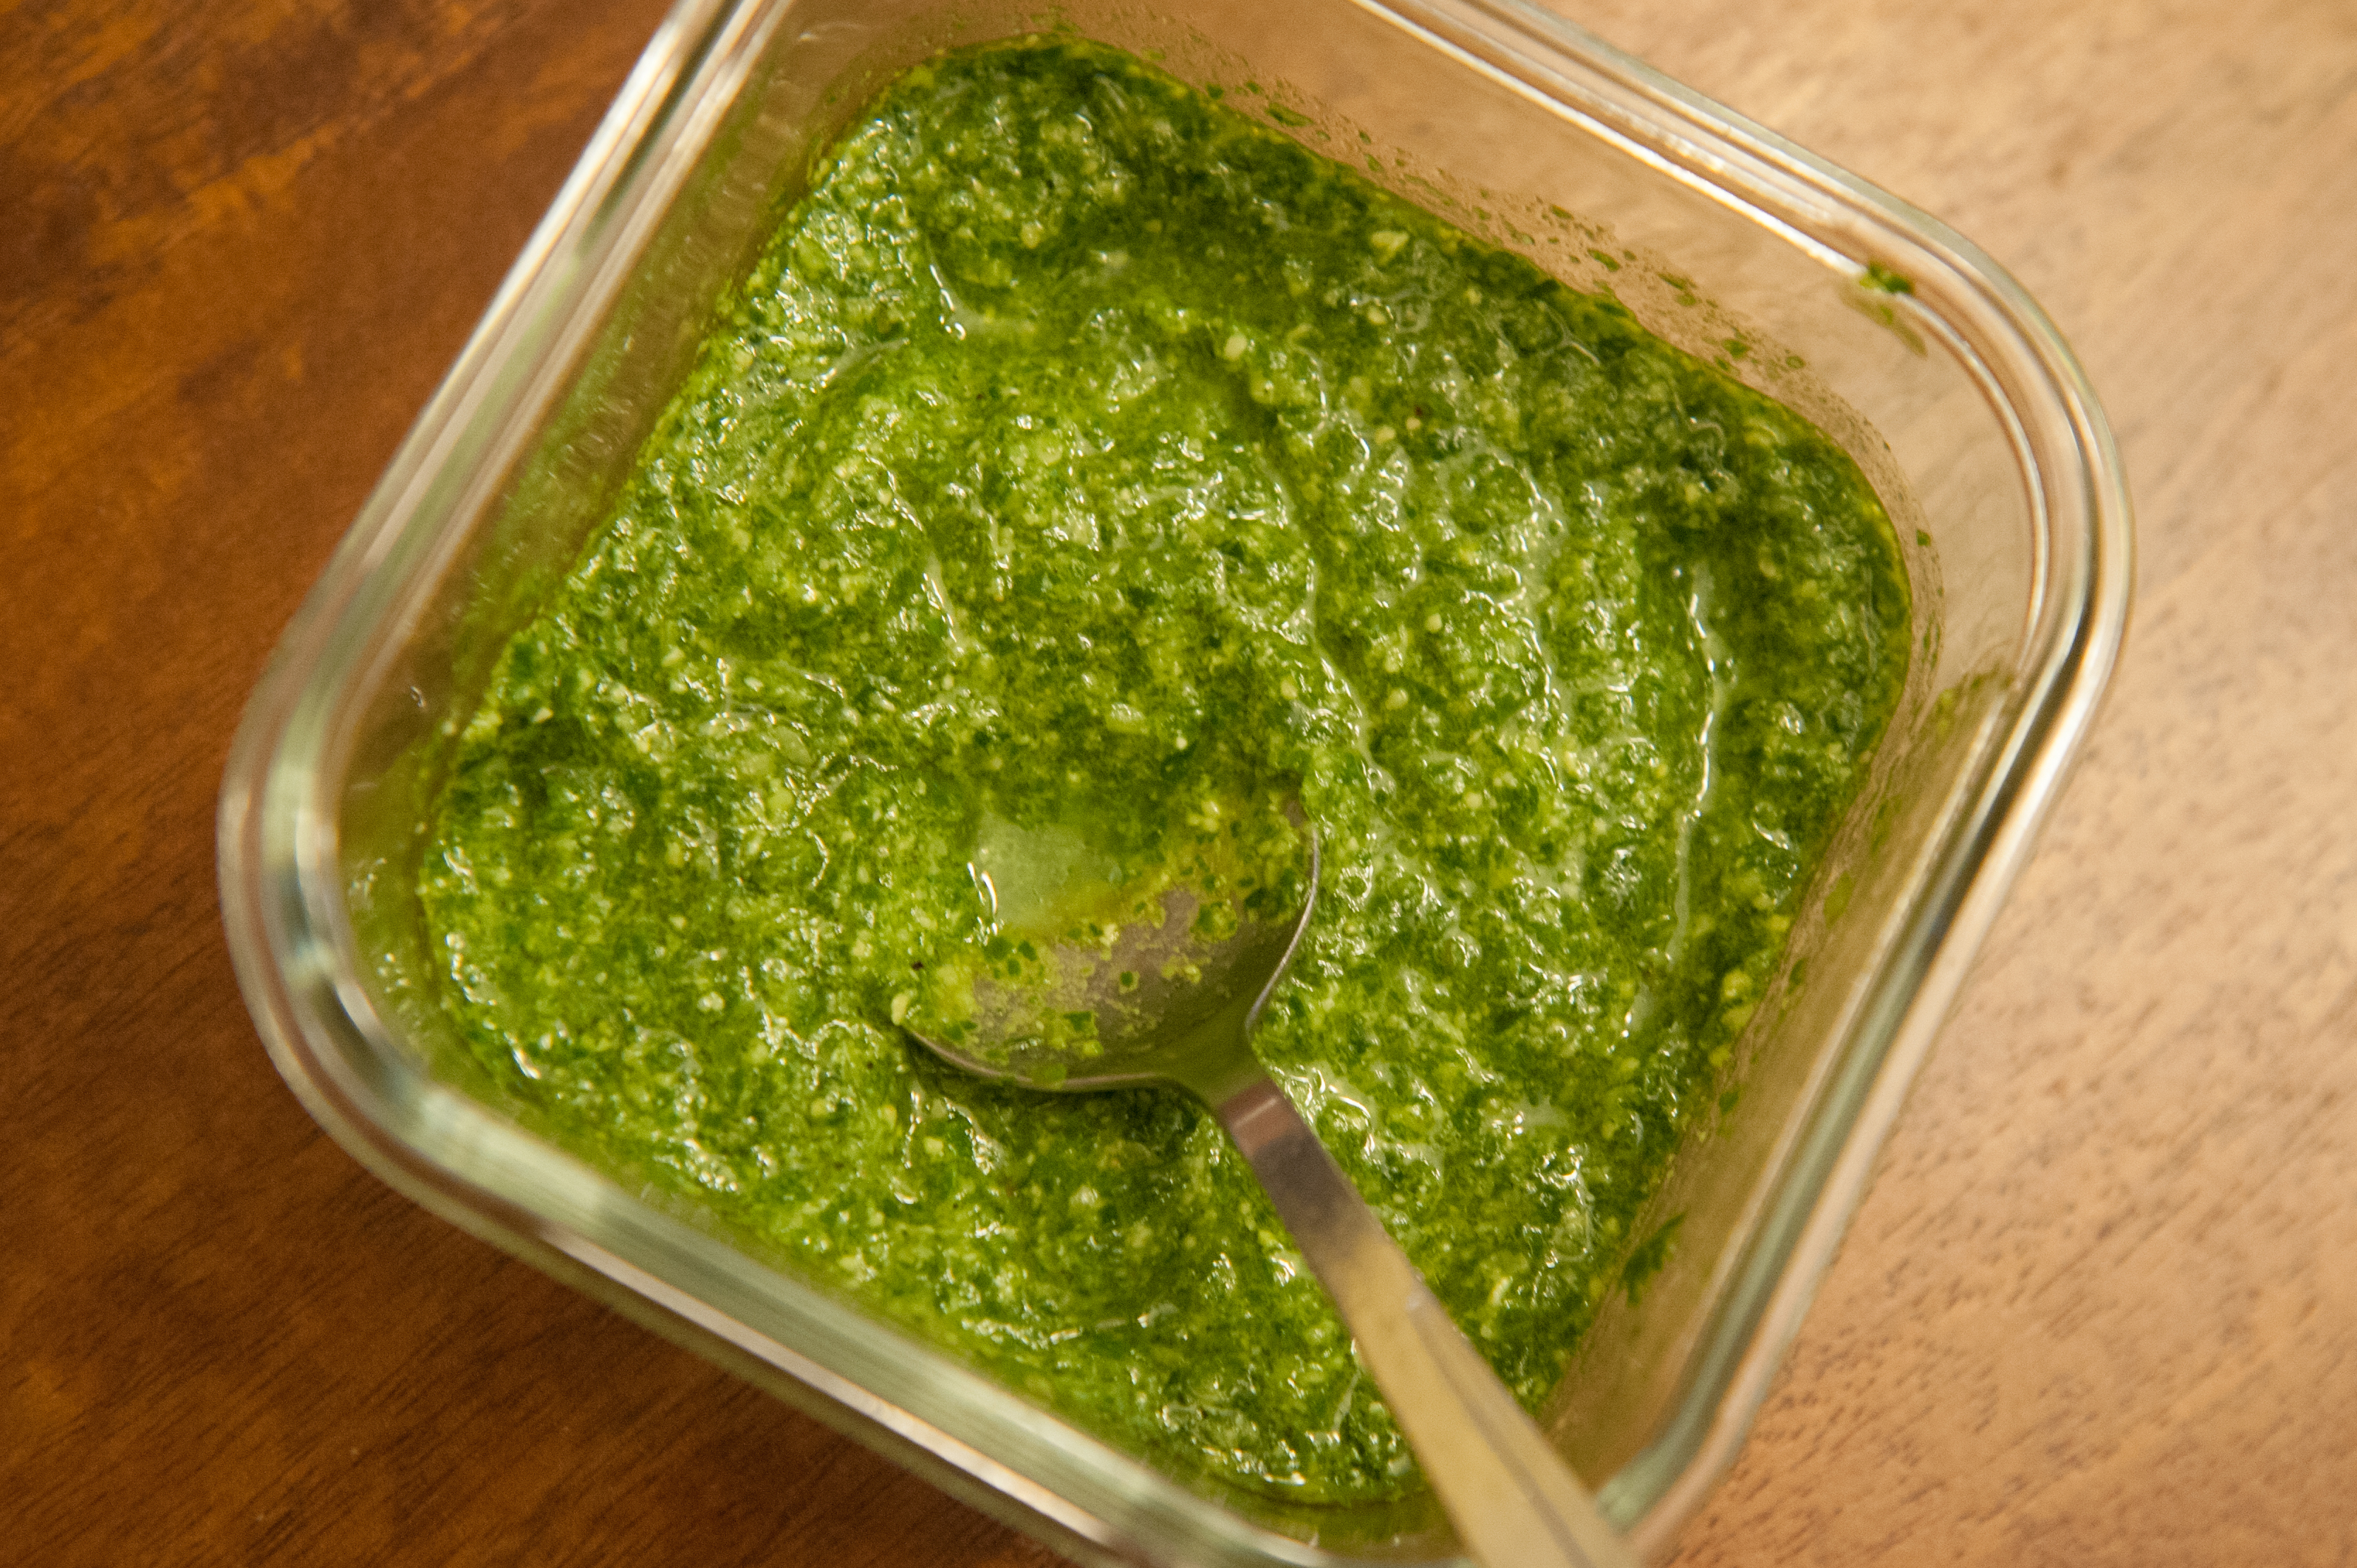
This recipe is even better slathered with homemade pesto.  Basil is pretty easy to grow in the yard, so if you have a garden, you can make pesto this summer!  The recipe has the proportions that I like.  You may want to use less garlic, or more oil, to make a thinner sauce.  Also, most pesto recipes add a little parmesan cheese – maybe a tablespoon, grated – to the mix; but I left it out since I am still eating on the Paleo diet.  If you have leftovers, pesto goes great over pasta of any kind.  I had a little pesto leftover and I ate it on scrambled eggs – delicious!

pesto


Chicken en Papillote with Pesto

Ingredients:

  • 4 boneless, skinless chicken breasts
  • 1 cup baby carrots
  • 2 large zucchini, cut the same size as the baby carrots
  • salt and pepper
  • 2 teaspoons butter

For the pesto:

  • 2 cups basil leaves
  • 2 cloves garlic
  • 1/4 – 1/2 cup olive oil
  • 2 tablespoons pine nuts (keep in the freezer so they won’t go rancid)
  • 1 lemon
  • salt and pepper

Directions:

  1. Preheat the oven to 400*F.  Cut two pieces of parchment paper, about 12 x 24 inches.  Fold them in half width-wise, then open.  On one half of the paper, make a bed of half the carrots and zucchini slices; repeat on the second paper.  Season with salt and pepper.  Top each bed of vegetables with two chicken breasts, and season with salt and pepper again.  Divide the butter and drop half a teaspoon of butter on each chicken breast.
  2. Fold the paper in half, to cover the chicken.  Now you should have an envelope or packet.  Fold over the long end a few times, then make a triangular fold at each of the corners.  Now fold over the two short ends several times.  (There are many ways you can fold the paper to keep it shut.  I’ve even gotten frustrated before and stapled them shut!  Here are some ideas for folding the paper.)  When you have the two packets closed up, place on a cookie sheet and put them in the oven.  Cook for one hour, rotating the cookie sheet halfway through to make sure the packets cook evenly.

papillote packet


  1. While the chicken is cooking, make the pesto:  In a food processor, blend the basil leaves, garlic, and 1/4 cup of olive oil.  Scrape down the sides, add the pine nuts, and blend again.  Scrape down the sides again, cut the lemon in half, and add the juice to the pesto.  If you want the pesto thinner, add more oil.  Taste…if you want a stronger lemon flavor, you can add the zest from the lemon too.  If you are adding parmesan cheese, now is the time!  Blend again.
  2. To serve, open the packets—carefully!  Don’t get burned on the steam!  You can put the packets on a plate, or open them in the kitchen and throw out the paper if you like.  Pass the pesto!

Explore, experiment, enjoy! — Dana


To view even more of Dana’s unique recipes, you can visit her at Frugal Girlmet!

At Home with GCH: Carrot and Raisin Salad

Carrot Raisin Salad

When I was a kid, we used to have Carrot and Raisin salad all the time.  I’m pretty sure the sole ingredients were shredded carrots, raisins, and mayonnaise.  I loved it!  But these days I want something a little healthier.  Also, I want something I can take to a potluck or family gathering and not have to worry about it sitting out unrefrigerated.  Food poisoning is a real bummer.  Time for a make over!

This recipe is about as simple as it comes, but with a few twists to make it sophisticated and different.  Mint is easy to find (and pretty easy to grow, even on a window sill) and is what sets this Carrot and Raisin salad apart.  This recipe can easily be doubled or tripled so it’s great for parties.  Make this for dinner, or bring to your next potluck, and you’ll be a hero!

Carrot and Raisin Salad

(From Martha Stewart’s Living Cookbook)

Ingredients:

  • 1 pound large carrots
  • 3 tablespoons golden raisins (I usually use closer to 1/4 cup – I love raisins!)
  • 2/3 cup fresh mint leaves, cut into 1/4-inch strips
  • 2 teaspoons fresh lemon juice
  • 1 tablespoon olive oil
  • salt and pepper to taste

Directions:

  1. Grate the carrots on the large holes of a box grater or with a food processor using the grater blade.  In a large  bowl, combine the carrots with the raisins, mint, lemon juice, and olive oil.  Season with salt and pepper and  toss to combine well.  Keep in the refrigerator until ready to serve (I think it tastes better chilled.)

Explore, experiment, enjoy! — Dana


To view even more of Dana’s unique recipe, you can visit her at Frugal Girlmet!


If you would like to contact Dana in regards to this blog, please email her at Dana@girlfriendscoffeehour.com

At Home with GCH: Spring Salad Side Dishes

Here on our At Home with GCH blog, Mondays are always focused on healthy but oh-so-yummy! recipes.  This month we are spotlighting vegetarian dishes.  Each Monday will actually be a Meatless Monday!

So, I was talking with my dad about what to make for our family’s get-together on Easter Sunday.  Now, something you should know about us—every event is a food event. 😉  Is your family like that, too?  My contributions this year will be for dinnertime.  By request, I have been relegated the side dishes.  Two of them will be vegetarian salads: Broccoli-Craisin Salad and New Old-Fashioned Carrot Slaw.  Both fit into our healthy but-oh-so-yummy! category nicely!  Yes, there is a good amount of mayonnaise in the broccoli salad, but I think that you will find it balanced out by the rest of the healthy ingredients.  Plus this recipe provides 6-8 servings.  And in the carrot slaw, fat-free greek yogurt is substituted for the majority of the mayo that traditional ‘old-fashioned’ carrot slaw usually contains.  Enjoy!

Broccoli-Craisin SaladIMG_0196

dressing:
3/4 cup good mayonnaise
3 tablespoons honey
3 tablespoons white balsamic vinegar (red wine vinegar also yummy)
freshly ground pepper, to taste

salad:
3 heads broccoli crowns, cut up into small florets – no stems
1/2 cup finely chopped red onion
1/2 cup sunflower kernels/seeds
1 cup craisins (dried cranberries)

Combine dressing ingredients in a small bowl.  Mix together ‘til emulsified;  set aside.

In a salad bowl, toss all salad ingredients ‘til well distributed. Pour dressing over and stir ‘til everything is nicely coated.  Put completed salad into a storage container or bag and refrigerate for a minimum of 2 hours to meld the flavors together (overnight is optimum).

Notes:
The smaller you chop the florets, the nicer this salad will be.  Takes a little time…but so worth it!  I use less mayo than most recipes call for; feel free to add more if you desire. ALSO, for your meat-loving family members, you can add 2-3 slices of crumbled, crispy, cooked bacon; makes for a nice addition!

New Old-Fashioned Carrot SlawIMG_0200

dressing:
1 container lemon greek yogurt
2 teaspoons freshly squeezed lemon juice
2 tablespoons mayonnaise
freshly ground black pepper, to taste

salad:
2 cups julienned carrots *
1/2 cup fresh pineapple, cut in 1/2″ cubes
1/4 cup sliced or slivered almonds
1/4 cup golden raisins

Combine dressing ingredients together in a small bowl; set aside.

Mix all the salad ingredients together in a large bowl, and then pour on the dressing; mix together well.  Place in a storage container or bag; refrigerate for at least 2 hours or overnight so that the flavors can blend together.

Notes:
I buy bagged ‘matchstick’ carrots; usually available with the baby carrots in the produce section of your grocery store.

————————————————-

God loves you! (Don’t ever forget that!)

coleen

_________________________________

If you would like to send a personal message to Coleen concerning this series, you may email her at: Coleen@girlfriendscoffeehour.com, or leave a comment below.

At Home with GCH: Vegetable Pancakes

Vegetable Pancakes

My Jewish friends call them “latkes” and my Korean friends call them “jeon.”  I call them veggie pancakes, and I wonder why I don’t make them more often!  Kind of like hash browns, these crispy little guys are a great way to get more vegetables in your diet.  I also like them for cleaning out my fridge and getting rid of my “singleton” vegetables – you know, that ONE zucchini in a plastic bag, or the last carrot in the sack.  Frugal, I say!

If you have a food processor with a shredder attachment, you can have this recipe mastered in minutes.  If not, you’ll have to get out the box grater and put some muscle into it.  You can experiment with a large variety of firm vegetables—roots are best—like potatoes, carrots, yams, parsnips, or turnips.  You can also mix in some softer veggies, like zucchini, and any kind of minced herbs you like.  I usually just use green onions, because I always have those on hand, but feel free to try thyme, tarragon, or very finely minced rosemary.  Top with sour cream or plain yogurt and you have a nutritious, unusual side dish that’s at home next to a salad or a steak.  These make a great breakfast, too—add eggs, bacon, and fruit, and you’re in business!

Vegetable Pancakes

Ingredients:

  • 2 small potatoes (Russet or white), peeled
  • 1 large carrot, peeled
  • 1 smallish zucchini
  • salt and pepper
  • 1 egg, beaten
  • 2 teaspoons flour, optional
  • vegetable oil for frying

Directions:

  1. In the food processor with shredder attachment, shred the potatoes, carrot and zucchini.  If you are using a box grater, use the largest holes and coarsely shred all the vegetables.  Season with salt and pepper and set aside, in a large bowl, for ten minutes.  
  2. After ten minutes, squeeze out the water accumulating in the bottom of the bowl.  This will keep your pancakes from getting soggy!  Then mix in the beaten egg – I just use my hand.  If it’s still really watery, you can add a teaspoon or two of flour.
  3. In a large non-stick pan over medium heat, add about 3 tablespoons of the vegetable oil.  You aren’t deep-frying the pancakes, but you do want to make sure there’s plenty of oil, so they don’t stick to the pan.  Drop quarter-cup sized dollops of pancake mixture into the pan, and make sure they don’t touch each othe… they are hard to separate, and won’t cook evenly.  Fry for 3 to 5 minutes per side, so they are crispy and firm.  Repeat with the rest of the pancake mixture, adding more oil to the pan if necessary.  Drain on a paper bag or paper towels and sprinkle with a little salt.  Serve with sour cream.

Explore, experiment, enjoy! — Dana


To view even more of Dana’s unique recipes, you can visit her at Frugal Girlmet!


If you would like to contact Dana in regards to this blog, please email her at Dana@girlfriendscoffeehour.com

GCH: What’s on Your Plate? – Moroccan Vegetable Stew

Let me start off by saying, I have NO idea if this stew actually has anything to do with Morocco. That’s what my Mom called it, and since I never saw the recipe written down, I took her word on it and the name stuck. Apologies if you are of Moroccan descent and you don’t recognize this as something you would ever eat!

Whatever you end up calling this, the fact remains that a simple vegetable stew is always a welcome dinner at our house, especially in the fall. The combination of lentils and butternut squash gets all soft and earthy-sweet, while the green beans add texture. The only things besides veggies are chicken broth (or vegetable broth, if you are vegan) and Madras curry paste.

A quick note about curry (and next week I’ll get into more depth): curry comes from the Indian word “kari”, which simply means “sauce”. There is no one kind of curry – rather, there are hundreds of variations, and you can buy prepared curry in powder, paste, or sauce form. In this recipe, I use Madras curry paste, which is pretty mellow and has a good balance of tangy, spicy, and a little sour. Feel free to use any curry powder or paste you like, but not Thai curry, since most of that is coconut-based.

As far as the veggies you use, feel free to add, subtract, or substitute here. I think diced carrots or tiny cauliflower florets would be good, and you could double up on the tomatoes if you wanted to. If you don’t like lentils, try it with a can of chickpeas instead. Have fun with it!

.
Moroccan Vegetable Stew

Ingredients:

  • 2 tablespoons vegetable oil
  • 1 small butternut squash, or 1 pound fresh butternut squash chunks, cut into 1/2-inch pieces
  • 1 cup lentils, any kind (I used red, but brown or french green work well too)
  • 1 small onion, chopped
  • 1 large potato, any kind, cut into 1/2-inch pieces
  • 1 14-oz. can tomatoes (I like fire-roasted, but any diced tomatoes work)
  • 1 32-oz. carton chicken broth
  • 1 heaping tablespoon Madras curry paste (if using curry powder, use 2 tablespoons)
  • 12 oz. fresh green beans (or frozen) cut into 1-inch pieces
  • salt and pepper to taste

Directions:

  1. Prepare the squash: cut off the peel, remove the seeds, and chop into bite-sized pieces. In a large pot with a lid, heat the vegetable oil, then sauté the squash, onion, and potato for 5 minutes.
  2. Add the lentils and stir to combine, then stir in the tomatoes. Cover with chicken broth – about 1 – 2 cups, just level with the top of the vegetables. Turn the heat to low and let simmer for 30 minutes, stirring occasionally.
  3. Stir in the curry paste and green beans. Make sure the curry gets broken up and doesn’t sink to the bottom of the pot! Add more broth if you need to. Cover and let cook until green beans are just done – you want them to be al dente – about 15 – 25 minutes. If you are using frozen green beans, stir them in frozen, but only cook for 5 or 10 minutes – they shouldn’t be mushy.
  4. Taste for salt and pepper. Add more curry if you like!

If you are a vegetarian, or are making this for Meatless Mondays, serve it with bread and some sliced fruit. You could also make it a side dish, with grilled chicken and a salad. And like most stews, this is even better the next day!

_______________

— Dana Kim (also blogs as the Maven of Make-Do at http://frugalgirlmet.blogspot.com)