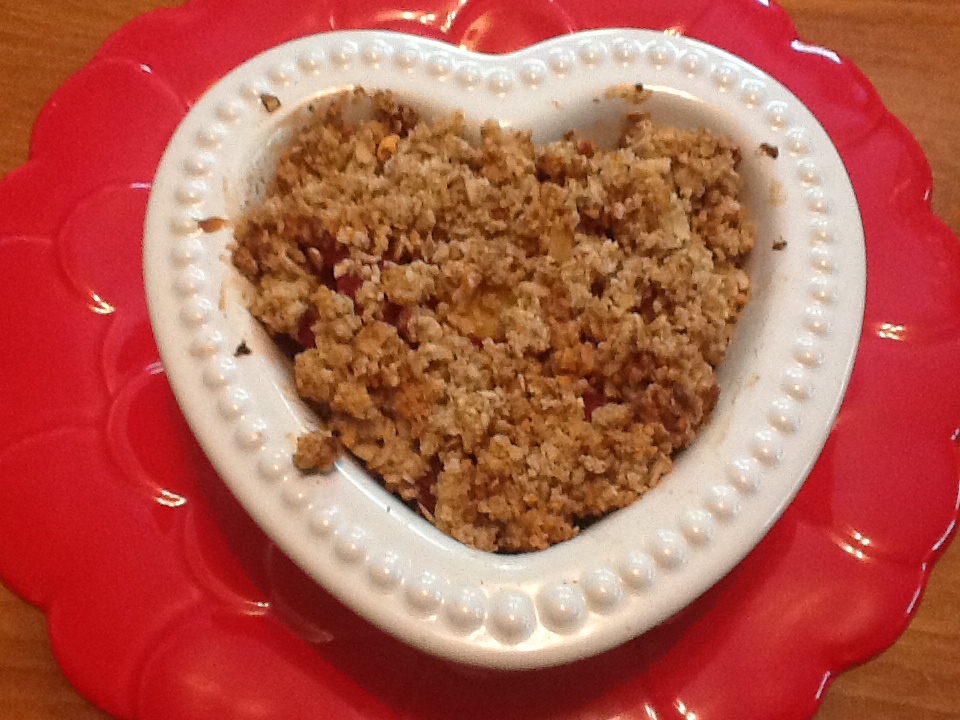
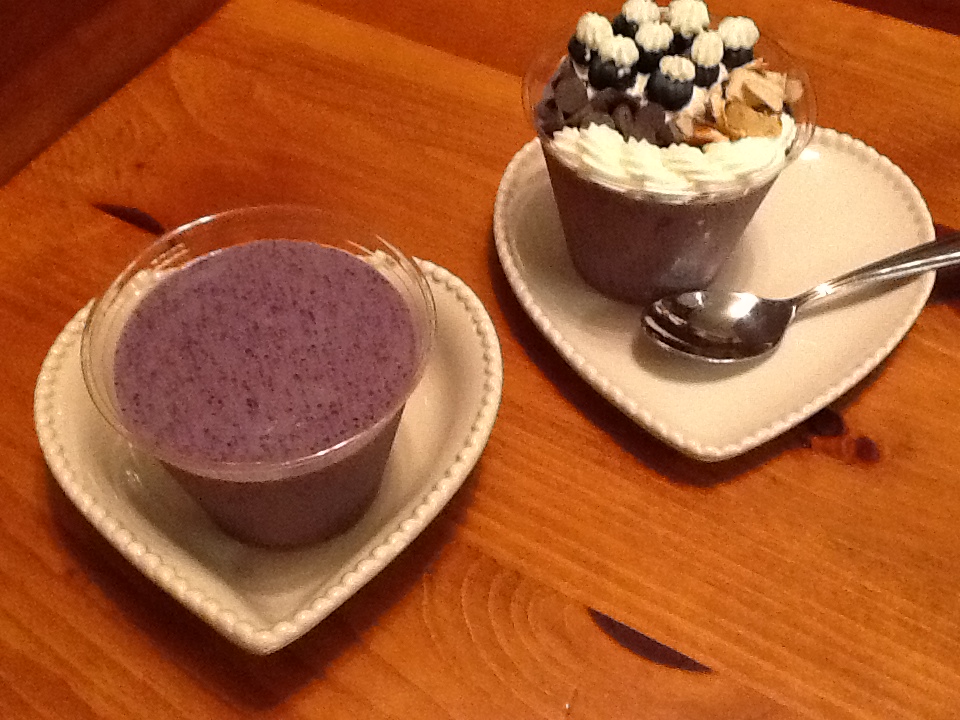
Here on our At Home with GCH blog, Monday’s are always focused on healthy but oh-so-yummy! recipes. We are continuing our series of summer recipes featuring in-season produce. Our featured ingredient this week is nectarines—so good for you! And our recipe is for a yummy baked dessert which includes nectarines AND raspberries. This is a classic French dessert (think ala Julia Child) with the fancy French name Clafouti (cla-foo-tea). Clafouti is a delicious sort-of-cake, sort-of-custard, very light, perfect for summer dessert (but oh-so-simple). As typical I have made it gluten free (dairy free, too) but it can also be made with traditional all-purpose flour. You can make clafouti with practically any type of ripe, juicy fruit. In the past, we have enjoyed pear, cherry, and blueberry variations. You might remember a few weeks ago we had a recipe for Fruit Crisp. These two recipes both feature yummy, ripe, juicy, seasonal fruits but differ in their texture. The Crisp is just that…a crispy, oatmeal-based topping for the fruit; while this Bake (clafouti) is more tender and delicate. *** I’d love to know which presentation your family enjoys most!
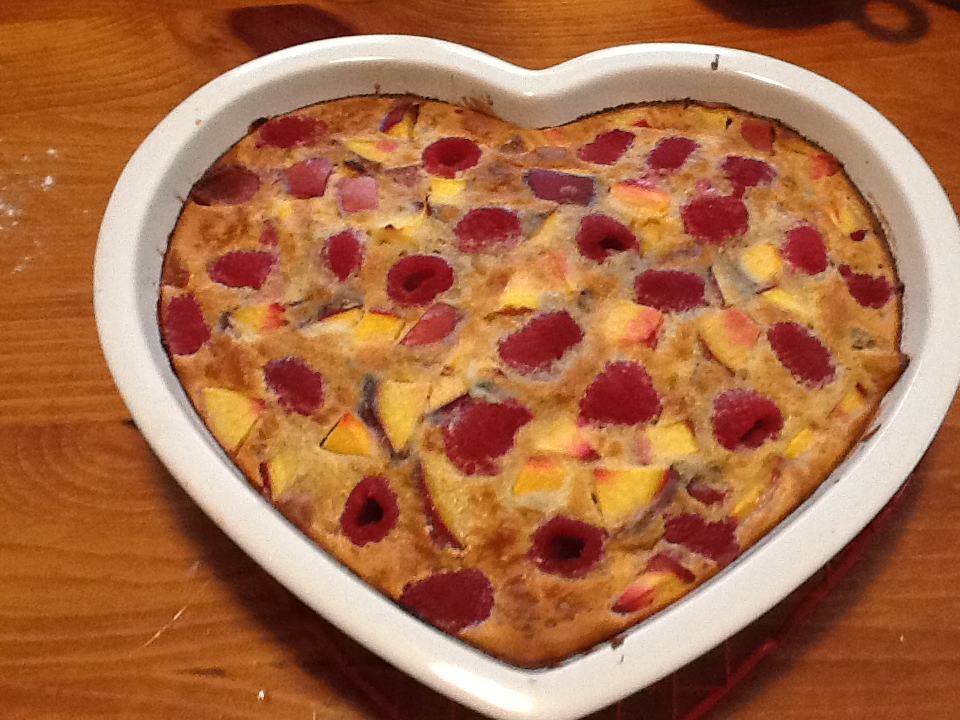
Nectarine-Raspberry Clafouti (Fruit Bake)
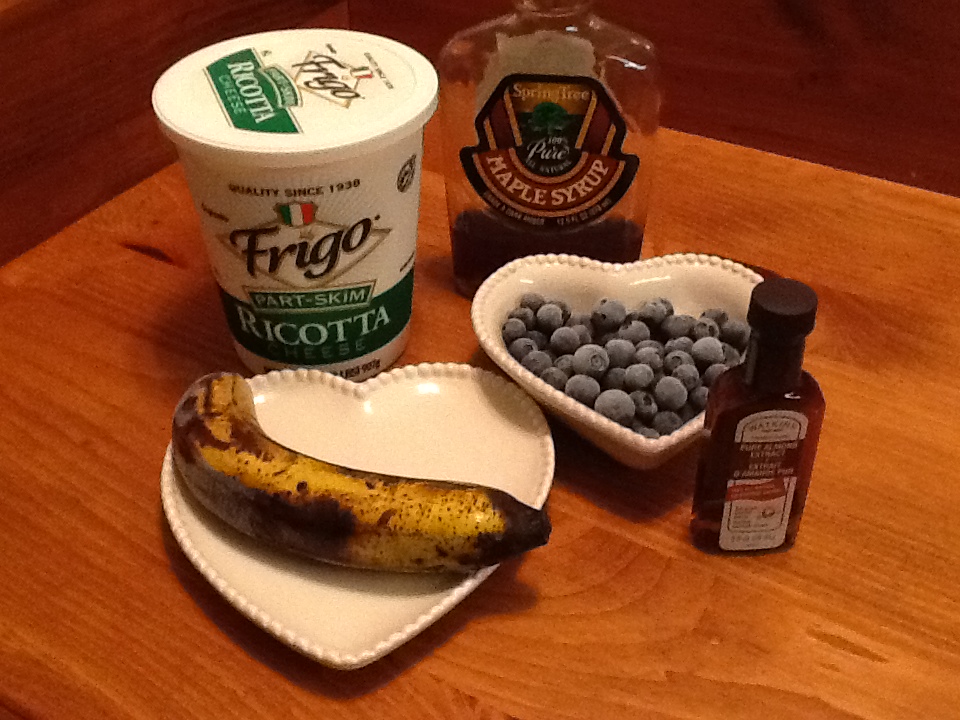
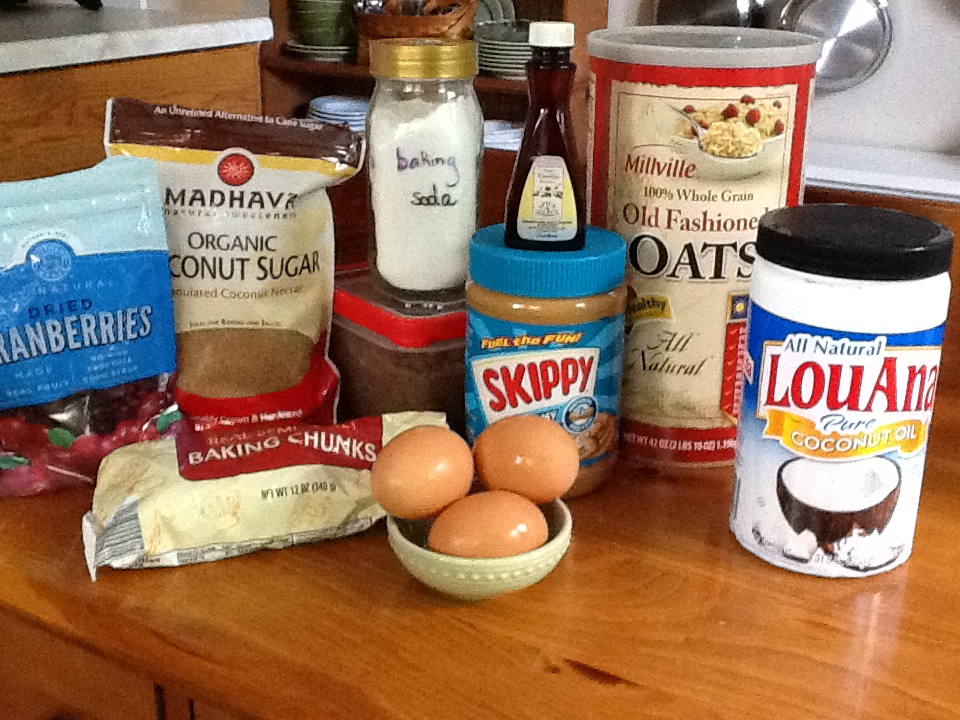
Ingredients:
1 tablespoon coconut oil (or butter) 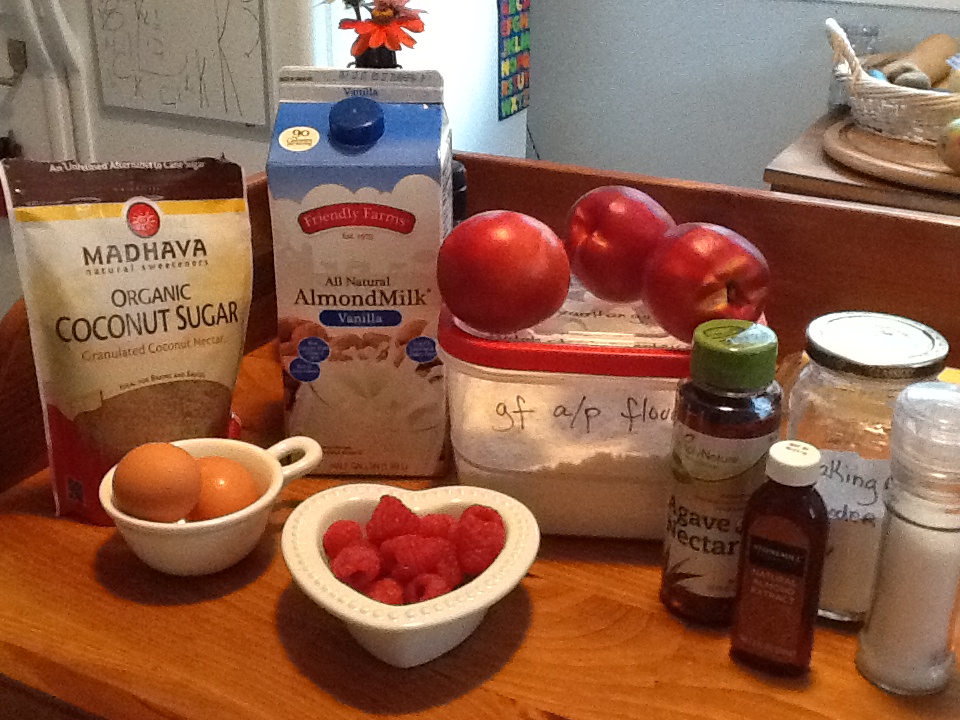
3 large ripe nectarines
1 (6 ounce) container raspberries
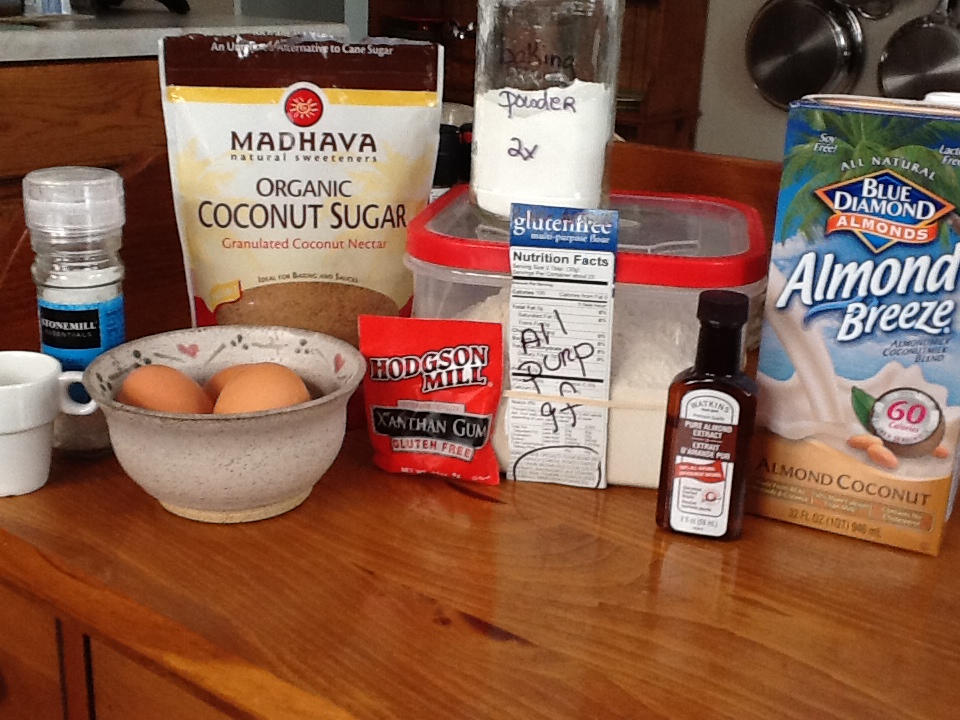
3/4 cup gluten free all-purpose flour
1 teaspoon baking powder
pinch of salt
3 tablespoons agave nectar
2 large eggs
1 cup almond milk
1 teaspoon almond extract
Directions:
- Preheat oven to 400.
- Grease a 1+1/2 – 2 quart ceramic baking dish with a small amount of coconut oil (or butter).
- Pit the nectarines and then roughly chop.
- In a blender container, mix all ingredients except for the fruit ‘til smooth and foamy, just a minute or so.
- Pour about 1/4″ of batter into the baking dish. Place in oven ‘til batter looks slightly set (about 2 minutes). Remove from oven.
- Add chopped nectarines on top and pour in the balance of the batter; scatter the raspberries on top, pushing them down gently into the batter with your finger.
- Put baking dish back into oven; REDUCE HEAT to 350, and bake for 45 minutes.
- The clafouti is done when it has puffed and lightly browned; check by using a thin knife inserted into the center that comes out clean.
- Set aside to cool slightly. Can be eaten warm or cold. Enjoy!
♥ ♥ ♥ ♥ ♥
God loves you! ♥ (Don’t ever forget that!)
♥ coleen