March 29, 2024

Twice-Baked Sweets

Oh, now this was comfort food!  I guess I was just ‘in a mood’ for something like this—filling, creamy, sweet yet tangy—and it smelled so good!  AND still stayed within the healthy but oh-so-yummy parameters.  This is an easy, quick (minus the baking time for the potatoes) meal to prepare…and could be a simple meatless meal, too.

The “twice-baked” potatoes of my past have been big ol’ russets…with butter a-n-d sour cream.  (how about you?)  The sweet potatoes, while yes, still containing lots of carbs also are high in fiber and lots of good vitamins and minerals i.e., beta-carotene and anti-oxidants.  Enjoy!

2015-10-30 19.46.12

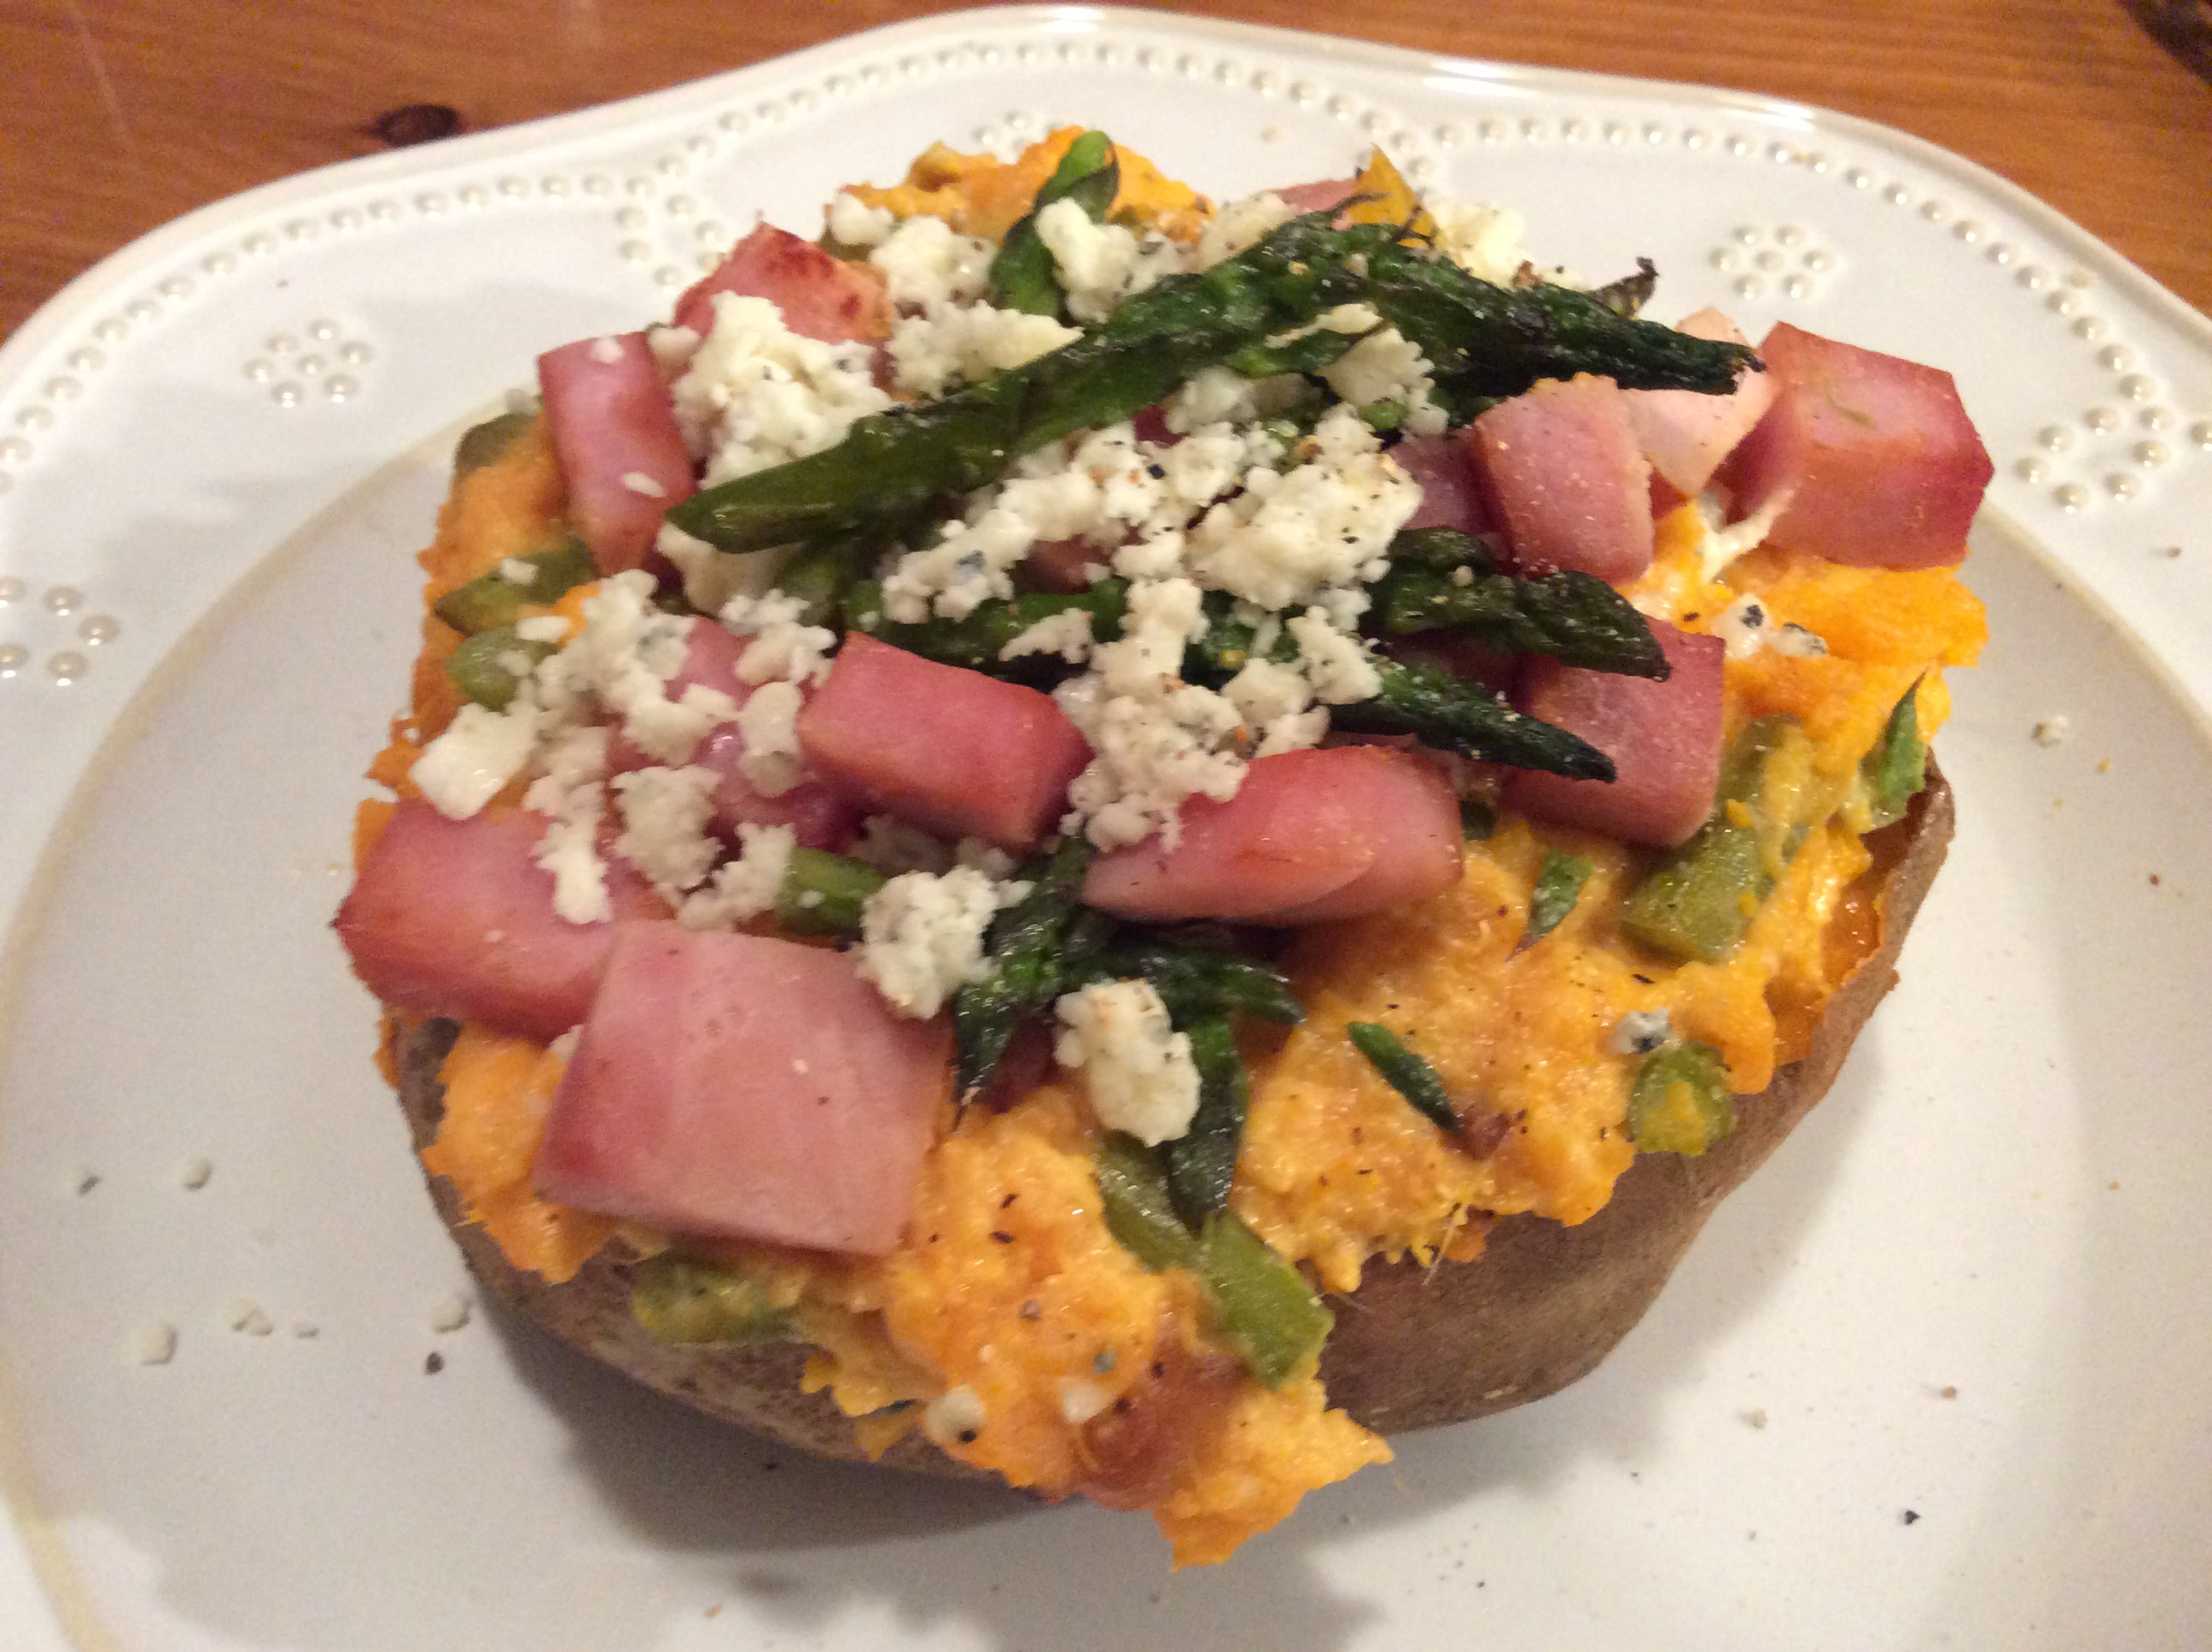
Twice-Baked Sweet Potatoes

ingredients:

2 large – extra large sweet potatoes
1/2 small red onion, diced small
1/2 red or yellow bell pepper, diced small
1/4 – 1/3#  asparagus, trimmed and cut into 1/2-inch pieces
6 ounces ham, diced (I used a ham steak)
1/2 cup Greek yogurt (or sour cream)
4 ounces gorgonzola cheese, crumbled, divided
1/4 teaspoon salt
1/4 teaspoon white or black pepper

directions:

  • bake sweet potatoes at 400 for 35-45 minutes, depending on size ’til soft.  when done, set out to cool for 3 or 4 minutes.  slice off the very tops and, carefully, scoop out the majority of the baked potato. leave the shells to one side and place the filling into a large bowl and mash up.
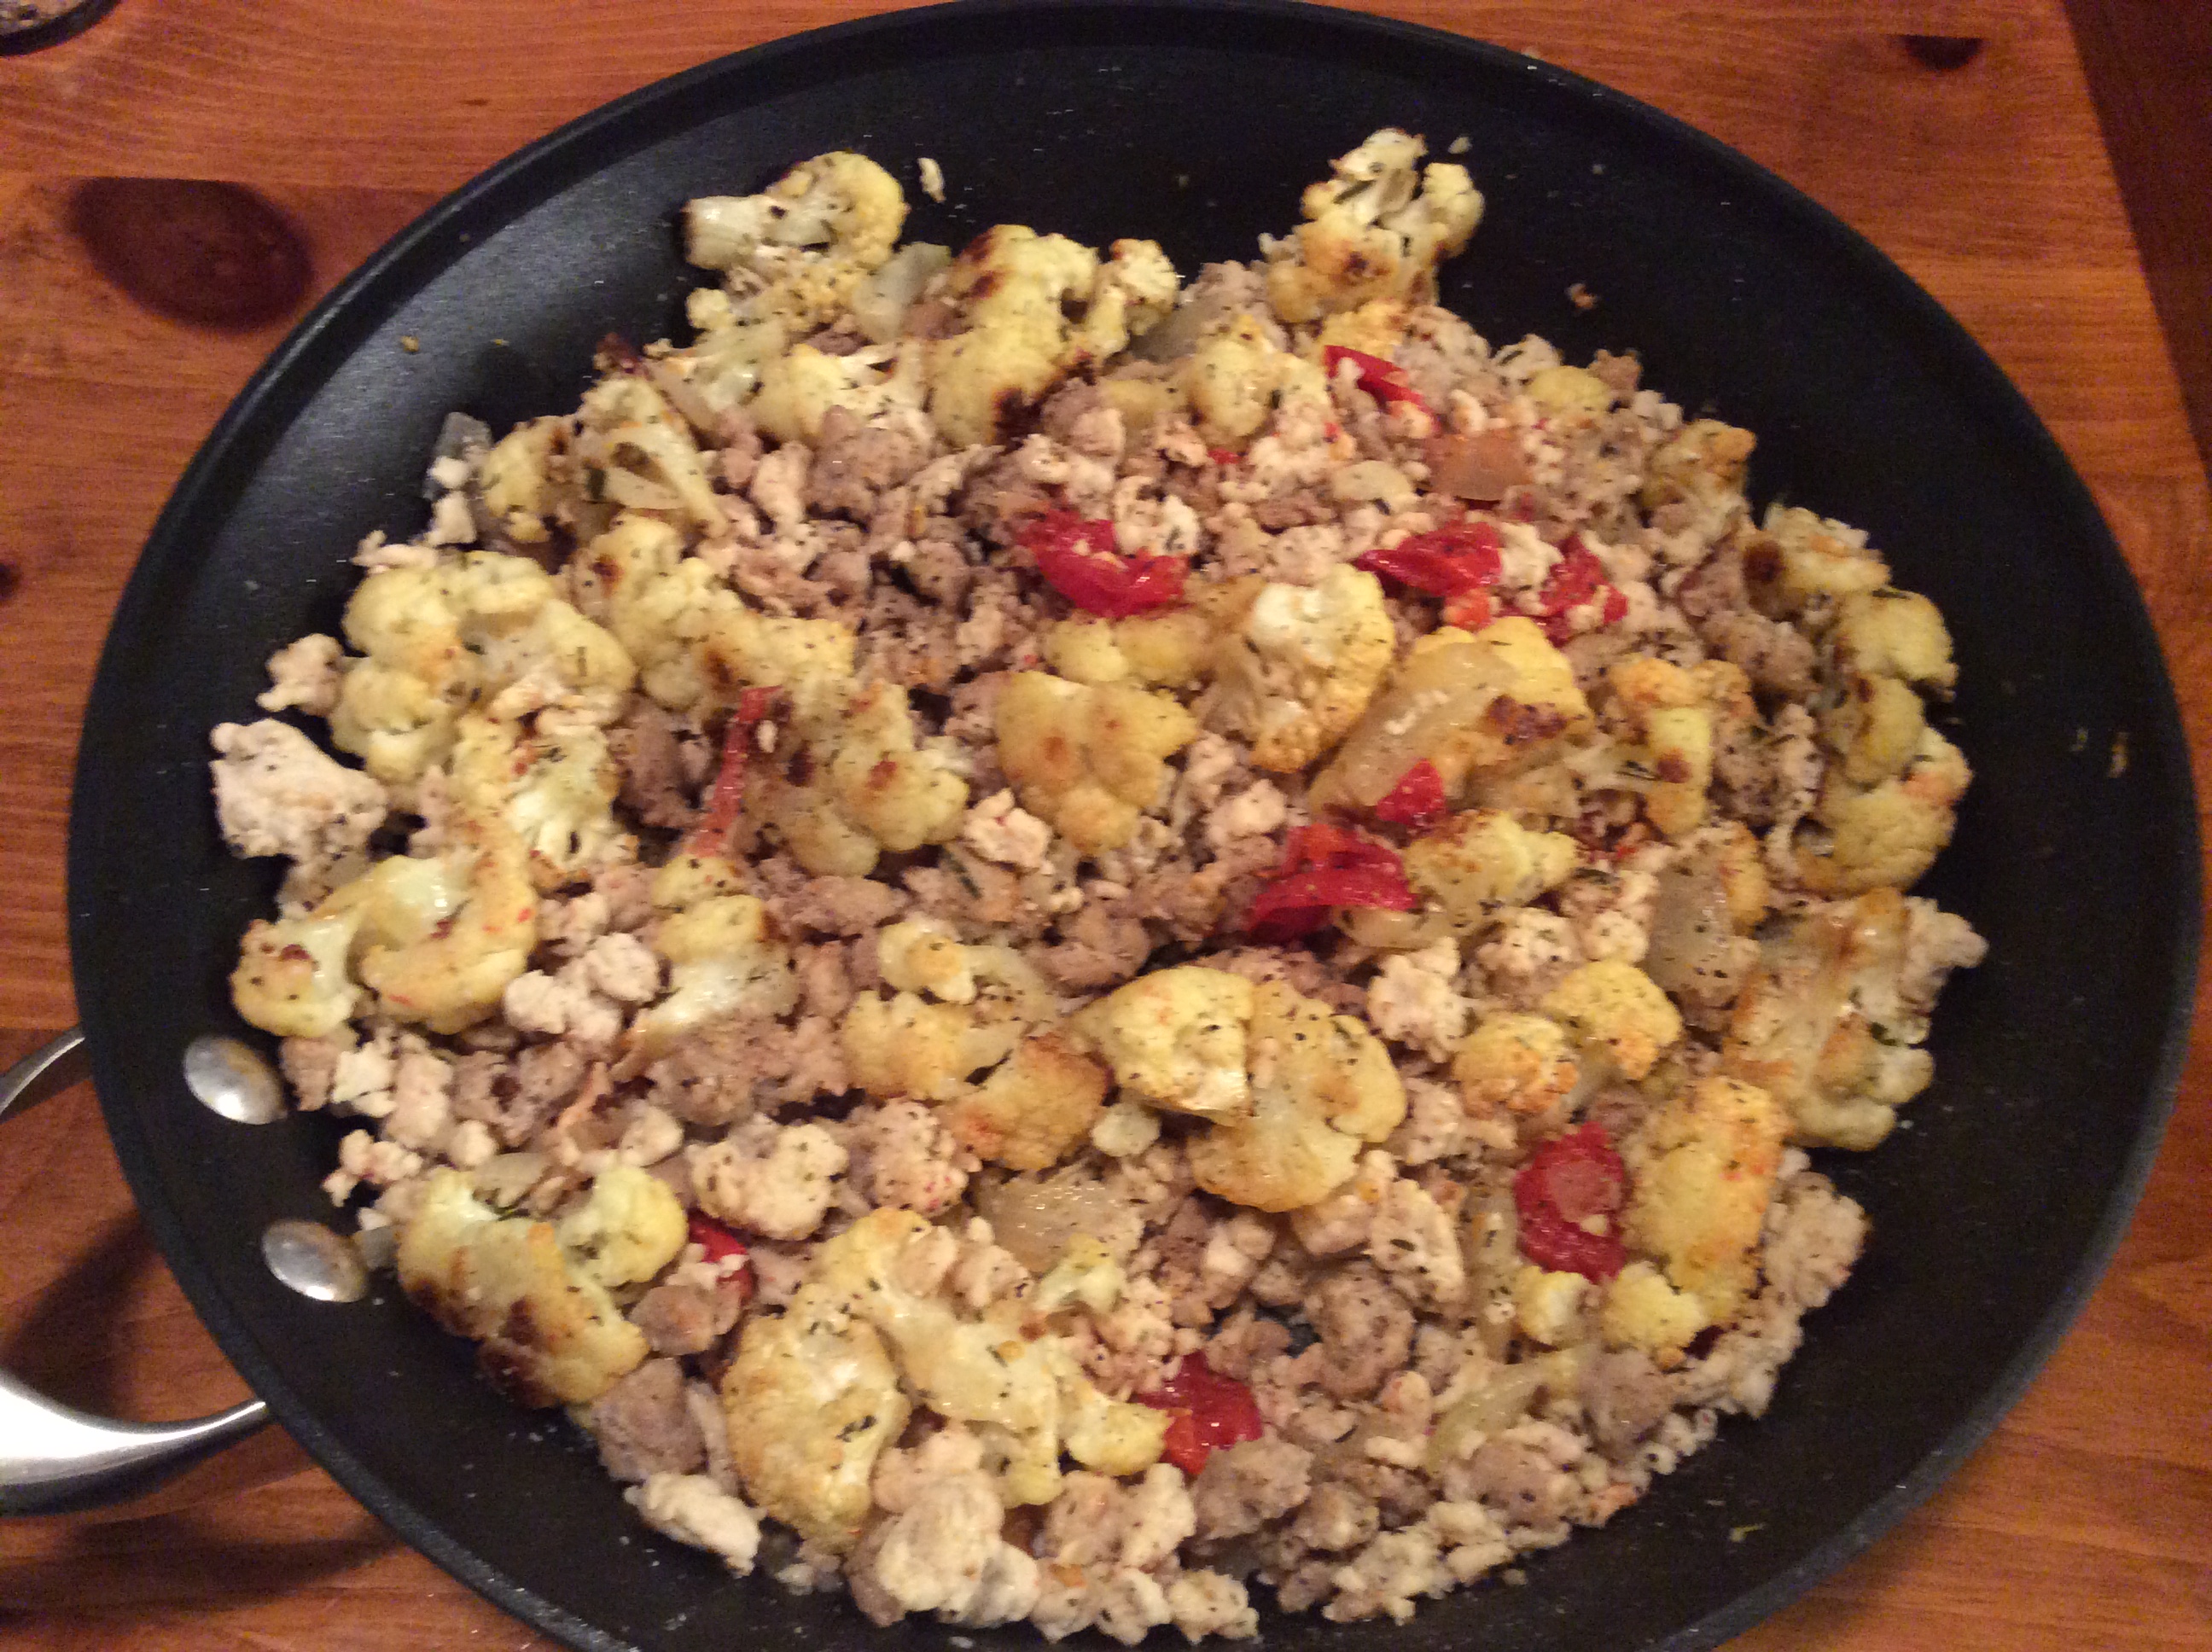
  • meanwhile, in a large saute pan over medium high heat, heat oil and add the cutup veggies.  cook, stirring occasionally, for 6-8 minutes ’til asparagus pieces are just tender when poked with a sharp knife tip. remove from pan and add to bowl with mashed sweets
  • add the ham chunks to the pan and cook 5 minutes or so, allowing to brown up just a bit
  • add to the bowl with the  veggies
  • add the Greek yogurt along with most of the gorgonzola (save a bit out for topping); mix together completely. season to taste with s&p.
  • place the potato shells into a baking dish and add back the potato mash with veggies and ham (they will be very well-stuffed.)
  • top each stuffed potato with a bit of the remaining cheese
  • place in oven for 10 minutes or so ’til cheese is melting and filling heated piping hot

♥   ♥   ♥   ♥   ♥

God loves you!  ♥  (Don’t ever forget that!)

♥  coleen

Korean-Spiced Pumpkin Seeds

Korean Spiced Pumpkin Seeds
Happy Halloween, everyone!  While it’s not my favorite holiday, I like watching my kids get into it.  When we drive down the street, my little one likes to shout out the neighborhood decorations:  “Mommy, I just saw a skeleton!!!”  “Oh no,” I cower, “I’m scaaaaared!”  “Don’t worry Mommy, it’s just pretend!”  And they really love seeing jack-o-lanterns.

Thank you, Rose the Jack-o-Lantern, for your tasty guts!

My Mom always toasted the pumpkin seeds for us when we were kids, and I loved them so much!  I found a recipe at My Retro Kitchen, which, I think, is the way my Mom made them.  Unfortunately, I was all out of Worcestershire sauce!  Frugal Girlmet to the rescue – I decided to keep the technique and use a different flavor.  Innovate, experiment – voila!  Korean Spiced Pumpkin Seeds!

These have everything you want in a snack – crunchy, salty, spicy (but not TOO spicy – unless that’s how you roll, in which case, double the dried chili pepper powder!) and just a bit sweet.  These would be a great bar snack (in the name of science, I had to test my hypothesis, and these are fantastic with a cold beer!)

Korean Spiced Pumpkin Seeds

Ingredients:

  • 1 1/2 – 2 cups raw pumpkin seeds, rinsed and patted dry
  • 1 tablespoon sesame oil
  • 1 tablespoon soy sauce
  • 1/2 teaspoon sugar
  • 1/2 teaspoon granulated garlic (not to be confused with garlic salt!)
  • 1/4 teaspoon Korean chili powder (or use Cayenne or sriracha)
Directions:
  1. Preheat oven to 275 degrees.  Line a baking sheet with aluminum foil.
  2. In a large bowl, mix everything but the pumpkin seeds.  Make sure you have no lumps of garlic or sugar.  Stir in the pumpkin seeds, then scrape it all out onto the baking sheet.  Spread the seeds out on the sheet so they can cook evenly.
  3. Cook for one hour, stirring every ten minutes.  They get a little sticky, so use a silicon spatula.  After an hour, remove from the oven and let cool for about an hour.  Don’t worry, they’re not sticky anymore.  Remove to a bowl and get snacking!

Sweet&Spicy Turnips and Squash

Turnips…do you love ‘em? I do! Whether it’s my Dad’s always delicious, traditional mashed turnips and carrots, or a puree of turnips with butter and brown sugar (I know, I know…), or chunks of turnips in a stew—they are yummy and satisfying. But recently I was looking to do something different with these guys.

2015-10-26 12.06.48

Roasted along with my stand-by fav veggie—butternut squash—they turned out great. A tiny bit sweet, and a little spicy…I believe that fits in nicely with our healthy but oh-so-yummy POV. And, I am thinking they will show up on our Thanksgiving table in a few weeks!  Enjoy.

2015-10-26 13.09.36

Sweet&Spicy Turnips and Squash

ingredients:

1# turnips, peeled
1 small butternut squash (about 1+1/2 – 2#), peeled and seeded
2-3 tablespoons extra-virgin olive oil
1/2 teaspoon sea salt
1/4 teaspoon freshly ground pepper
1 small red onion, halved and sliced
2 tablespoons molasses (or 100% pure maple syrup)
1 teaspoon cinnamon
1/8 teaspoon each nutmeg, ground cloves, star anise Chinese five-spice powder
1/2 teaspoon sea salt

directions:

  • preheat to 450; generously line a large rimmed baking sheet with parchment paper
  • slice turnips in half and then into 1/2# slices; slice butternut crosswise into 3/4″ X 3/4″ sized pieces
  • toss together with oil, s&p in a large bowl until well coated
  • pour onto lined baking sheet and spread out into an even layer (set the bowl aside; don’t wash it just yet!)
  • roast the veggie for 10 minutes. carefully pour back into the bowl (I simply picked up the parchment paper by the edges…don’t worry…it will not burn you.)
  • add in the onions and spices; stir gently to combine. then pour the molasses all around and give another stir to coat thoroughly
  • pour the coated veggies back onto the lined baking sheet
  • return to oven for 20 or so more minutes (give a quick stir about halfway through) ‘til tender
  • sprinkle with additional sea salt before serving

♥   ♥   ♥   ♥   ♥

God loves you!  ♥  (Don’t ever forget that!)

♥  coleen

Spinach Pakoras with Royal Dip

Spinach Pakora

I first had these delicious veggie fritters at a stand at the farmer’s market.  I’d never seen them before, but it was love at first bite!  I swore I’d have to find a way to make them at home – and I did!  Spinach Pakoras with Royal Dip are healthy, tasty, vegetarian and gluten-free too!  These Indian snacks are eaten with a minty yogurt dip and are a popular street food.

The only ingredient that may be a bit tough to find is chickpea flour.  Also called gram flour or besan flour, it’s just dried garbanzo beans ground powder-fine.  I made it at home, and while it took a bit of time because my food processor is wimpy, it worked very well!  If you do grind your own, you will need to sift it through a fine sieve, and return any pebbles to the food processor for a finer grind.  After that, it’s smooth sailing.  If you’re lucky enough to have an Indian grocery store nearby, stop in and buy some chickpea flour – and whatever else catches your eye and tempts your nose!

Spinach Pakora with Royal Dip

Spinach Pakoras with Royal Dip

Ingredients:

  • 1 cup Greek yogurt
  • 1 clove garlic, finely minced
  • 1 tablespoon cilantro, finely minced
  • 1 tablespoon mint, finely minced
  • 1 cup chickpea flour
  • 1 teaspoon curry powder
  • 1/2 teaspoon  ground fennel seeds
  • 2 tablespoons rice flour (or use more chickpea flour, or use regular flour)
  • 2 cups fresh spinach or other hearty greens (mustard, collard, kale), chopped
  • 1/2 onion, cut into very thin strings
  • 1/4 teaspoon salt
  • 1/4 cup water (may use more or less)
  • oil for frying:  grapeseed, coconut, peanut, or vegetable oil

Directions:

  1. Make the Royal Dip:  stir together the yogurt, garlic, cilantro, and mint.  Cover and refrigerate.
  2. Mix together the chickpea flour, curry powder, fennel, and rice flour in a large bowl.
  3. Mix in the spinach and onion. Stir to combine.
  4. Add about 3 tablespoons of water and stir.  Mix it all very well.  You don’t want a thin batter – you just want the flour to be wet and coating the veggies.  Add a bit of water until you make a thick batter.
  5. Heat the oil over a medium burner and drop the pakora batter in by the tablespoonful.  Try to flatten them out a bit so they are pancake-shaped as opposed to spherical.  Cook for about 3 minutes until crispy, then flip and cook the other side.
  6. Remove pakoras to a paper towel-lined plate and sprinkle with a bit of salt.  Serve hot with the Royal Dip.
Explore, experiment, enjoy! — Dana

To view even more of Dana’s unique recipe, you can visit her at Frugal Girlmet

Turkey-Quinoa Meatloaf

Ahhh, meatloaf!  Either you love it…or you hate it.  (Doesn’t it seem that most folks fall into one category or the other?)  How about your family?   Meatloaf is on our menu 2 or 3 times each month…along with the leftovers, too.  So, I am always on the lookout for an additional FABulous ingredient to change it up.   We got over the hurdle of making it gluten free by the addition of dehydrated potatoes (or, even better, dehydrated sweet potatoes…oh!my!).  But that doesn’t fit into our menu right now.  For a month or so now, we have been eating really low-carb…which presents a problem with meatloaf.  So I been thinking of something to sub in for breadcrumbs or dehydrated potatoes.  And I thought perhaps some leftover quinoa…and when I googled some recipes, I found that this was not an original thought. 😉  There’s a ton of recipes and variations out there!  Here is what we enjoyed; hope you and your loved ones do, too!

Turkey-Quinoa Meatloaf

2015-10-13 18.46.21

ingredients :

1 T olive or coconut oil
1 small sweet onion
1 small zucchini
handful of baby carrots
1 stalk celery
1/2 red pepper
1/2 yellow pepper
handful mushrooms
2# ground turkey, 94 or 99%
2 large eggs, whisked
1/4 cup spicy mustard (or bbq sauce, or ketchup)
2 cups cooked quinoa, cooled
1 T dried parsley
1 T dried thyme (or oregano)
1 T each, sea salt and freshly ground pepper

directions :

  • preheat oven to 375
  • line a large baking sheet with parchment paper
  • clean all veggies and cut into chunks
  • in batches (depending on size of your food processor) chop all of the veggies into small-sized dice
  • heat oil in a large sauté pan over medium high heat
  • add the chopped veggies, stir ’til oil is well distributed.  cook veggie mixture ’til softened.  set aside and let cool
  • in a very large mixing bowl, combine turkey, eggs, cooled quinoa and vegetables, herbs and seasonings.
  • mix well by hand ’til thoroughly combined
  • divide in 1/2; shape into two equal loaves about 2-3 inches high on the parchment paper-lined baking sheet
  • bake for 40-45 minutes. done when temp reaches 165. allow to sit for 5 minutes or so to firm up

♥   ♥   ♥   ♥   ♥

God loves you!  ♥  (Don’t ever forget that!)

♥  coleen

Lemon Basil Cookies

Lemon Basil Cookies

If your FaceBook newsfeed or email are anything like mine, you’ve got dozens of recipes to view every day.  From pages you ‘liked’ to friends sharing recipes, I’m bombarded with recipes for tasty treats all day long!  However, I saw this recipe for Lemon Basil Cookies on the Elana’s Pantry website, and I said to myself – that’s the one I’m going to make today!

I still have lots of basil growing in my flower bed, so that was handy to come by.  Almond flour is easy to find at the store now, and you can also make your own if you choose.  These cookies are herbal and fresh tasting, with a nice balance of flavors.  In fact, I tasted a bit of salt in mine from the salted butter I used, which offset the sweetness.  You may choose to add another tablespoon of honey, because these cookies are not overly sweet.  Try them and see – perfectly balanced, deliciously different!

Lemon Basil Cookies  (Recipe from Elana’s Pantry)

Ingredients:

  • 2 cups blanched almond flour
  • 1/4 teaspoon salt
  • 1/4 teaspoon baking soda
  • 1/4 cup coconut butter (I used regular butter and they came out great!)
  • 1/4 cup honey
  • 1 tablespoon chopped fresh basil
  • 1 teaspoon lemon zest

Directions:

  1. Preheat oven to 350*F.
  2. In the bowl of a food processor, blend together the almond flour, salt, and baking soda.
  3. Add the butter, honey, basil and lemon zest.  Blend again until a ball of dough forms.
  4. Line baking sheets with parchment paper, or use a Silpat mat.  Scoop a teaspoon full of dough and drop it on the parchment paper.  These cookies spread, so give them some room!
  5. Cook for about 8 minutes.  Remove from the oven and let cool on the cookie sheets for an hour.
  6. Store in a sealed container.  This made about 18 cookies for me.
Explore, experiment, enjoy! — Dana

To view even more of Dana’s unique recipe, you can visit her at Frugal Girlmet

Gingery Roasted Shrimp and Asparagus

We all need a few tried-and-true QUICK suppers for our menu planning; yes?  This Roasted Shrimp and Asparagus is just that!  From starting the oven to preheat to plating this dish takes maybe 30 minutes (or less).  And it fits so well into our healthy but-oh-so-yummy POV.  Low carb, low fat but not low in flavor!  Between the ginger and garlic, the tangy-ness of the soy sauce, and finished off with the smokiness of the sesame oil—just delish!  Enjoy!

(Oh!  Keep your eye on the shrimp while roasting…they won’t take very long at all.  Don’t forget that they have their own built-in thermometer: they turn pink when perfectly done!)

Ginger-y Roasted Shrimp and Asparagus

2015-10-06 18.43.43

ingredients:
1 cup quinoa (cook according to package directions)
1/2# (or more) raw shrimp, cleaned
1 bunch asparagus (about 1#), ends trimmed
1 T olive oil
2 T soy sauce
2 T minced garlic
1 T honey
1 T  fresh ginger, minced
1 tsp sesame oil
sea salt, freshly ground pepper

directions:

  • preheat oven to 425
  • line a baking sheet with parchment paper
  • place asparagus stalks on the baking sheet and drizzle with the olive oil; roll back and forth to thoroughly coat the asparagus
  • in a small bowl, combine the soy sauce, garlic, honey, and ginger
  • using a pastry brush (or your fingers!), brush about half the mixture on the asparagus
  • place in over and roast for 15-20 minutes, ‘til almost tender
  • remove pan from oven and toss shrimp onto the pan; brush with a little of the sauce mixture
  • return to oven for 5 minutes or so (depends on the size of the shrimp)
  • when everything is done—pile the quinoa in the middle of your plate, add asparagus spears and top with shrimp
  • drizzle the remaining sauce over top along with a few drops of the sesame oil

♥   ♥   ♥   ♥   ♥

God loves you!  ♥  (Don’t ever forget that!)

♥  coleen

Oven-Roasted Pork Chops with Lemon-Caper Sauce

Pork Chop with Capers
Where others have a sweet tooth, I have a sour tooth.  I’ve been known to use only vinegar, and skip the oil, when dressing my salad.  I eat cornichons like other people eat bonbons.  So when I saw this recipe for Oven-Roasted Pork Chops with Lemon-Caper Sauce , I knew I was going to like it.
Using a recipe from my “Complete America’s Test Kitchen TV Show Cookbook”, I skipped the step of brining my pork chops, mostly because I didn’t read the recipe far enough in advance to do it before dinner. They came out fine without it, and were very juicy. These were easy, quick, and nearly fool-proof. They were tart and tangy (but not puckery, so if you are not a sour-lover like me, you won’t be put off.) 
 
Oven-Roasted Pork Chops with Lemon-Caper Sauce
(adapted from The Complete America’s Test Kitchen TV Show Cookbook)
 
Ingredients:
  • 4 pork chops, about 1+1/2 inches thick, trimmed of excess fat
  • 2 tablespoons vegetable oil
  • 1 medium shallot, minced
  • 1 cup chicken broth
  • 1/4 cup juice from 2 lemons
  • 2 tablespoons capers, drained
  • 3 tablespoons butter, softened
Directions:
  1. Preheat oven to 450 degrees. Heat the oil in a large skillet over high heat, and brown the pork chops on one side, for about 2 minutes. Flip and brown the other side, another 2 minutes.
  2. Transfer the chops to a foil-lined baking sheet, or large, wide baking dish (so they aren’t crowded or touching each other.) Roast in the oven until the internal temperature reaches 140 to 145 degrees on a thermometer, about 15 minutes, turning them over halfway through the cooking time. Remove from the oven, place on a platter, and cover with aluminum foil. Let them rest for about 5 minutes, and check to make sure the internal temperature has reached 150 degrees.
  3. While the chops are in the oven, add the shallot to the skillet you cooked the pork chops in, and cook over medium heat until softened, about 30 seconds.
  4. Increase the heat and add the broth, stirring to scrape up any bits stuck to the pan. Add the lemon juice and capers and cook until the sauce reduces to about 1/3 cup, about 4 minutes.
  5. Off the heat, whisk in the butter, and pour over the pork chops.

Herb-licious Roasted Cauliflower Skillet

So, to spare you another butternut recipe 😉 here’s one that is delicious—HERB-licious, that is!  Whether you are blessed to have fresh herbs on hand or are relying (like me) on your stash of dried herbs, this is a very tasty way to serve roasted cauliflower.

Large, beautiful heads of cauliflower are super-abundant in our area now and for the rest of the Fall season.  Cauliflower makes for an excellent low carb stand-in for more traditional carb-laden foods like potatoes and rice.  Here are some nutrition facts which will show the value of eating (often!) this wonderful veggie.

And this whole recipe from cutting up the cauliflower (here’s a link to an efficient way to do that job) to grating on the Parm right before serving will take you just about one half hour…really!

Herb-licious Roasted Cauliflower Skillet

2015-10-04 19.56.25

ingredients:
1 head cauliflower, about 2#
3-4 tablespoons olive oil (or coconut oil), divided
2-3 teaspoons (combined) of dried herbs (thyme, tarragon, crushed rosemary), your choice
sea salt, freshly ground pepper
2 (or more!) tablespoons of minced garlic
3 links of uncooked chicken (or turkey) sausage, removed from casings
1/2 # ground chicken or turkey
1 medium onion, diced
handful of grape or cherry tomatoes, halved
2 tablespoons finely grated Parmesan cheese

directions:

  • heat the oven to 425; line a baking sheet with parchment paper
  • cut the cauliflower up into bite-sized florets; and place into a large bowl
  • add 2 (or 3 if necessary) tablespoons of oil, all the herbs and a teaspoon each of s&p; combine
  • pour onto the lined baking sheet and bake for 15 minutes; pull out of the oven
  • scatter the minced garlic and tomatoes over the cauliflower and gently combine
  • continue to roast for another 5 minutes or so ‘til cauliflower is lightly browned and easily pierced with a sharp knife; remove from oven
  • meanwhile, heat 1 tablespoon of oil in a large sauté pan over medium-high heat
  • add the onion and sausage and cook for 5 minutes, using a spoon to break up the meat as it cooks
  • crumble in the ground meat; and continue to cook for another 6 minutes or so ‘til all the meat is thoroughly cooked through and broken up into small-ish chunks; reduce heat to very low
  • taste the <thoroughly cooked> meat, add s&p to taste
  • when cauliflower is ready, add to skillet and stir to combine
  • top with cheese, if desired

   ♥      ♥      ♥      ♥      ♥ 

God loves you!   ♥  (Don’t ever forget that!)

  coleen

Korean Sweet and Spicy Chicken


Korean Sweet and Spicy Chicken

This Korean Sweet and Spicy Chicken is GOOD.  My family scarfed it up last night.  If you don’t have gochujang – Korean red pepper paste that is both fruity and fiery – you can add hot sauce instead.  The longer you marinate the chicken, the better, but don’t go more than 24 hours.  You can put this together in the morning before work and come home and cook it.  Serve with rice, a salad, or a full table of ban chan!

Korean Sweet and Spicy Chicken

Ingredients:

  • 2 pounds boneless, skinless chicken thighs, sliced into strips
  • 1/4 cup soy sauce
  • 1 tablespoon gochujang – or more! – or hot sauce of choice
  • 2 tablespoons ketchup
  • 3 tablespoons brown sugar or honey
  • 1 teaspoon grated ginger
  • 3 cloves garlic, minced
  • 2 tablespoons rice or apple cider vinegar
  • 1 tablespoon sesame oil
  • 1 tablespoon vegetable or olive oil
  • sliced green onions and sesame seeds, to serve

Directions:

  1. Place the chicken in a large Ziplock bag, or other resealable / Tupperware-type container.  Add the soy sauce, gochujang, ketchup, brown sugar, ginger, garlic, vinegar, and sesame oil.  Mix thoroughly to combine.  Let marinate at least one hour, but less than 24 hours.
  2. In a large skillet, add 1 tablespoon vegetable or olive oil.  When hot, add the chicken in two batches, stirring occasionally, and making sure both sides get browned, about 5-8 minutes per batch.  Discard any leftover marinade.  Serve chicken heaped in a bowl, topped with sliced green onions and sesame seeds.
Explore, experiment, enjoy! — Dana

To view even more of Dana’s unique recipe, you can visit her at Frugal Girlmet