Furikake Popcorn
I have an admission to make: I have a popcorn addiction. It would be physically impossible for me to see a movie in the theater without a big bucket of buttery, salty popcorn on my lap! When I was pregnant with my second daughter, I was eating a bag of microwave popcorn everyday—until my husband started emailing me news reports of people contracting “popcorn lung” from chemicals used in microwave popcorn. Undeterred, I now make it on the stovetop. I’m down to a batch a week, and I’m okay with that.
If you can, look for organic popcorn. Trader Joe’s has it and at a good price. You’ll also need a large, heavy-bottomed non-stick pot with a lid, and some kind of oil. I usually use regular vegetable oil. You can try peanut oil—it has a high smoke point, so it can withstand high heat without burning or breaking down. Even better is coconut oil, which I use for popcorn recipes that are on the sweet side.
The technique, if you haven’t made it the old-fashioned way in a long time, is simple. Add the oil and three kernels of popcorn, heat over medium heat, covered with the pot lid. When you hear or see the three kernels pop, you know your oil is ready, so add the rest of the popcorn. Cover the pot and shake every 5 or 10 seconds to keep things moving. Just like microwave popcorn, remove from the heat when you stop hearing popping. Add your toppings immediately; cover and shake to distribute.
Usually just salt and butter are enough for me, but sometimes I like to experiment with new flavor combinations. Here are some of my favorite discoveries.
===========
Best Kettle Corn
Ingredients:
- 4 tablespoons coconut oil
- 1/2 cup popcorn kernels
- 1 tablespoon white sugar
- salt to taste
Directions:
- Add coconut oil and 3 kernels of popcorn to the pot; heat over medium until the three kernels pop. Add the rest of the popcorn and the tablespoon of sugar. Cover, shaking frequently, until the popping stops. Shake on salt to taste (not a lot) and serve.
===========
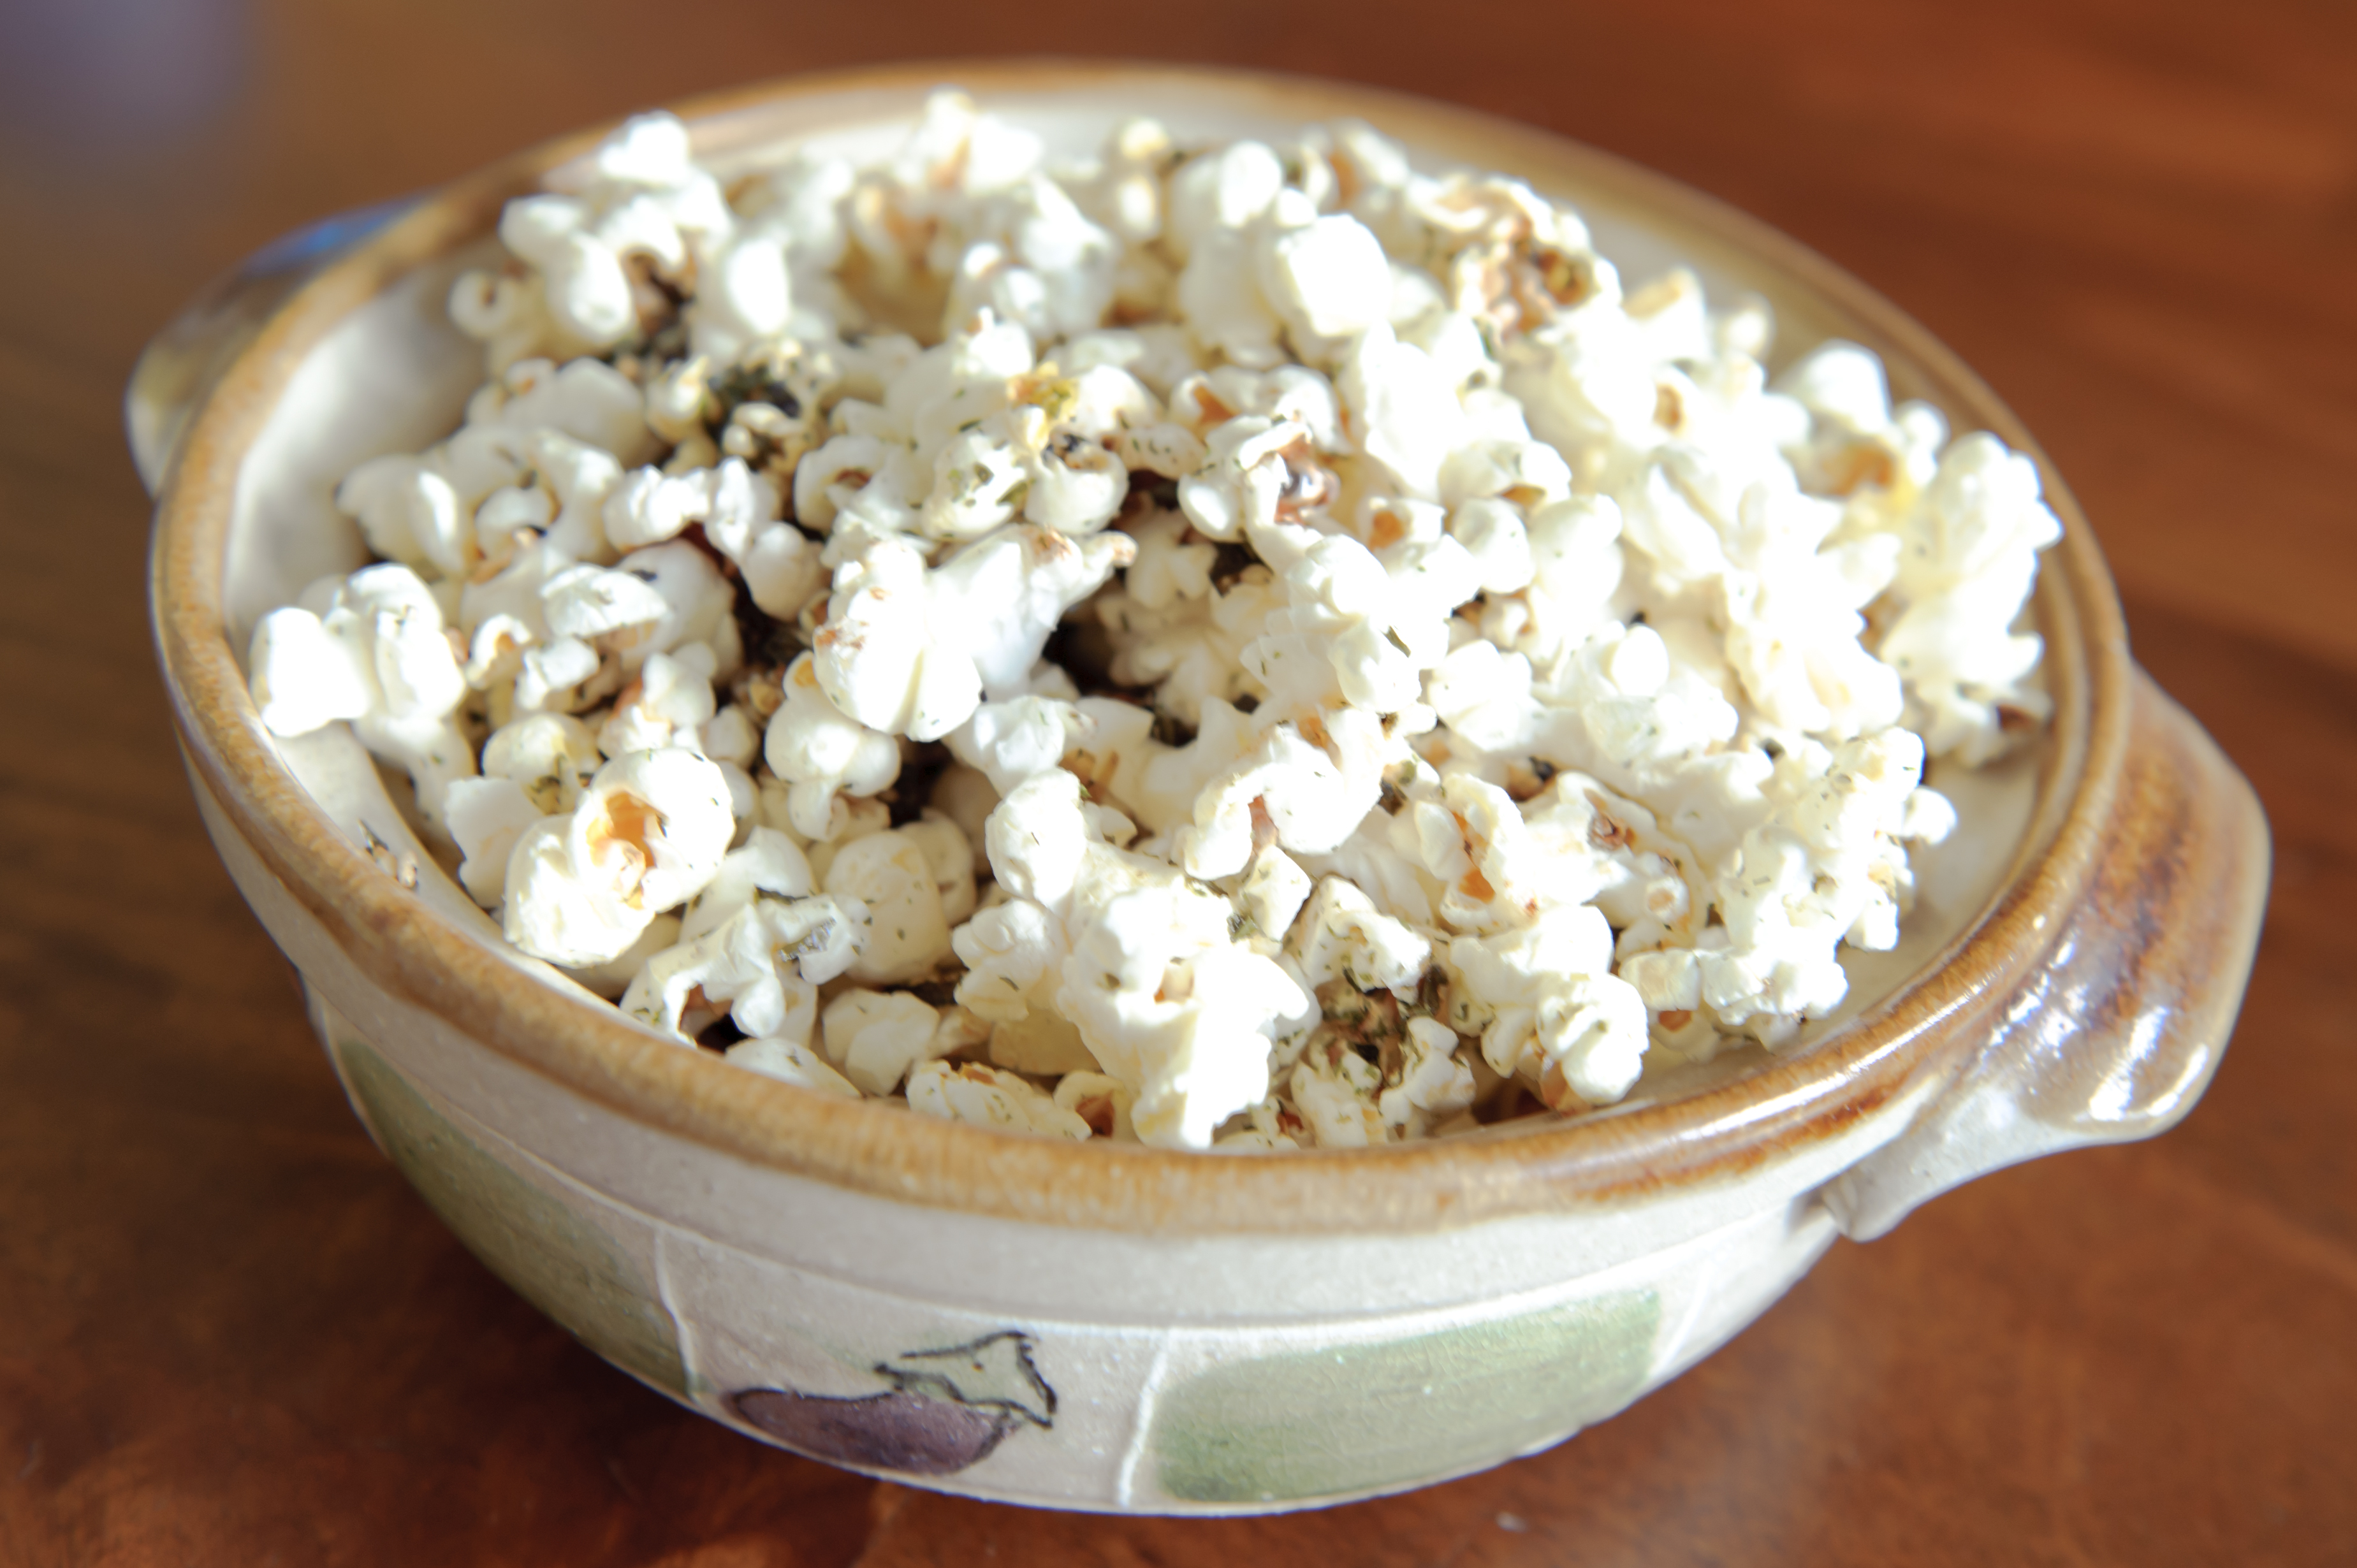
Furikake Popcorn
There is a Hawaiian treat called Hurricane Popcorn that includes furikake (a mixture of sesame seeds, shredded seaweed, and other flavors) bacon, and pineapple! It sounded amazing, but I decided to dial it back and kept it simple.
Ingredients:
- 4 tablespoons vegetable oil
- 1/2 cup popcorn kernels
- 2 tablespoons butter
- 1 teaspoon soy sauce
- 1/2 teaspoon sugar
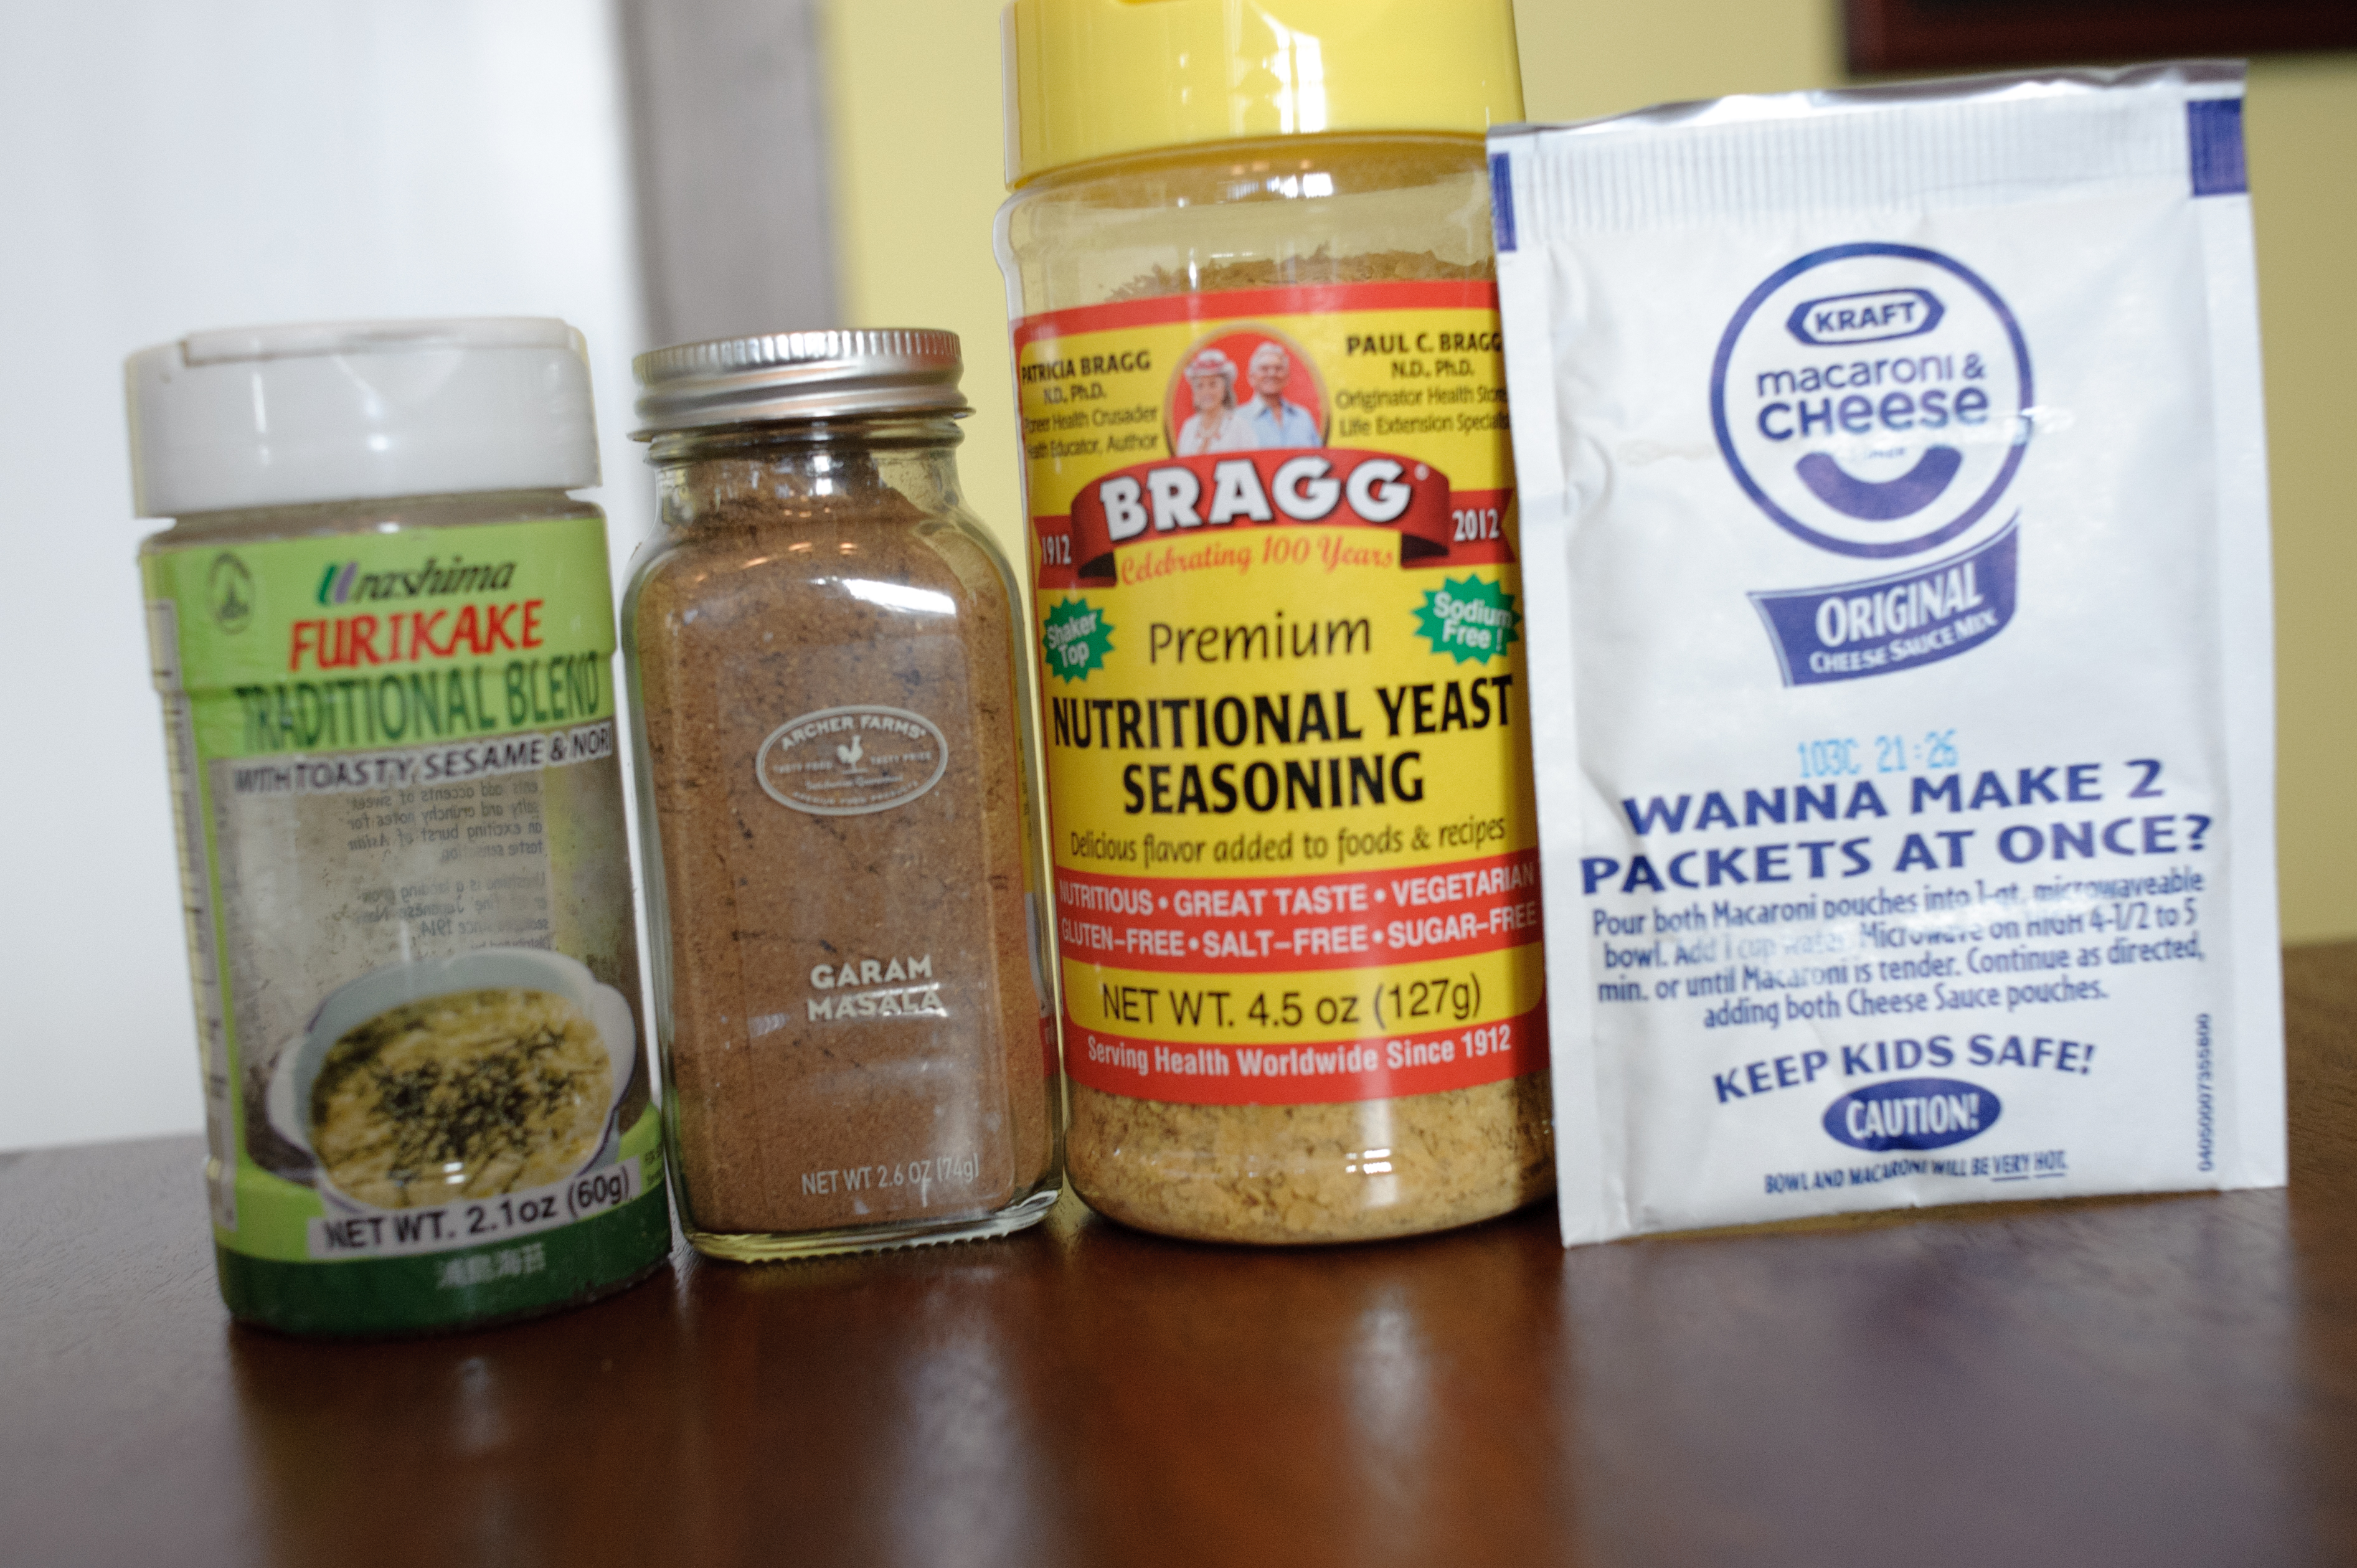
- 1-2 tablespoons furikake
Directions:
- Heat oil and 3 tester kernels of corn. While waiting for the tester kernels to pop, combine butter, soy sauce, and sugar and heat in the microwave for 30 seconds, or until the butter melts. Swirl to combine.
- When the tester kernels pop, add the rest of the popcorn and pop as directed. When the popping stops, pour the butter mixture over the corn and sprinkle with furikake. Cover, shake well to distribute, and serve.
===========
Truffle Popcorn
If your “date night” this month consists of you and your man snuggling on the sofa and watching a movie, this will fancy it up. You might even want to change into your nicest sweatpants! Truffle oil is not that expensive, and if you make mushroom risotto, truffle oil will take it from yummy to HOT DIGGITY DOG!
Ingredients:
- 4 tablespoons vegetable oil
- 1/2 cup popcorn kernels
- 2 tablespoons truffle oil
- 1 teaspoon truffle salt or regular salt
Directions:
- Pop as directed in above recipes. When done, drizzle with truffle oil, shake on truffle salt, shake to coat, and sigh with delight.
===========
Easy Cheesey Popcorn
Cheese popcorn is my biggest weakness. I found a shortcut. I warn you, it’s not pretty. But it is delicious. This recipe came about because we’d bought a box of “Easy Mac” macaroni and cheese, and the kids didn’t like it. Waste not, want not, I always say!
Ingredients:
- 4 tablespoons vegetable oil
- 1/2 cup popcorn kernels
- 2 tablespoons butter
- 1 packet cheese powder from a box of Kraft Mac and Cheese, or 2 packets from the individual Easy Mac servings
- OR instead of cheese powder, you can use 2 teaspoons Nutritional Yeast – it has a mild, cheesy flavor, but it is vegan and full of vitamins and minerals. It’s tasty, but not as tasty as Mac and Cheese powder.
Directions:
- Pop as directed in above recipes. While the corn is popping, melt the butter in the microwave. When popcorn is done, drizzle on butter and sprinkle on the cheese powder. Shake well to distribute. Wolf down popcorn, wash hands to get the orange color off, and eat broccoli for dinner.
===========
Pick your popcorn flavor!
Indian Spiced Popcorn
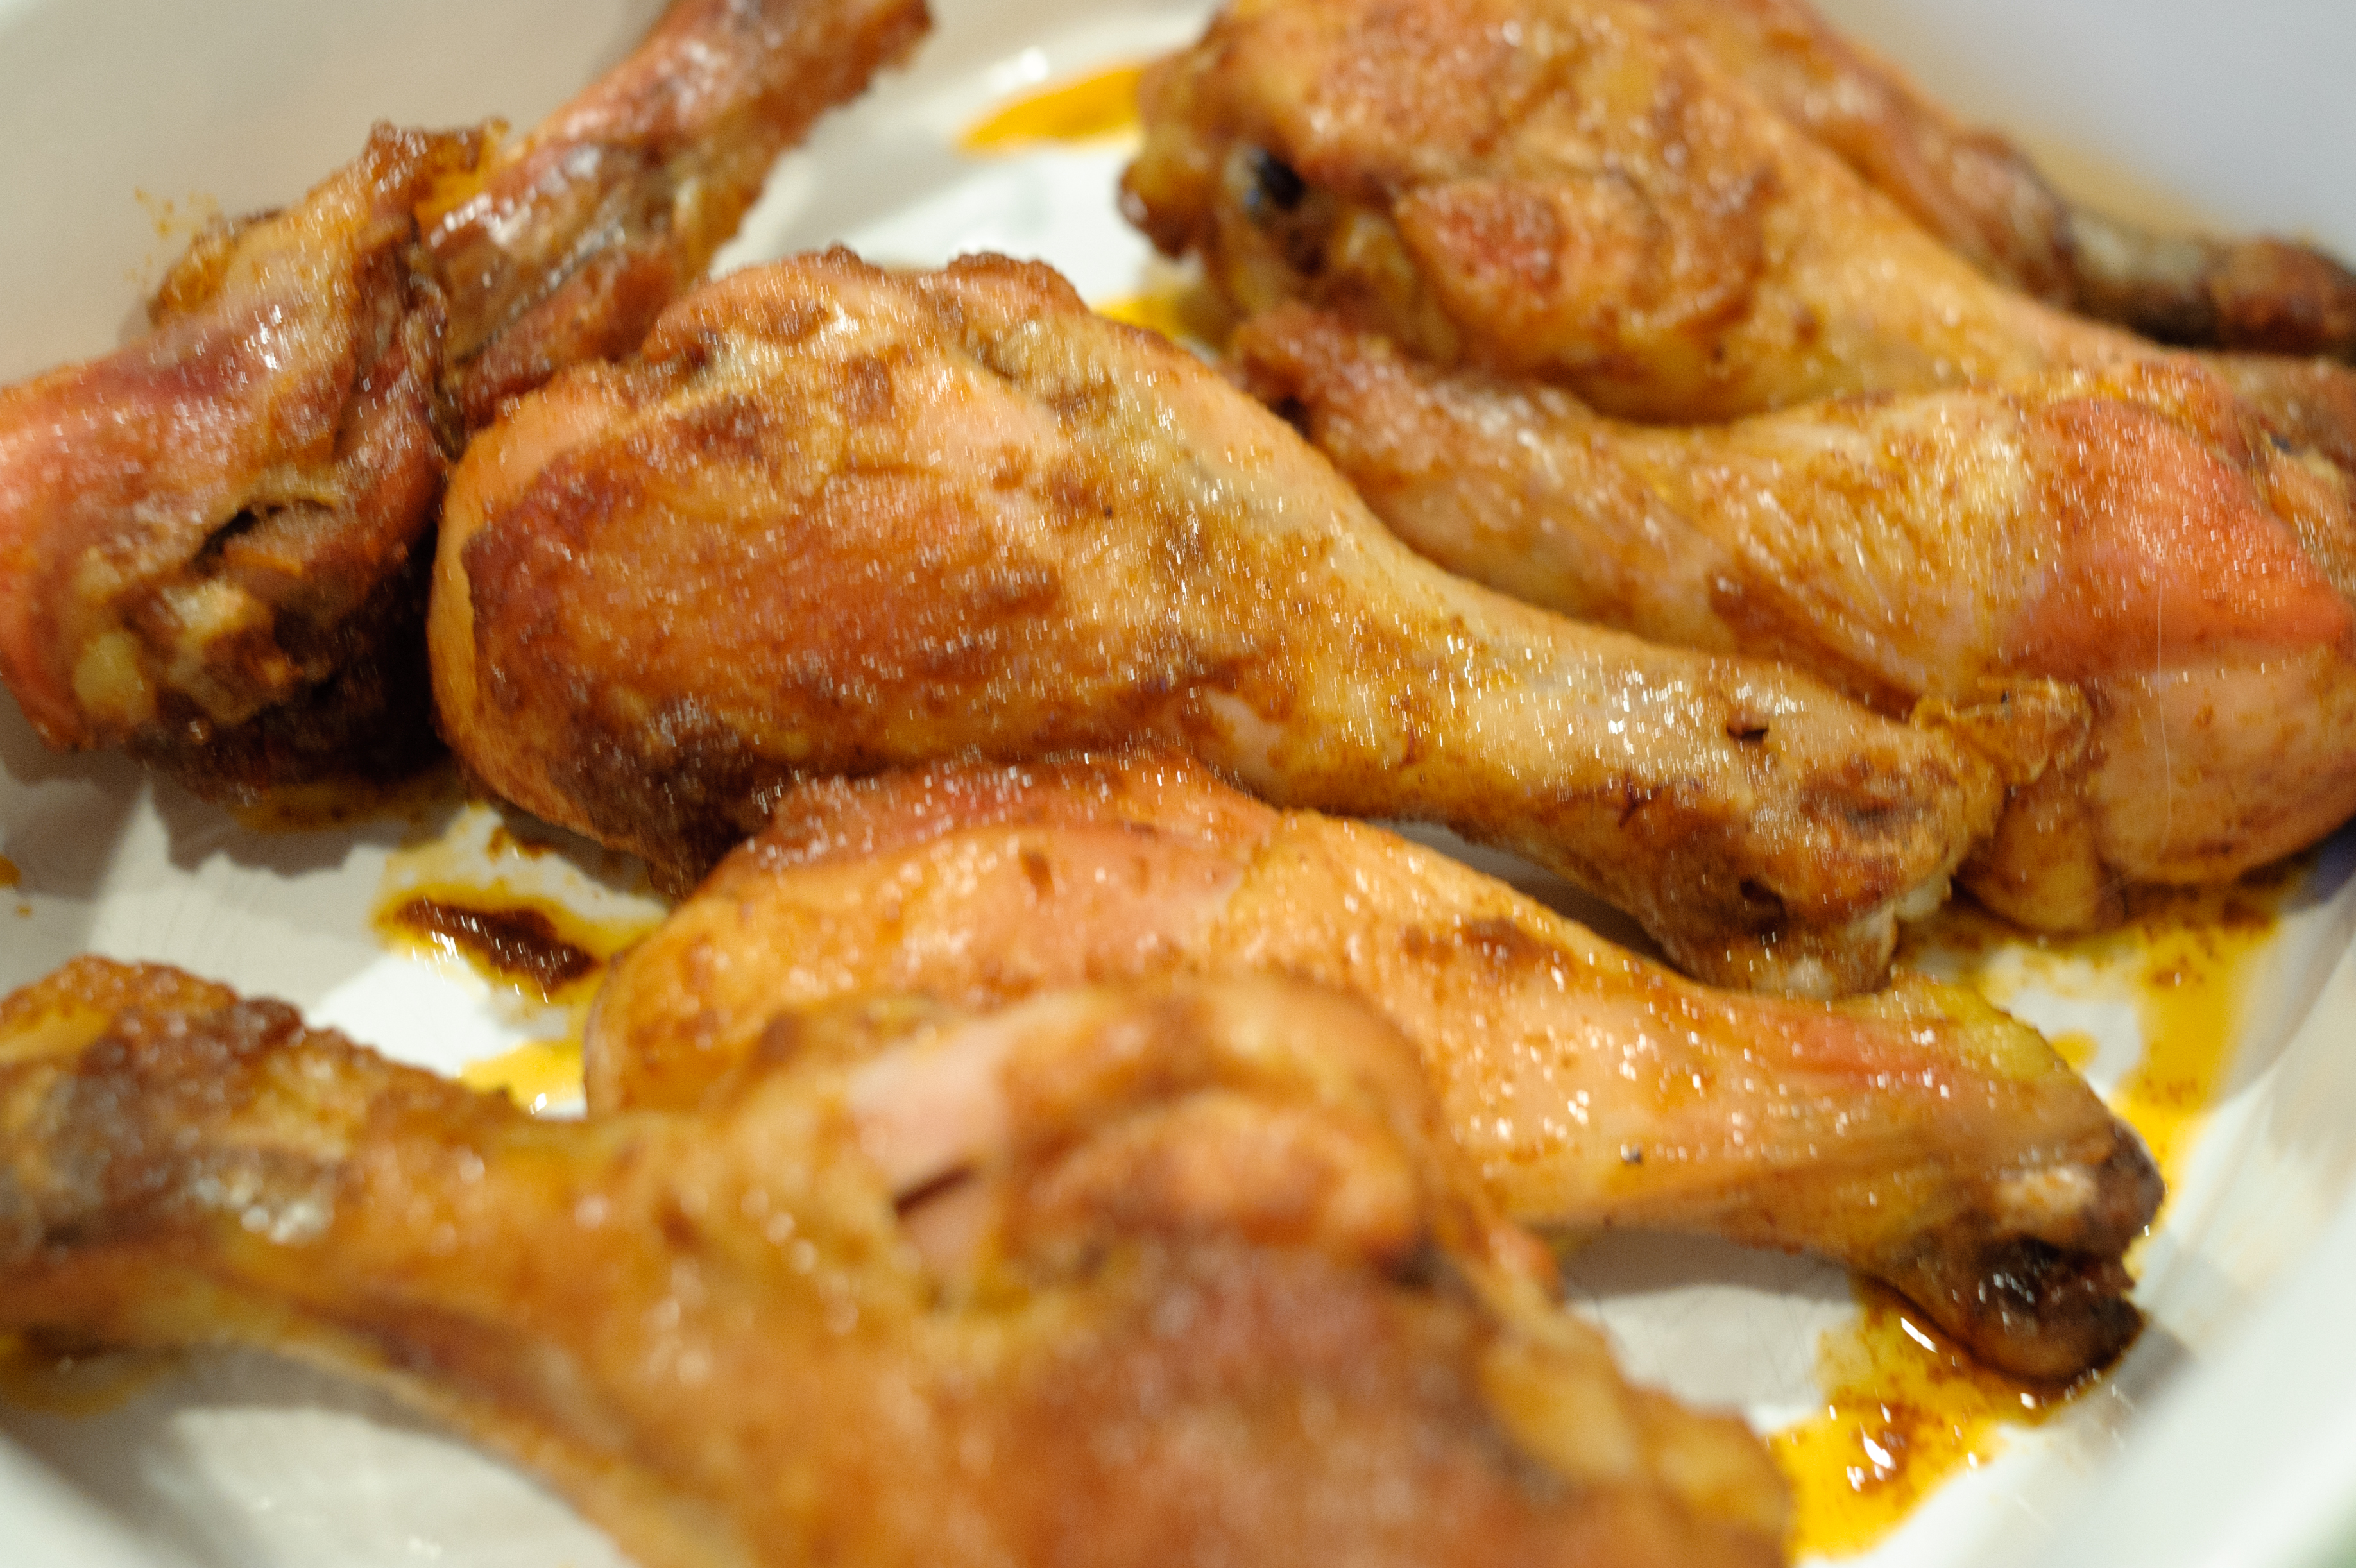
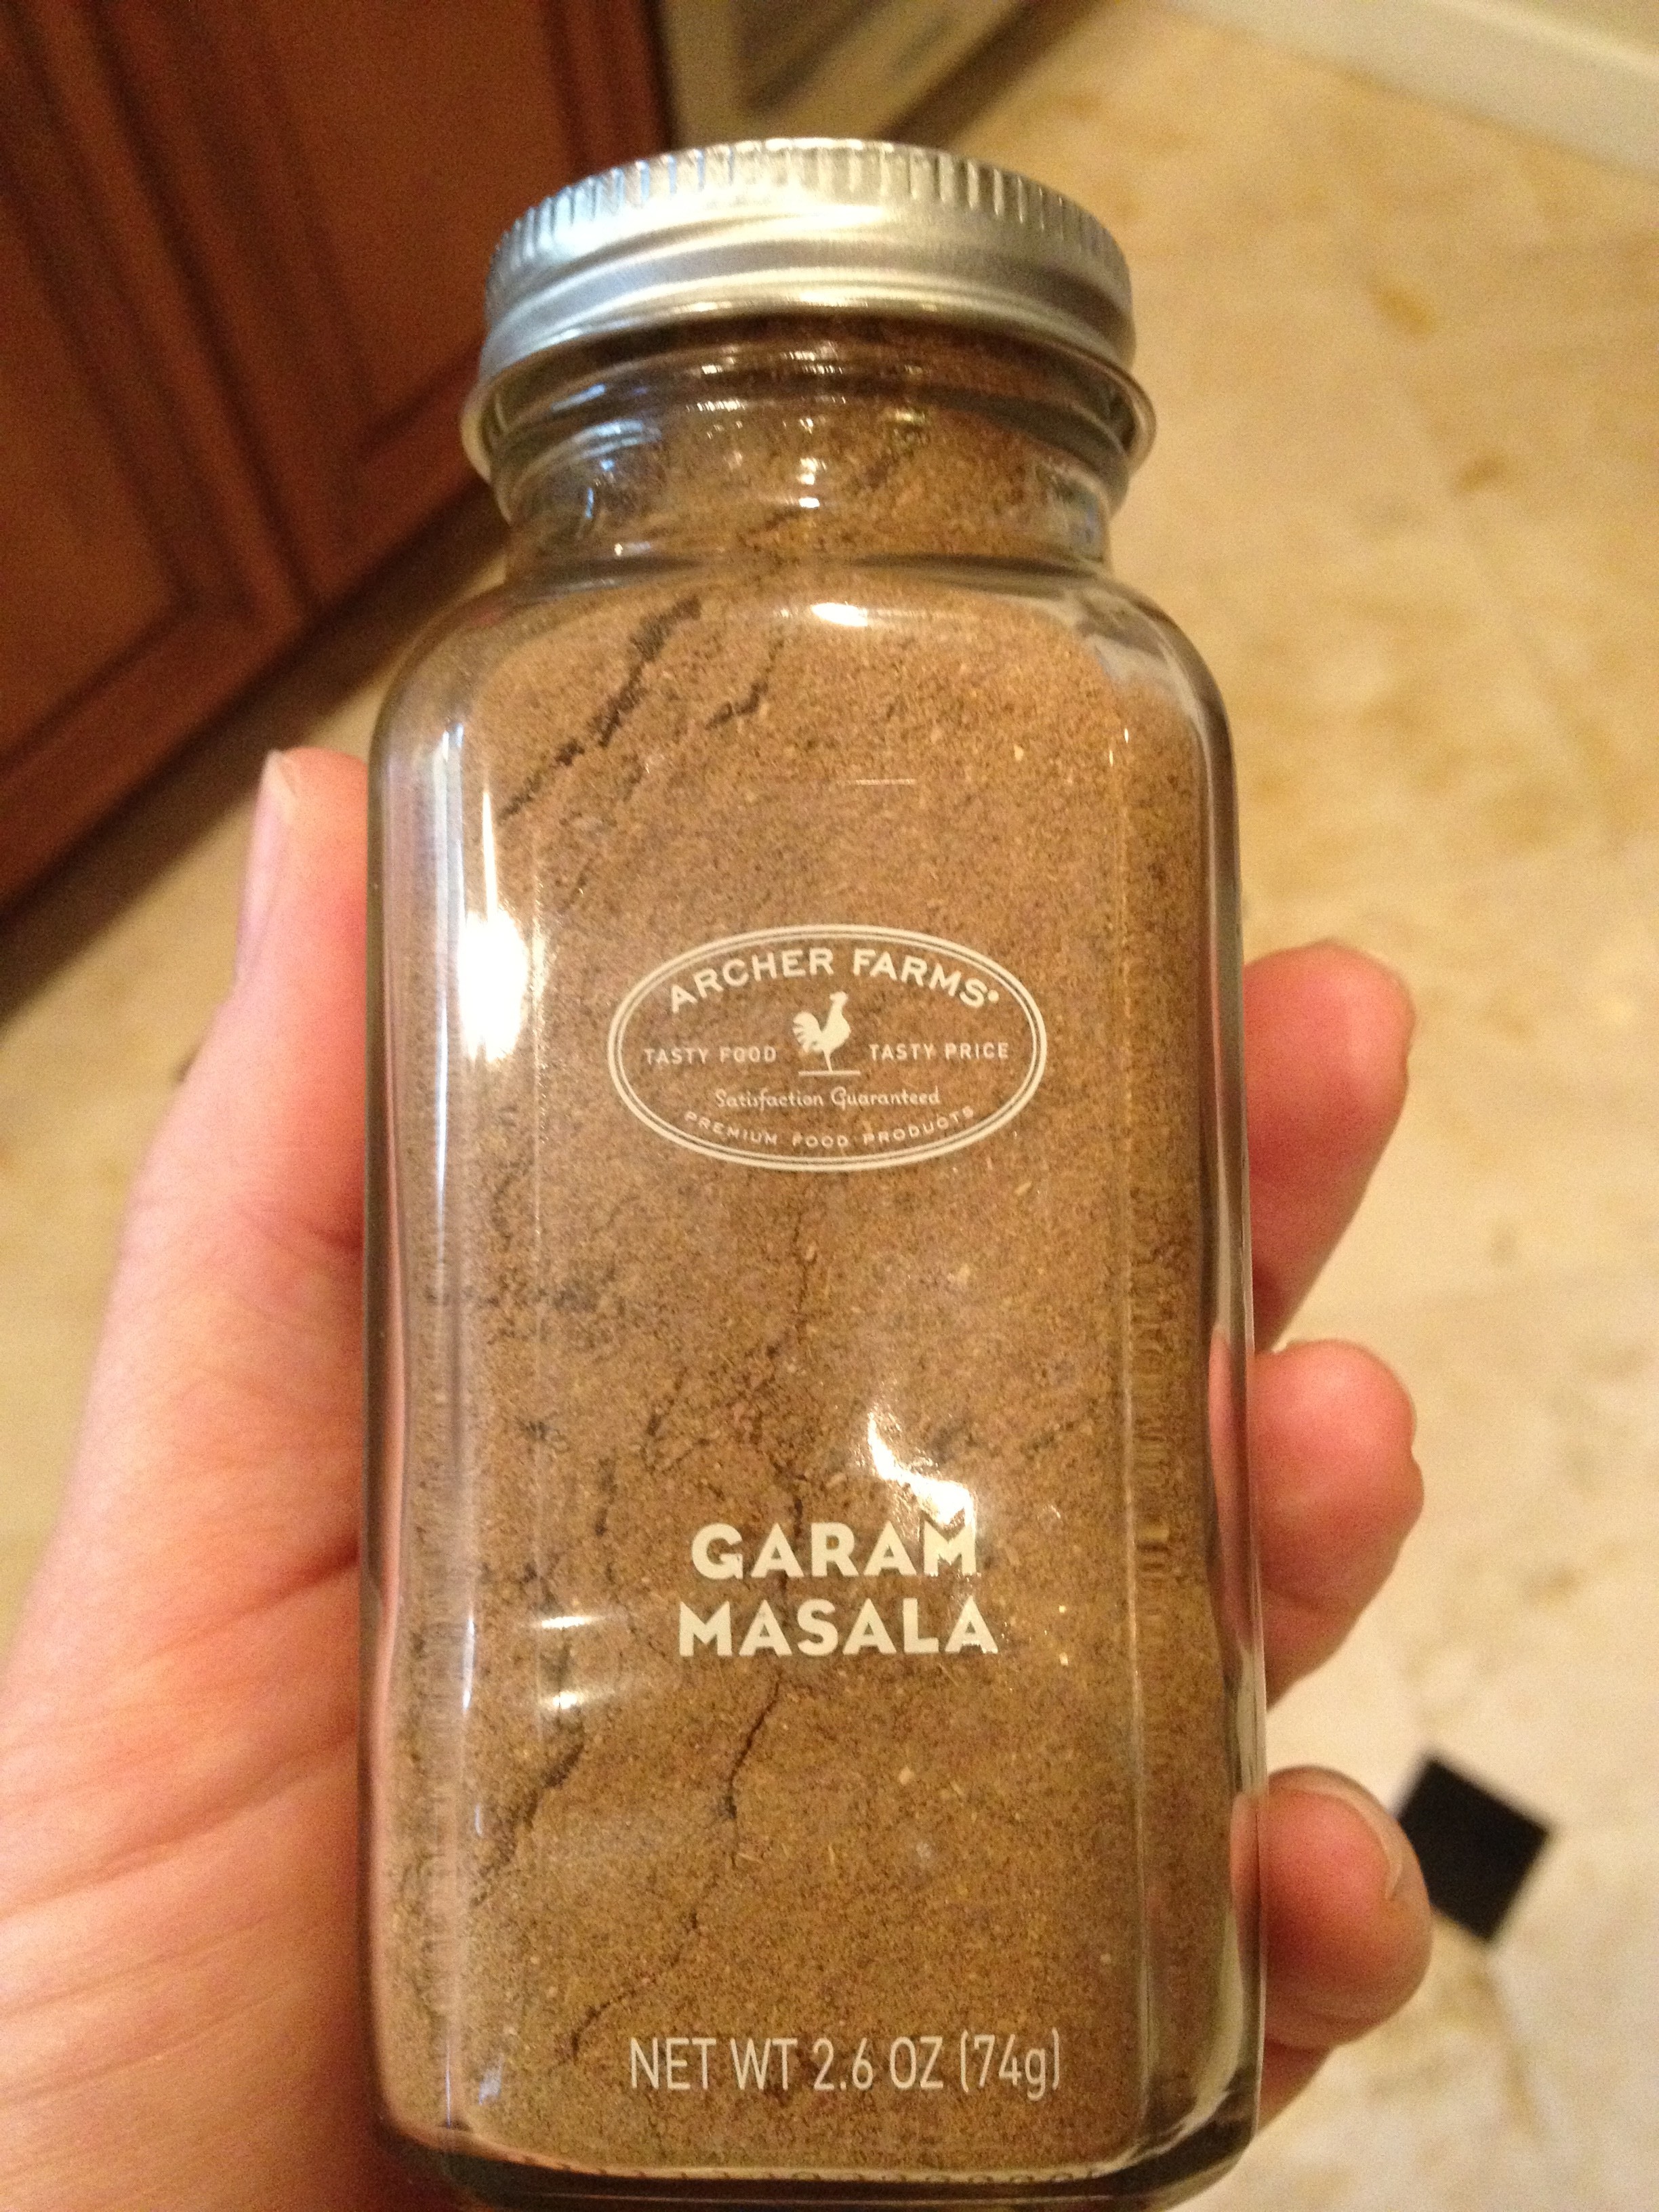
Since you already have the garam masala powder in your pantry (from when you made the drumsticks last week, right?) here is another use for it.
Ingredients:
- 4 tablespoons vegetable oil, or coconut oil (I like the coconut oil best—makes it taste more like Chai tea)
- 1/2 cup popcorn kernels
- 2 tablespoons butter
- 1 teaspoon garam masala powder
- 1/2 teaspoon sugar
- 1/2 teaspoon salt
Directions:
- Add oil and 3 tester kernels to the pan over medium heat. While waiting for the tester kernels to pop, heat the butter in the microwave to melt. In a small bowl, stir together garam masala, sugar, and salt.
- Pop corn. When done, drizzle butter over and shake garam masala powder onto popcorn. Cover with the lid and shake to distribute.
Explore, experiment, enjoy! — Dana
To view even more of Dana’s unique recipe, you can visit her at Frugal Girlmet!
If you would like to contact Dana in regards to this blog, please email her at Dana@girlfriendscoffeehour.com