I don’t know about you, but every year around this time, I get a bad case of spring fever. I can’t wait to open the windows, letting the sunshine, fresh air, and sound of birds singing permeate our home. I like to have the inside of my house spring-cleaned before the calendar tells me spring has arrived. That way, once the end of March rolls around, we can concentrate on spring cleaning the outside of our home, yard, and garage.
When you start is up to you, but in just nineteen days, your home can be completely clean, decorated, and ready for spring! Whether you are a domestic diva or don’t know a duster from a dishcloth, I hope you can take something away from how we spring clean our home. Not sure how to clean or organize something? Go to our Pinterest board, where you will learn how to make your own furniture polish, how to organize your kitchen, and how to clean your blinds, ceiling fan, couch, washer & dryer, dishwasher, the filter in your stove’s hood, deep clean your bathroom, and more!
Day 1. In my experience, any successful cleaning spree starts with clutter control! So, take a garbage bag and quickly go through every room in your house. Anything that needs to be thrown away, throw away! Last week’s newspaper, that drawer full of old makeup, junk mail, those shoes that should have been retired a year ago, the sweater that’s beyond repair, the bag in your teenager‘s room from last night‘s fast food run…fill up that garbage bag! Now you’re going to take a box or a bag and find 25 more things to either give away or throw away…the pile of sweaters you never wear anymore, the jeans that don’t fit or went out of style in the 80’s, the old toaster you have stashed away as a backup, the old books or magazines you’re never going to read again. 25 things. It’s really easy, and your house will start to breathe again. I love a good challenge, and after finding my first 25 items, I usually find a bunch more! It feels so good! I encourage you to have your kids do this as well. Maybe start small with them and have them put 5 things in the giveaway box. Or maybe 10. Make it a game and see who can fill up their box the fastest! The only rule: don’t overthink anything. If you have to think about it, it doesn’t mean as much to you as maybe you thought it did. Once you’re finished, you will want to remove those items from your home right away! Don’t let them hang out in the garage or next to the front door or in the coat closet. Out they go!
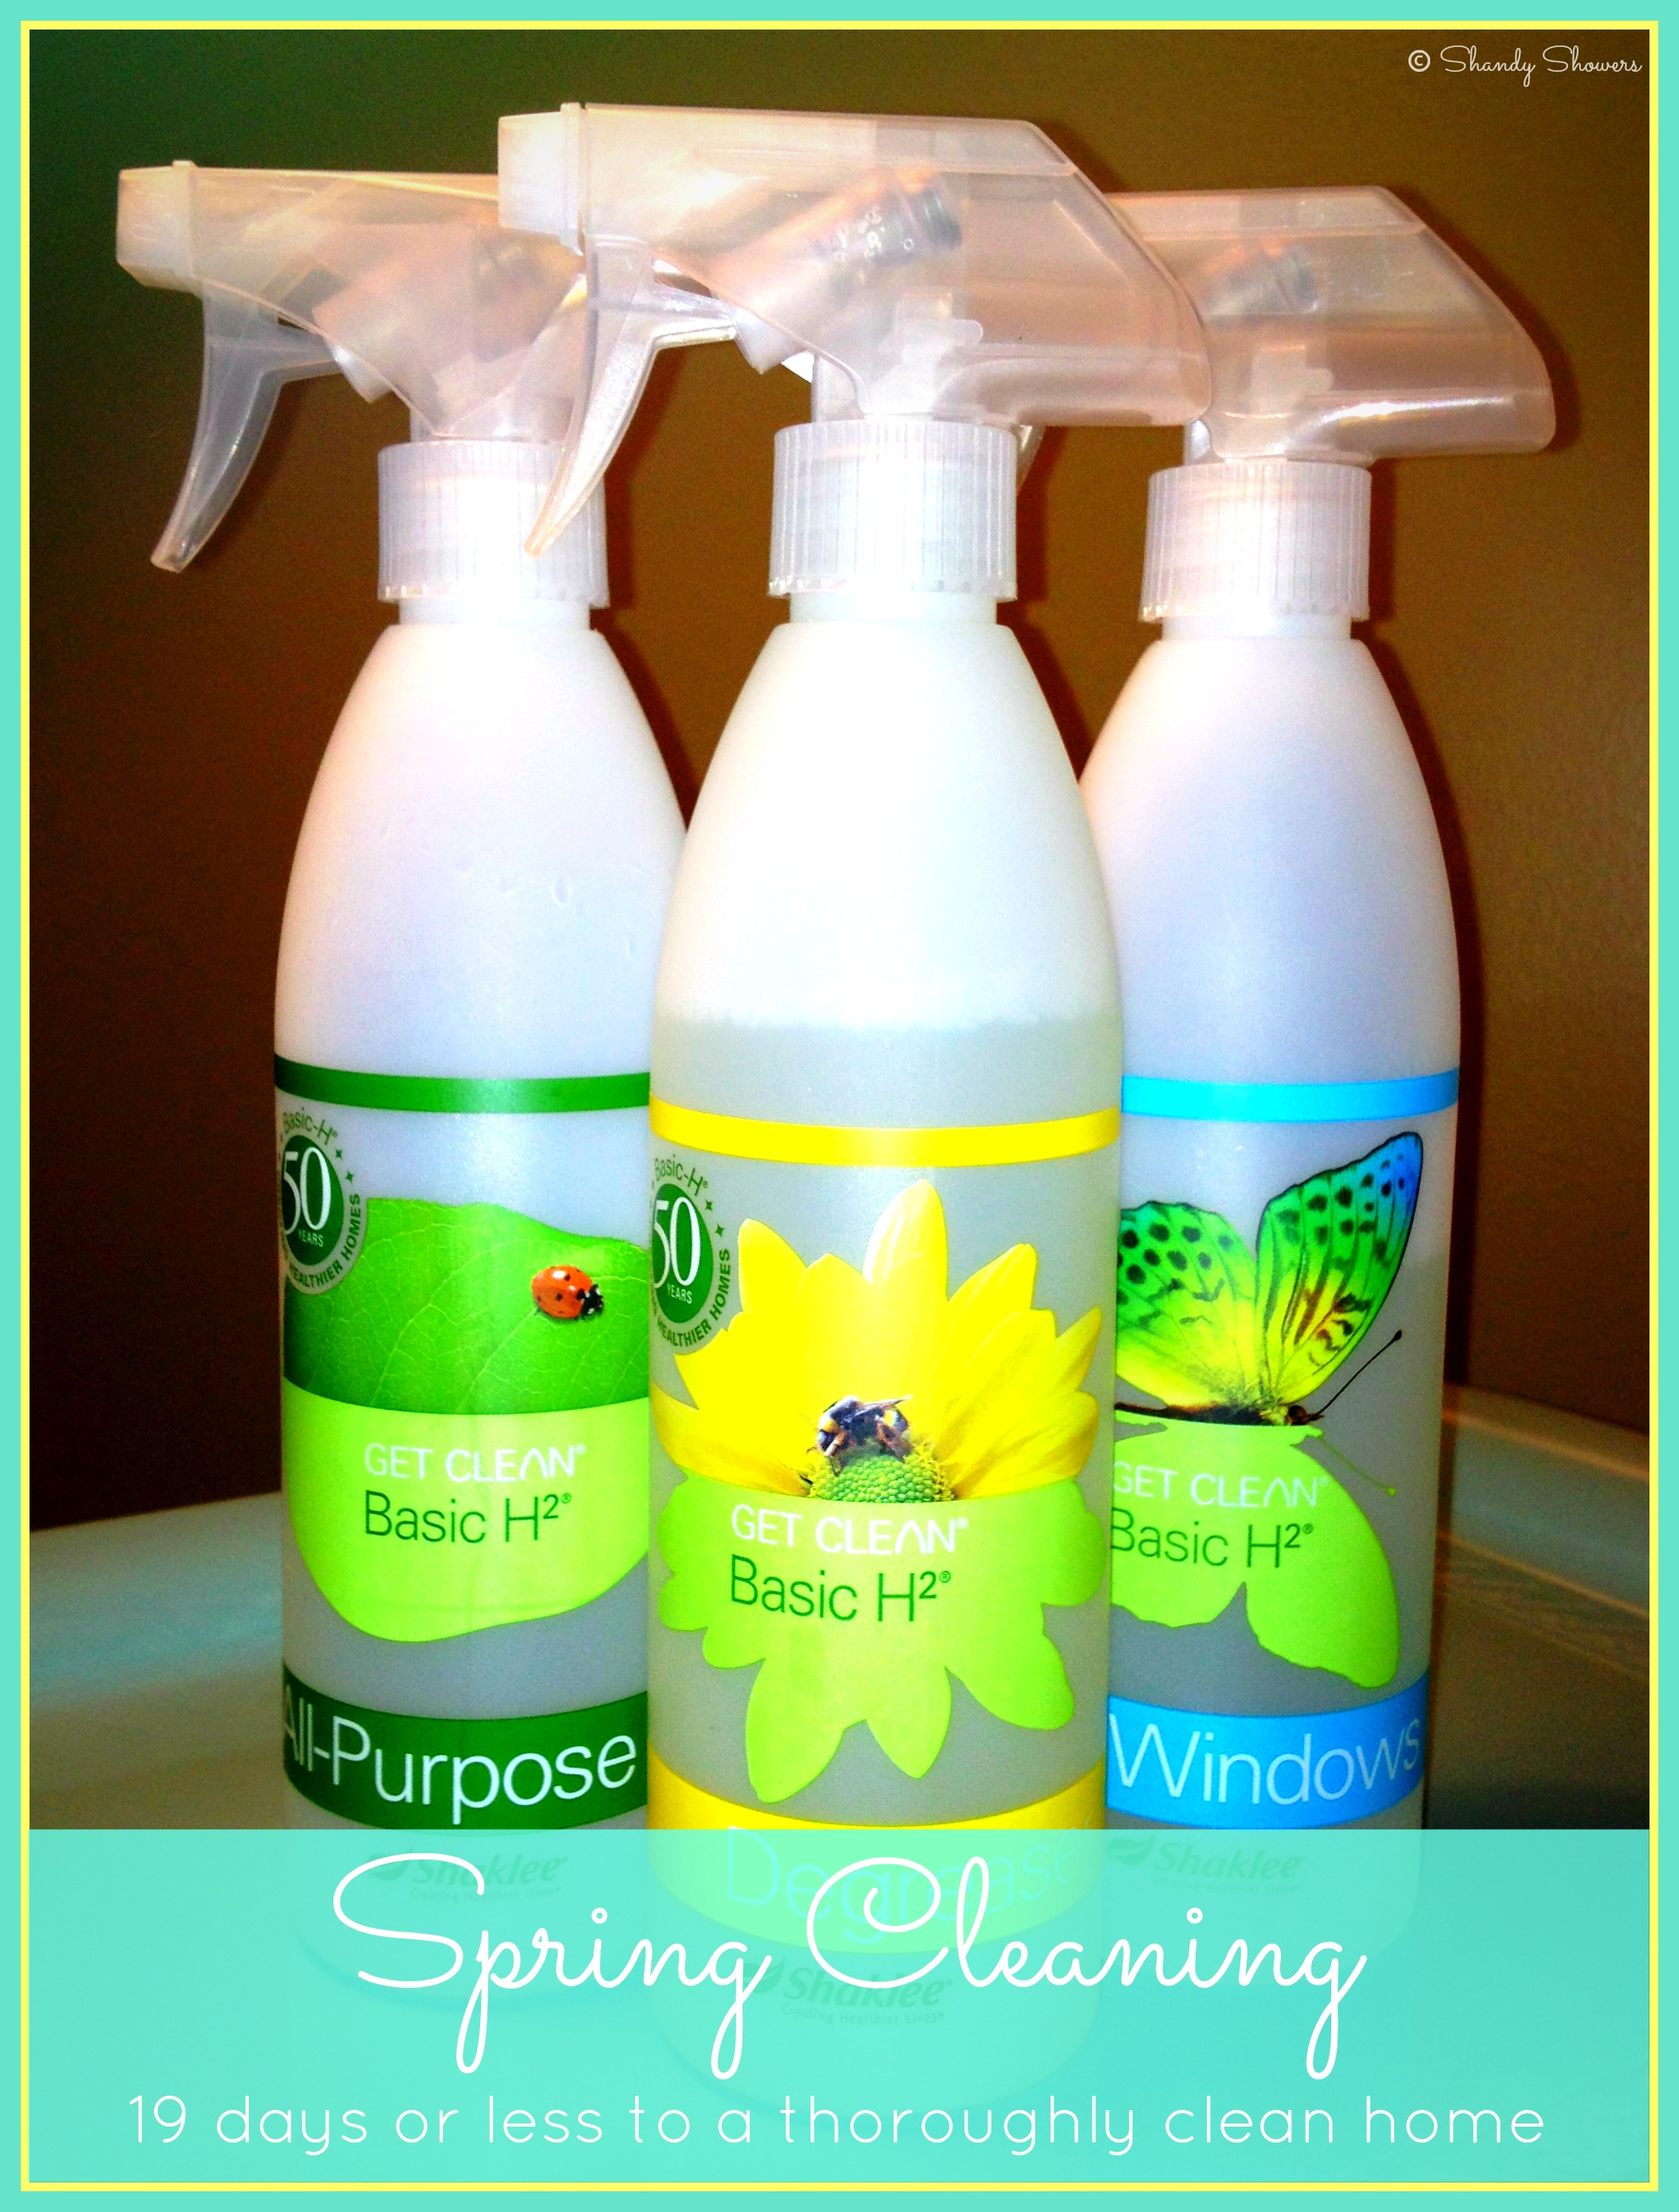
While you’re out, pick up any cleaning supplies you don’t have on hand, or the ingredients to make them. {We use non-toxic cleaners in our home.}
Day 2. Entryway/Foyer: clean out and organize the coat closet. Wipe down the closet door. Wipe down walls, trim, and baseboards if dirty or dusty. Wipe down light switch(es). Sweep and mop floor. Clean light fixture.
Day 3. Clean all blinds and window treatments in your living and dining rooms; clean any mirrors and picture frames you have on display…anything with glass. No sense in getting the glass cleaner out repeatedly!
Day 4. Dust living and dining rooms from the top down: ceiling fans, ceilings & walls, baseboards, and woodwork; clean TV, electronics, and remotes; dust shelves, mantles, tables, other wood furniture, decorations, lamps, etc.
Still working in just the living and dining rooms, clean all doors, doorknobs, light switches, and fingerprints/scuffmarks on walls. Get out the touch-up paint and take care of any places that need to be touched up.
Clean out and vacuum the couch and other upholstered furniture. Vacuum, or sweep and mop, the floors in your living and dining rooms, moving all the furniture.
Go through any drawers, cabinets, etc. and organize your belongings, getting rid of anything you no longer need or use.
Day 5. Time to tackle the pantry! Remove everything from your pantry. Throw away anything that is expired or questionable. Wipe down the shelves. Put in new shelf-liner if you’d like! If you have a walk-in pantry, give the walls a scrubbing if they need it, and make sure the ceiling is free of cobwebs. Wipe down the baseboards, sweep and mop the floor. Now it’s time to get organized and put everything back! I just LOVE an organized pantry! All the veggies in one place, all the breakfast items in another, all the pasta in another, etc., etc. If you have cleaning and miscellaneous supplies in your pantry, those get organized, too. Two half-empty bottles of the same cleaner? Combine them, and recycle the extra container. Cleaning rags that should’ve been thrown out long ago? Time to bid them farewell. You get the idea! This is the time I would also clean up my vacuum and disinfect my mop.
Day 6. Today we are working on our refrigerator/freezer! Start by getting rid of expired items and forgotten “science experiments” if you have any. This is definitely the time to have the dishwasher empty and ready to clean any dishes you may be taking out. Now get some hot, soapy water and clean the refrigerator shelves, followed by wiping down the inside walls and door(s). Just like with the pantry, organize as you put items back. Salad dressings go on one shelf; condiments on another, etc. While you’re cleaning the inside, make sure you are cleaning the seal and any crevices carefully. Things like to hide in there if you aren’t careful to keep it clean. Now that the outside is clean, clear off the outside—remove magnets, notes, artwork, and anything else that may be there. Wipe down all sides of the fridge, including the top! Carefully move the fridge away from the wall (careful if you have a water line!) and clear away any dust bunnies that have accumulated. Now is a good time to sweep and wipe down the floor back there before pushing it back up to the wall. Be selective in what you place on top and on the doors and side of your refrigerator. Clutter makes it look untidy, even if it’s the cleanest fridge on the block! {For ideas on how to organize your fridge, click HERE.}
Day 7. Thoroughly clean the microwave, dishwasher, and all small appliances like the toaster and coffee maker. Next, clean the oven/stove. {I personally do not use the chemical sprays in mine. I don’t like the fumes, and it’s just not a very safe method. Also remember not to use chemical cleaners in your microwave.}
Day 8. Clean your kitchen cabinets. Take everything (yes, EVERYTHING) out of your cabinets and put them on your table or kitchen island. Use hot, soapy water (or the cleaner of your choice) to clean the insides of your cabinets. Then take a clean towel to wipe them dry. Put in new shelf liner if you wish. Throw out all the things you never use. (How many empty whipped cream containers does one need anyway?) Then put everything back, organizing as you go.
On to the kitchen drawers. Follow the same procedure for cleaning the cabinets. Be very selective in what you choose to put back in the drawers. A place for everything and everything in its place. Make that your mantra, and you won’t have a junk drawer.
Day 9. Now that the insides of our cabinets and drawers are clean and organized, we are going to focus on the outsides. Get some hot, soapy water to clean them. Don’t forget the top of your cabinets and any decor that’s up there! Dry with a clean towel. And to really make a difference, use your favorite oil or furniture polish to make them shine! Once you’re finished with that, take the time to wipe down your walls & switch plates. Use touch up paint if needed. Lastly, dust wallhangings and other decor.
Day 10. Time to make those windows and patio doors sparkle! We are cleaning the windows, blinds, and window treatments today. (*Hint: crumpled up newspaper works like magic to shine those windows!) Then, move on to the sink and make it shine! I like to disinfect mine with bleach water. {One of the few times you will see me use a chemical cleaner in our home.} Then I rinse it out very, very well before freshening up my garbage disposal.
Clean kitchen light fixtures and replace bulbs if need be. Next, wipe down your counters. Move on to the baseboards, then sweep and mop. (I get down on my hands and knees and give the floor a good scrubbing since we’re deep cleaning.)
Today is also a good day to clean out your garbage can, inside and out. Recycling bin if you have one in the house, too.
Day 11. Break out those rubber gloves…we’re deep cleaning the bathrooms today! This is an important day, I kid you not. A pristine powder room is a must! Every single surface gets cleaned, from the sink and toilet, to the bathtub and mirror, to the floors, walls, and baseboards. Look up at your fan. It’s likely that needs to be cleaned as well.
Day 12. Today, we are showing our master bedroom some love. Start by stripping the bed of all linens, including the mattress cover. Throw them in the washing machine so it can work while we work. Next, take down your window treatments and blinds. Wash your blinds. Wash your window treatments once your bedding is done.
If there’s anything on your floor, or clutter on your dresser or nightstand, pick it up and put it away. We don’t want to clean around “stuff.” Once everything is picked up and organized, we’ll move on to dusting.
Dust your ceiling fan if you have one. Then dust the furniture, lamps, clocks, and decor. Wipe down walls, light switches, trim, and baseboards. Clean your light fixture, then wash the windows and mirrors. (My husband and I agreed not to have a television in our bedroom, but if you have one, now is the time to clean it. Don’t forget to clean your remote, too!)
Before making your bed, clean and flip your mattress. Very important step! Vacuum (be sure to move your furniture!) or sweep and mop if you have hardwood. Then, make your bed, taking the time to make it look nice!
Now let’s clean those closets! When you’re done, put your window treatments back up. You now have your own private retreat to relax in at the end of a long day.
Day 13. Moving on to bedroom #2… Since you’ve mastered the master bedroom, you’ll know what to do for the other bedrooms in your home!
Day 14. Bedrooms #3 & 4 are next. (If you don’t have a 3rd or 4th bedroom, you can catch up on anything you’ve missed, or take a well-deserved day off.)
Day 15. If Mt. Washmore has formed in your laundry room, today is the day to catch up. Wash, dry, fold or hang, put away, and repeat until Washmore is no more. Then, it’s time to clean, clean, clean! Laundry rooms can quickly become dusty, cluttered messes if you don’t take care of them. Toss old detergent and fabric softener containers, and clear away any clutter. I like everything to look pretty, so I use baskets to hide unpretty things and a glass container for my homemade laundry soap. I’m so blessed to have my grandma’s big wicker laundry basket, as well. It makes doing laundry more pleasant. Special even.
Let’s move on to the deep cleaning. By now, you are a pro at this! You know the drill… wiping down shelves, walls, light fixtures, etc. Just save the floor for last, because I have a couple projects for you to do first…cleaning your washer and dryer.
All done? Ok, NOW you can clean the baseboard and floors. {P.S. That homemade laundry detergent I mentioned…you can find it HERE. Check it out! I will never go back to my old favorite. It’s that awesome.}
Day 16. We are deep cleaning the craft room and/or office today, just as we’ve done in the other rooms of our homes. And it’s time to get our paper and craft clutter supplies under control. Remember your mantra: “A place for everything, and everything in its place.” It is the key to organization! Use baskets and decorative boxes whenever you can, and your home will not only be organized, but beautiful, too.
Day 17. Spend today in the basement, cleaning and organizing. For me, this means washing windows, dusting, cleaning walls, floors, and stairs, organizing shelves, and cleaning exercise equipment.
Day 18. Clean any additional areas of your house that haven’t been covered yet. If you don’t have any other rooms, take the time to go through the house and touch-up any areas that need it. Now would be a great time to have your carpeting professionally cleaned, as well!
Day 19. Decorate for spring. This is the fun part! I change out decor, floral arrangements and wreaths, blankets, candles, etc. My house is transformed from a cozy winter retreat to a light, fresh home that says “spring.”
Happy cleaning!
Love & Blessings,
Shandy
***********************
Be sure to visit Shandy’s personal blog Aprons ‘n Pearls for crafts, recipes, home keeping tips & more!


