When I was a kid, my Mom made two quiches as part of her dinner menu rotation: a spinach quiche, and a sausage mushroom version. I loved them both. And I was going to make one for this week’s Girlfriends’ Coffee Hour blog post and then I realized: I don’t need a crust! I can turn my Mom’s quiche recipe into this Sausage Mushroom Frittata, which is just as tasty, saves calories when you don’t include a crust, and cooks up quicker to boot!
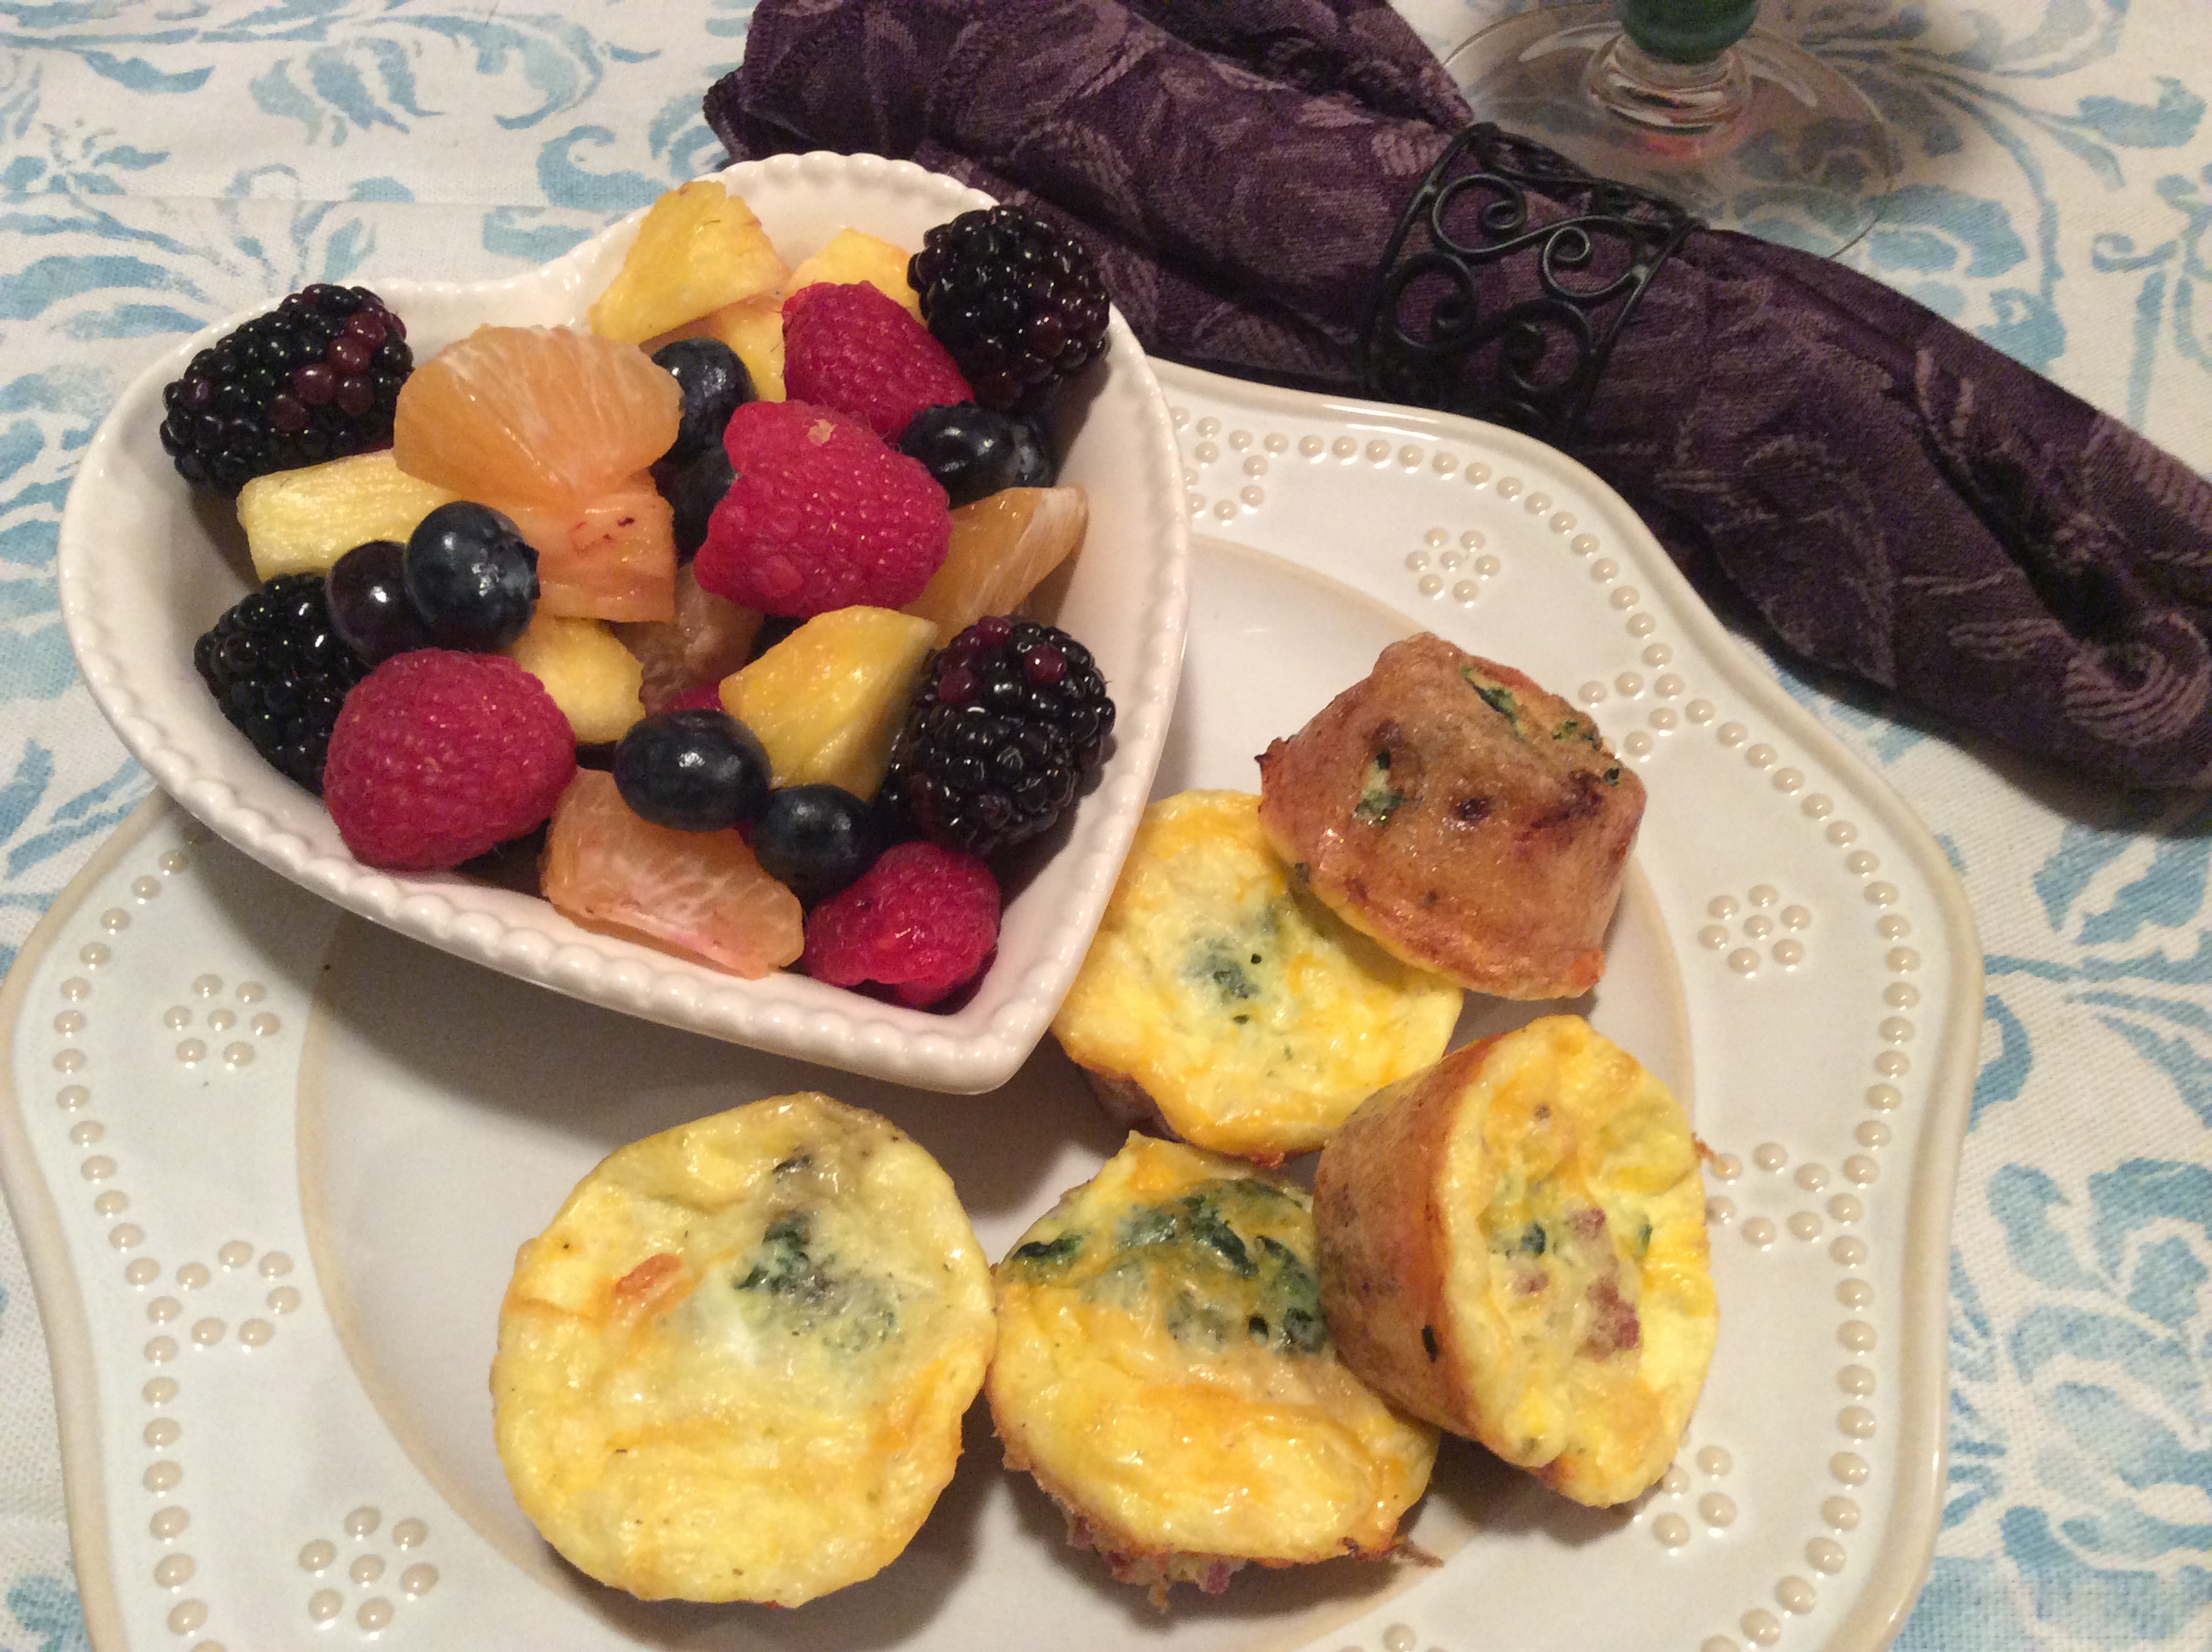
You can use any kind of cheese you like. I think my Mom used Swiss, but my girls don’t like it, so I used Monterey Jack. You can also mix some cheese into the egg mixture for a richer taste, but I wanted mine to be a lower-calorie meal. I used bulk breakfast sausage (the kind you get in a tube, by the bacon), but you can use any kind of sausage. Serve a slice of this frittata hot, with maybe a side salad and a piece of nice bread. You can also have this for breakfast, of course, with some fruit or toast. Get crazy – get cooking!
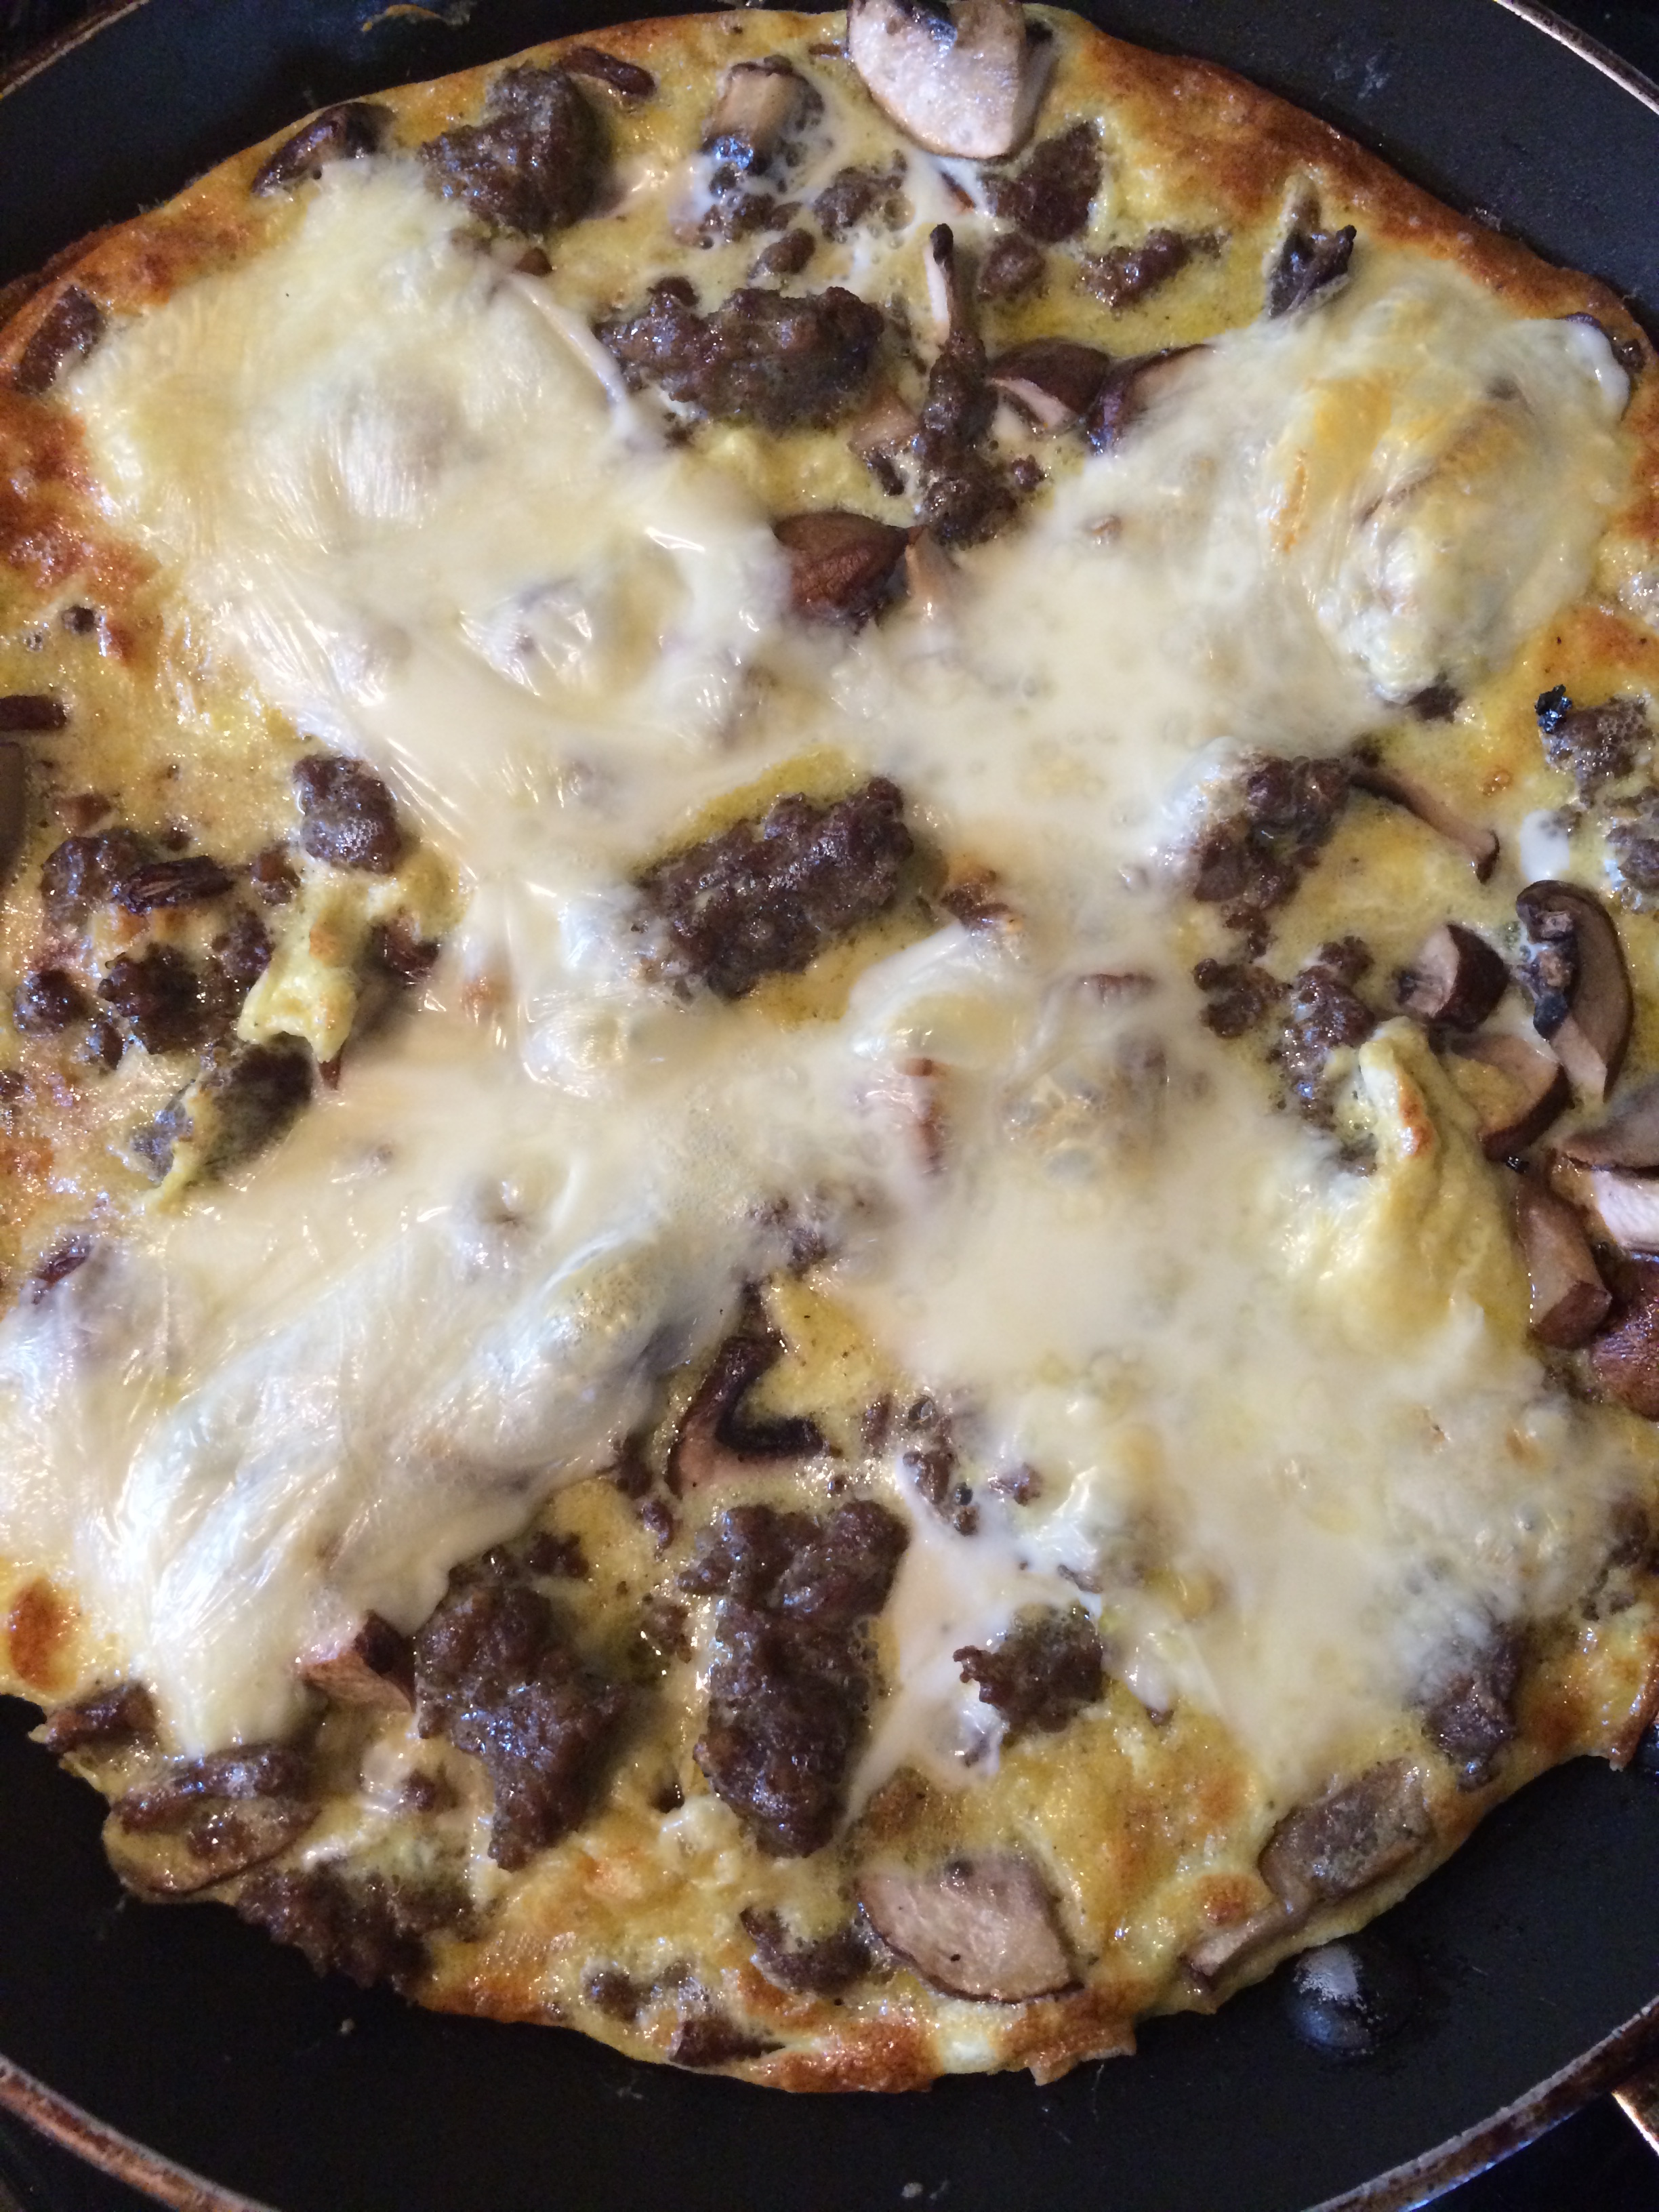
Sausage Mushroom Frittata
Ingredients:
- 8 ounces bulk sausage
- 8 ounces button or cremini mushrooms, sliced
- 6 eggs
- 1/3 cup whole milk (or use half and half for a richer taste)
- salt and pepper
- 2 or more slices of Swiss or Jack Cheese
Directions:
- In an oven-proof skillet, cook the sausage, crumbling it with your spoon as it cooks. After 3 minutes, add the mushrooms. Season them with a little salt – this helps draw the water out of the mushrooms. Cover and simmer on medium for five minutes.
- Lift the lid and let all the water in the pan cook off. If the pan looks dry, you can add a tiny bit of olive oil or butter and mix that in. If it looks like the sausage left enough fat to lubricate the pan, go to Step 3.
- In a large bowl, whisk the eggs with the milk. Season with salt and pepper.
- Turn on the broiler in your oven.
- Pour the eggs over the sausage mixture and stir a few times. When the edges look set, put the cheese on top of the eggs and place the pan in the oven. Make sure it’s not too close to the broiler!
- Broil for about 3-5 minutes. Keep an eye on this! Take it out when things look golden and bubbly. Slice and serve hot!
Explore, experiment, enjoy! — Dana
To view even more of Dana’s unique recipe, you can visit her at Frugal Girlmet


