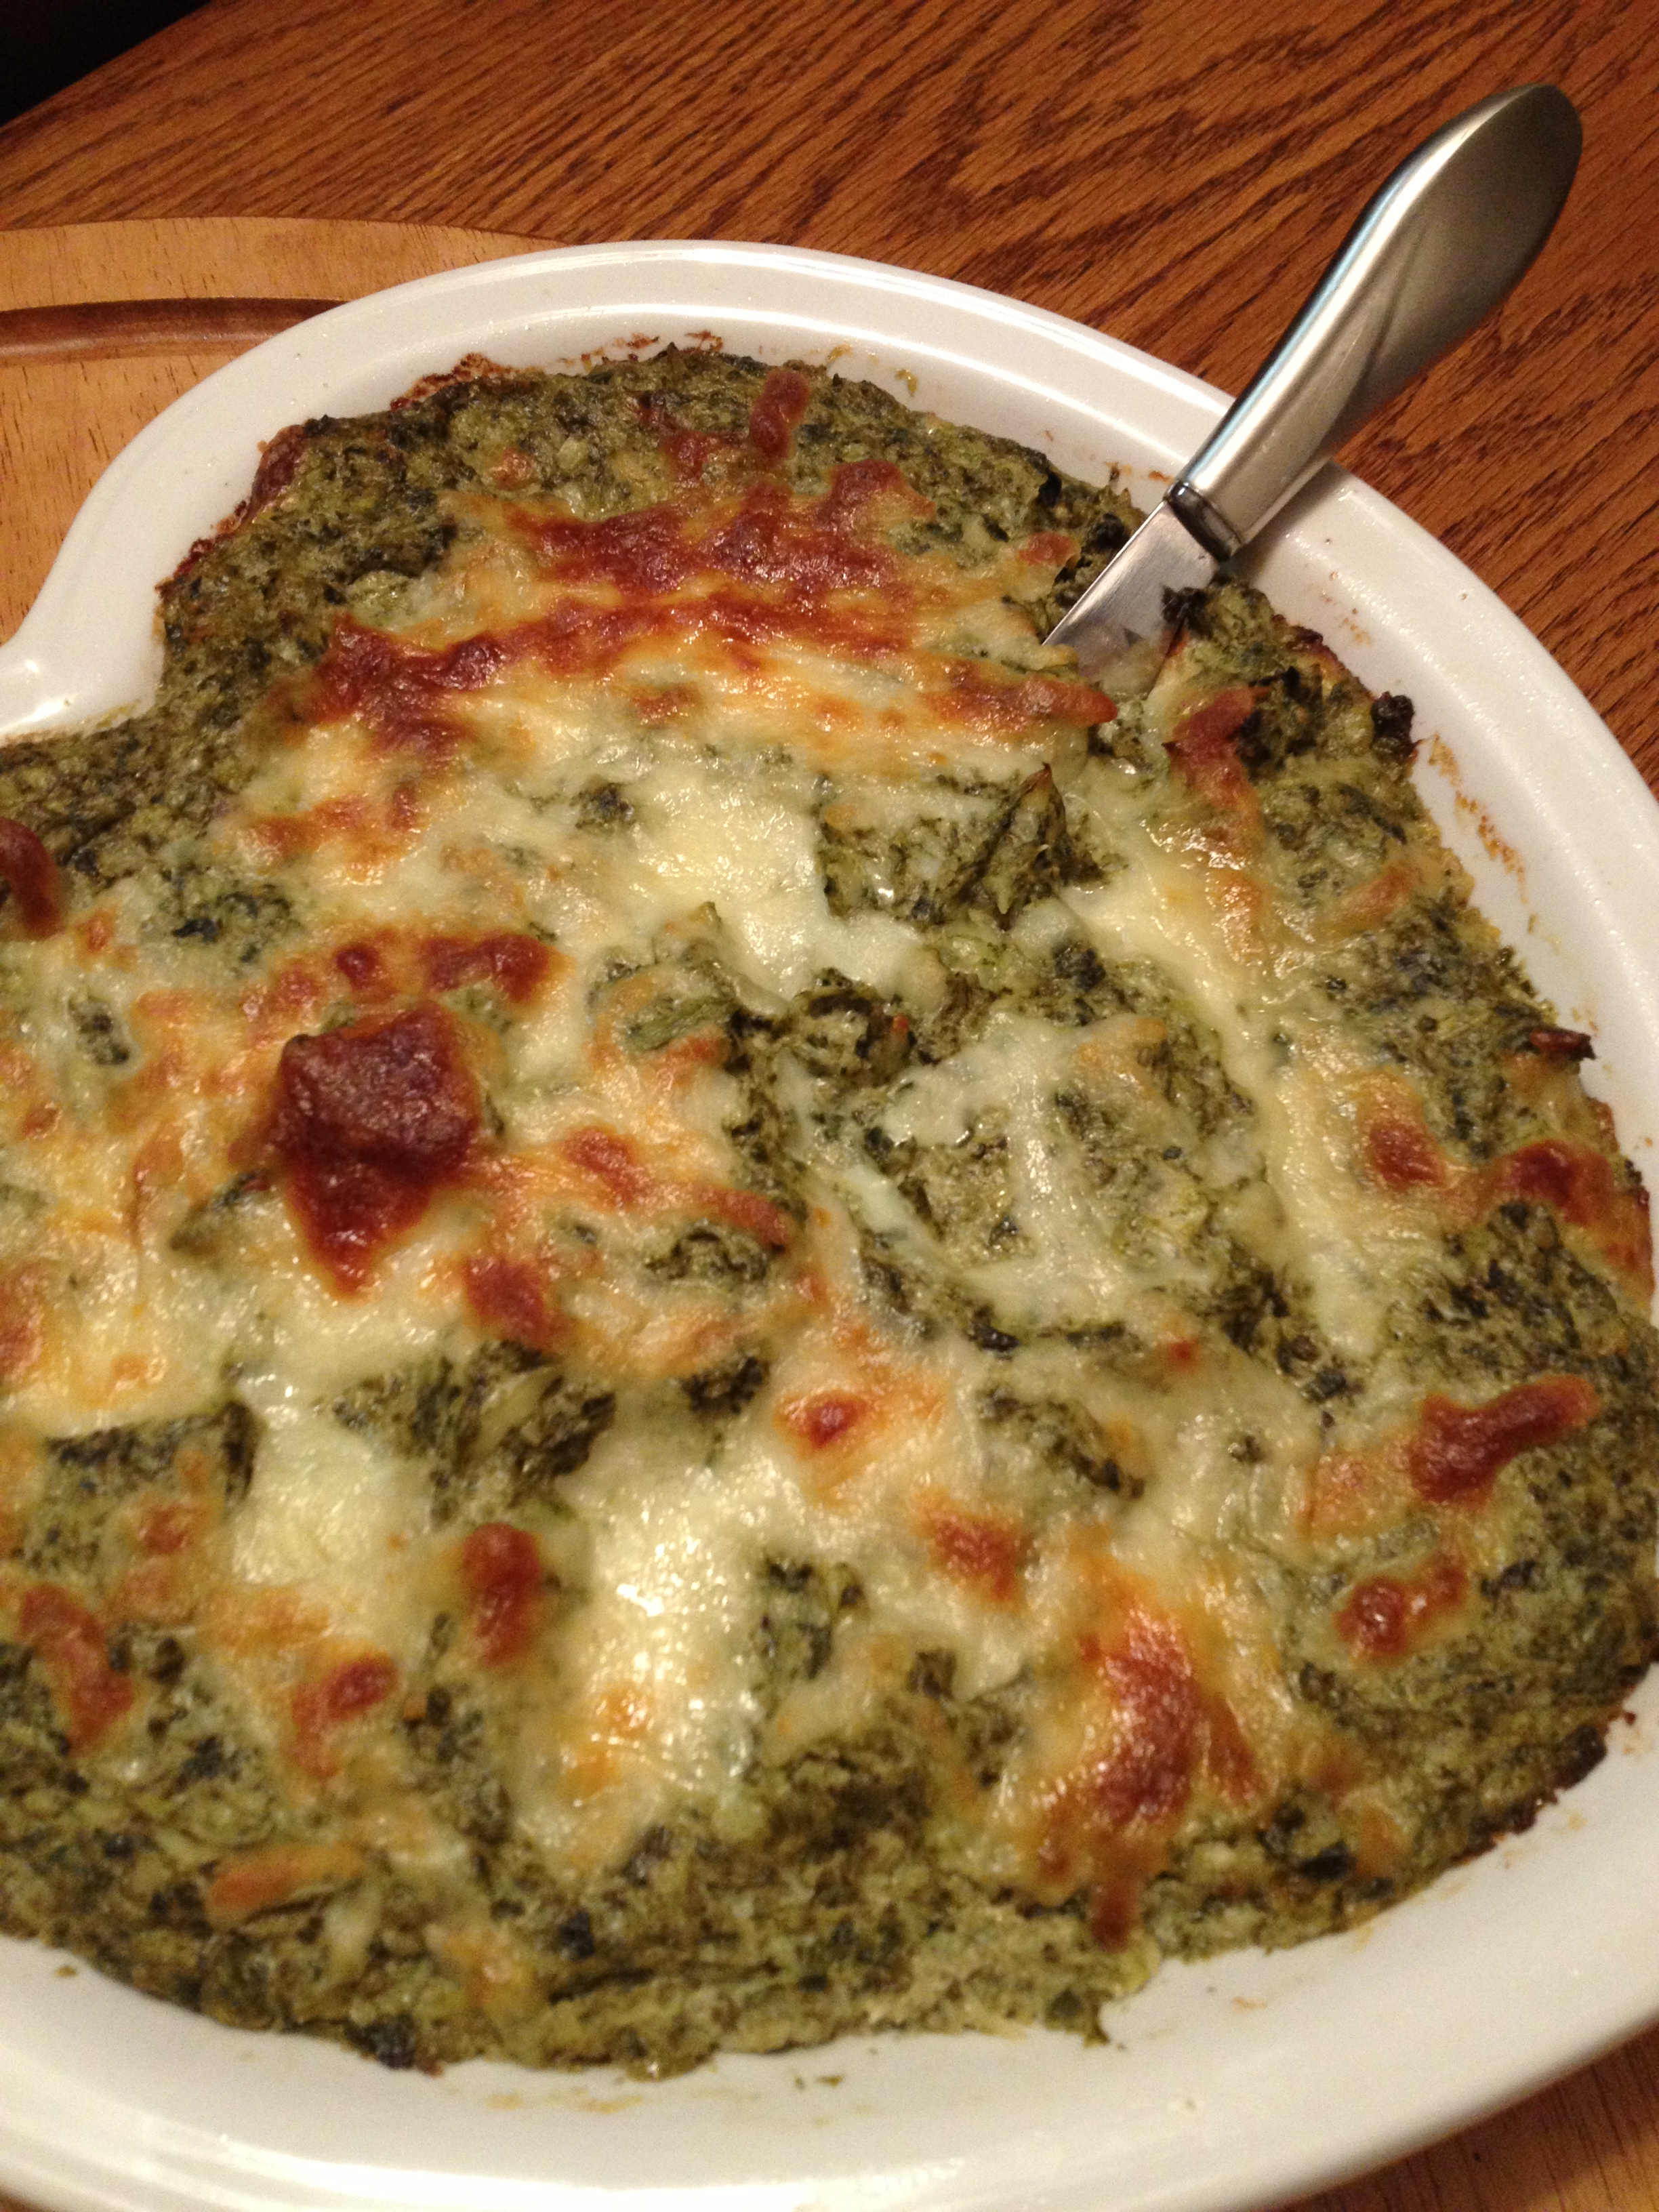
While I am a huge fan of french onion dip – you know, the kind made with a tub of sour cream and a packet of french onion soup – I know it is not the healthiest for me. I firmly believe that when it comes to your diet, you should eat as well as possible, load up on veggies and lean protein, and avoid processed foods. That said, you gotta enjoy life, and I think it’s okay to have a treat every once in a while. The problem is when “every once in a while” turns into “I deserve it now” which eventually becomes an everyday habit. I speak from experience! So one way I’ve found to subvert those cravings for treats is to find delicious alternatives that are nutritious as well. Move over potato chips and french onion dip, here comes baba ghanouj!
Baba ghanouj (pronounced “gah-noosh”) is a roasted eggplant dip. You can usually find it alongside hummus and pita wedges in Middle Eastern restaurants. The only ingredient you may not have on hand is tahini, which is sesame seed paste. I can buy it in my regular Vons and, depending on how well-stocked your grocery store is, you can find it with the Indian/Middle Eastern food, or with the Kosher foods. It’s rich and creamy—almost like peanut butter made from sesame seeds. It keeps well in the fridge, and I use it to make salad dressings, too (like this one for a kale salad.) This recipe also adds a roasted bell pepper. It isn’t necessary, but it adds another layer of smoky sweetness that I really enjoy. Ready? Let’s get dipping!
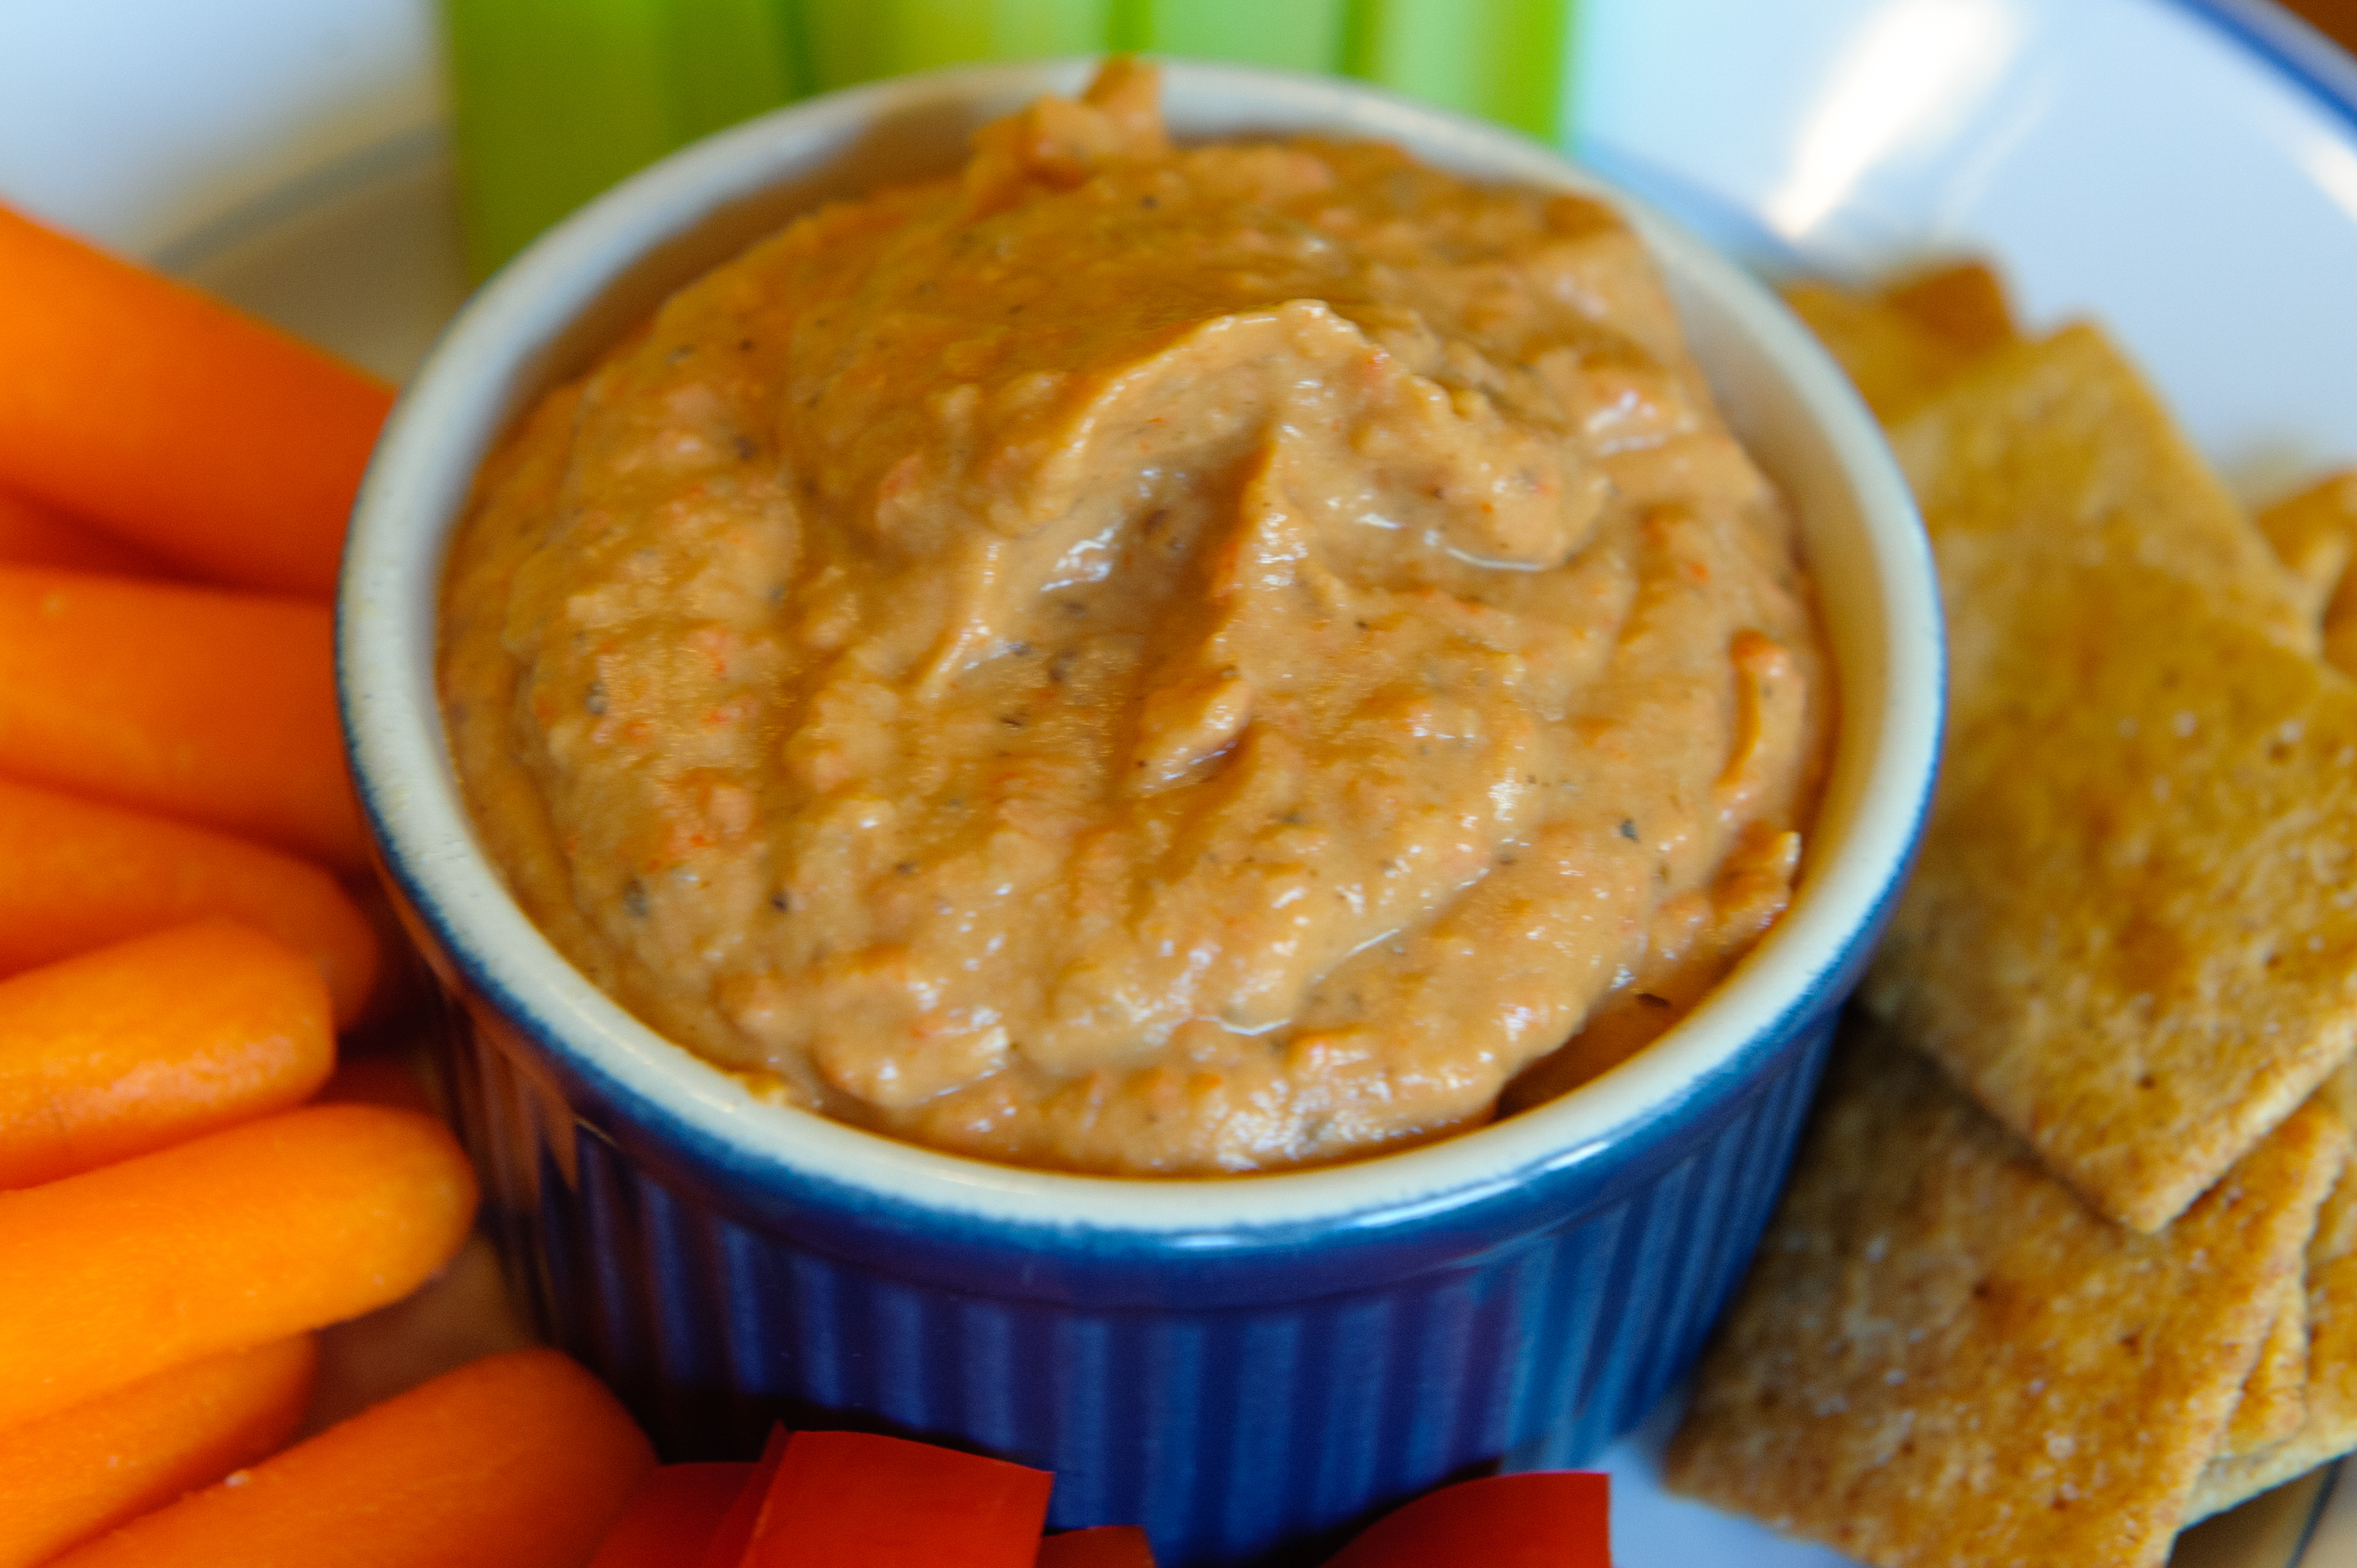
Eggplant Dip (Baba Ghanouj)
Ingredients:
- 3 Japanese eggplants, or one very large regular eggplant
- 1 tablespoon olive oil
- 2 cloves garlic
- 2-3 tablespoons tahini (I like to add a lot!)
- 1/2 lemon, juiced
- 1 teaspoon ground toasted cumin
- salt and pepper
- 1 roasted bell pepper (Trader Joe’s has some great ones in a jar)
Directions:
- Preheat the oven to 400*F. Line a baking sheet with aluminum foil. Poke some holes in the eggplant with a fork or knife and drizzle with the oil. Bake for 30 minutes. Turn off the heat and let sit in the oven for 30 minutes to cool.
- When the eggplant is cool enough to handle, slit it open and scoop out all the insides. Transfer the eggplant to the bowl of a food processor. Add the remaining ingredients and blend together. Keep refrigerated until ready to eat.
I serve this with veggie sticks. The kids like pita bread, Wheat Thins, and any other cracker or pretzel I give them!
Explore, experiment, enjoy! — Dana
To view even more of Dana’s unique recipes, you can visit her at Frugal Girlmet!
If you would like to contact Dana in regards to this blog, please email her at Dana@girlfriendscoffeehour.com