When we moved to Texas last year, I wanted to find some plants to grow in the flower bed. I put in some basil, which I have to water nearly every day to keep alive and healthy, and the rosemary is pretty hardy. The other edible that does well here in the sun is okra, but I hadn’t eaten enough of it last year to really decide if it was something I wanted to grow. Then I had a Bloody Mary at a Cajun restaurant – and instead of olives on my toothpick, I found Pickled Okra! It was love at first bite.
This is really my first time doing anything with these little guys, and I still have a lot to learn. They turned out tangy, crunchy, and delicious…and make me want to experiment more with them. So, if you like a good cheese plate, add some of these offbeat pickles and keep everyone on their toes!
Pickled Okra
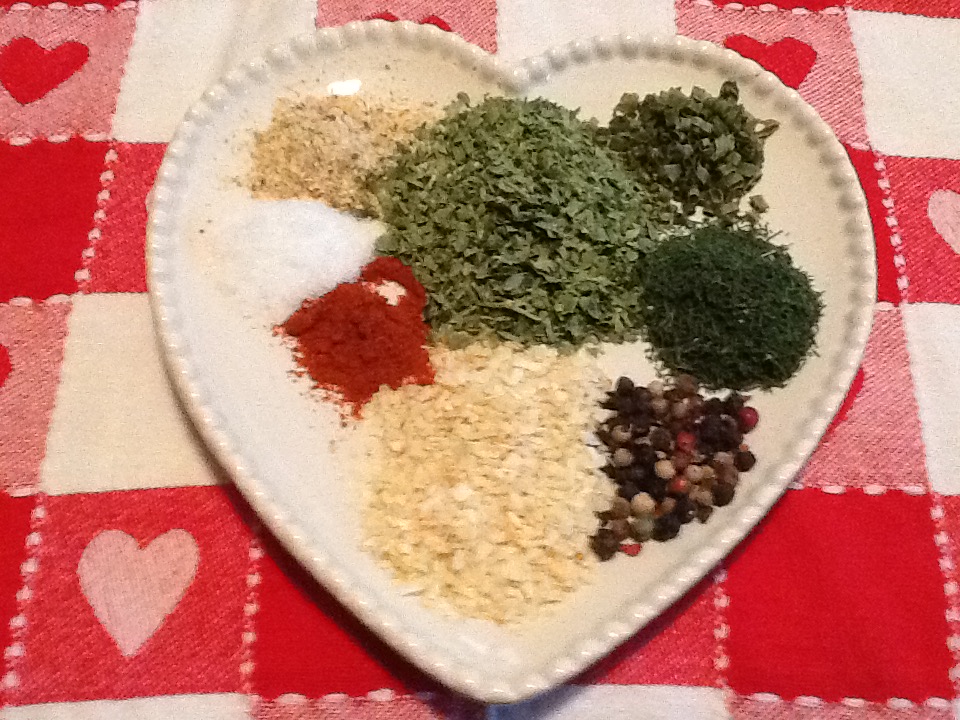
Ingredients:
- 1 large clamshell small fresh okra (between 1 and 2 pounds)
- 2 cups water
- 2 cups white vinegar
- 1/2 cup salt – use Kosher if you have it
- 6 cloves garlic, peeled and smashed
- 1 tablespoon mustard seeds
- 1 teaspoon dried dill
- 2 tablespoon sugar
- 2 chopped hot peppers, or 1 teaspoon dried pepper flakes (optional)
Directions:
- Prepare the okra: wash them and trim the tops. You still want a little stem left, but not too much – I think between 1/4 – 1/2″ inch is good.
- Make the brine: Add the rest of the ingredients to a large pot and bring to a boil.
- Pack the cleaned and trimmed okra into pint jars for canning. First make a layer that point up, with the stems on the bottom. Fill the jar with more okra, pointing down with the stems facing up, and jam them in there. Depending on the size of the okra and how tight you pack them in, this will fill 2 or 3 pint jars.
- When the brine is boiling, pour the brine over the okra. Make sure to spoon in the garlic cloves and spices – don’t waste that flavor! If you don’t have enough brine to cover your okra, add boiling water to the jar so all your jars are filled to the top.
- At this point you can either hot water process them so they are shelf-stable, or just put the lids on tight and store in the fridge. They’ll be good for a couple weeks in there if the brine goes to the top of the container.
Explore, experiment, enjoy! — Dana
To view even more of Dana’s unique recipe, you can visit her at Frugal Girlmet