Today, At Home w/ GCH would like to introduce you to our newest blogger, Amy Boyd! Amy will be sharing some of her craft and DIY projects with us, each Wednesday. I hope you enjoy her segment and will share your comments with her!
And now…. here’s Amy!!
_______________________________________
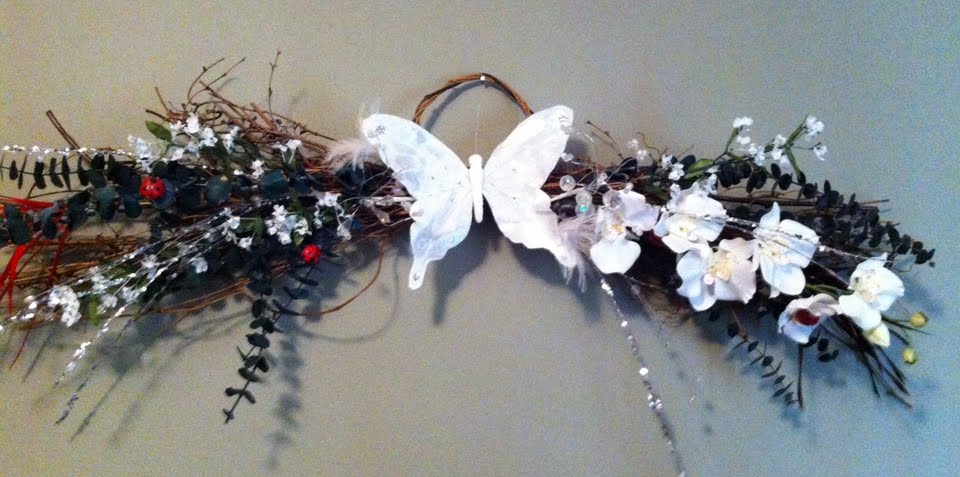
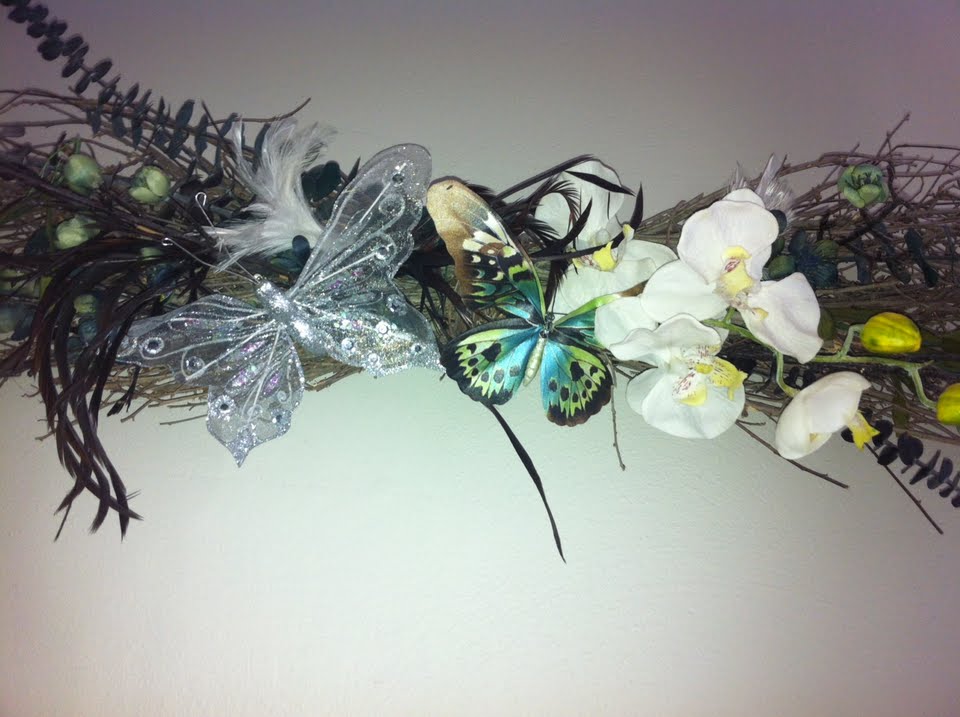
Today, I would like to teach you how to make a decorative swag, as shown below.
My favorite place to shop for these items is Hobby Lobby. Other places like Garden Ridge, Trees and Trends, and Walmart would have these items as well. Typically, I spend about $20 to $40 on a project like this. I always have some materials left over, so I definitely save them and use them at a later date.
The size of your swag will depend on the location where you would like to hang it. They come in various sizes. The ones I have completed and have shown below are about 2 feet long. I have found some swags that have a handle at the top which makes for easy hanging.
The types of flowers, adornments, and fillers that you choose for this project is simply a reflection of your own personal taste; find something pleasing to your eye and that will match the décor of the room. Since the swag I chose is brown, I tend to gravitate to lighter colors that will stand out. I myself love butterflies. Every time I see one, I think God is reminding me how beautiful life is and how much there is to be happy about.
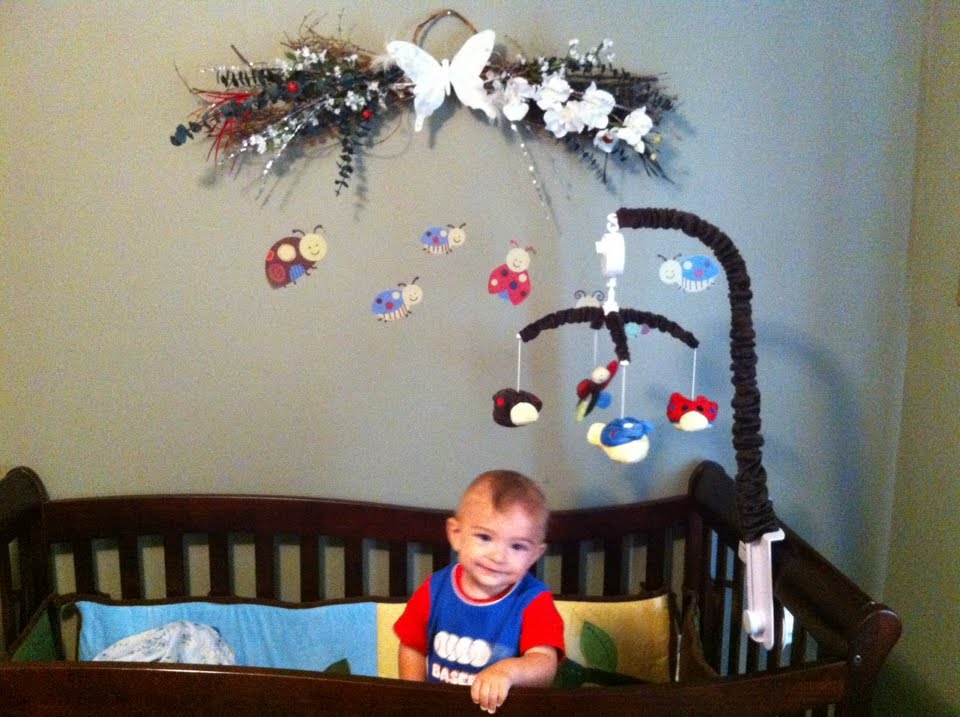
When my son Asher was born, I would sit on the couch and feed him and I had the first swag shown below hanging above our couch. He would stare at it and smile and coo almost every time he looked at it.
So, I made one for his room as well. I tried to make it similar since he liked the other one so much. I found some tiny ladybugs to use for his swag, which matched his bedroom perfectly.
A lot of times, the silk flowers come in bunches or on very long stems so it is necessary to cut them apart or to cut off part of their stem with wire pliers. They need to be about half the size of the swag. Then, I begin sticking the flower stems on each side of the swag. You can cut off a piece of floral wire and wrap around the stem to make it stay in a certain place. There is a middle knot that separates each side of the swag. I typically do not glue on the flowers and eucalyptus because they stay in place pretty easily. The butterflies I used have clips on them so I just clip it in place. I did hot glue the ladybugs right onto one of the stems.
A hot glue gun is easy to use. Just insert a hot glue stick and plug it in. Always put the hot glue gun on a piece of newspaper or a paper towel because the glue will leak out. You just pull the trigger on the glue gun to squeeze out a small amount that will be used to glue the pieces together.
Items needed:
1 Grapevine Swag
3 Different types of Silk Flowers
2 -6 Adornments like butterflies, lady bugs, sea shells, crosses, etc.
5-6 long pieces of Eucalyptus
2-4 Fillers such as feathers, beads, baby’s breath, etc.
Wire pliers
Floral Wire
Hot Glue Gun
Hot Glue Sticks
Directions:
Basically, you will arrange the materials until you are satisfied with the way it looks. There is no right or wrong way when it comes to making your own crafts. I’d love to see your pictures if you give it a try.
Have Fun & Craft away!
Amy 🙂


