November 5, 2024

Pickled Okra


Pickled Okra

When we moved to Texas last year, I wanted to find some plants to grow in the flower bed.  I put in some basil, which I have to water nearly every day to keep alive and healthy, and the rosemary is pretty hardy.  The other edible that does well here in the sun is okra, but I hadn’t eaten enough of it last year to really decide if it was something I wanted to grow.  Then I had a Bloody Mary at a Cajun restaurant – and instead of olives on my toothpick, I found Pickled Okra!  It was love at first bite.

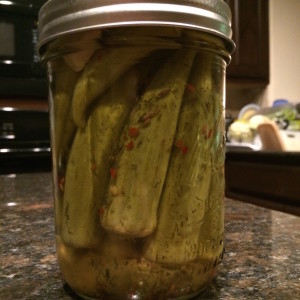
This is really my first time doing anything with these little guys, and I still have a  lot to learn.  They turned out tangy, crunchy, and delicious…and make me want to experiment more with them.  So, if you like a good cheese plate, add some of these offbeat pickles and keep everyone on their toes!

Pickled Okra

Ingredients:

  • 1 large clamshell small fresh okra (between 1 and 2 pounds)
  • 2 cups water
  • 2 cups white vinegar
  • 1/2 cup salt – use Kosher if you have it
  • 6 cloves garlic, peeled and smashed
  • 1 tablespoon mustard seeds
  • 1 teaspoon dried dill
  • 2 tablespoon sugar
  • 2 chopped hot peppers, or 1 teaspoon dried pepper flakes (optional)

Directions:

  1. Prepare the okra:  wash them and trim the tops.  You still want a little stem left, but not too much – I think between 1/4 – 1/2″ inch is good.
  2. Make the brine:  Add the rest of the ingredients to a large pot and bring to a boil.
  3. Pack the cleaned and trimmed okra into pint jars for canning.  First make a layer that point up, with the stems on the bottom.  Fill the jar with more okra, pointing down with the stems facing up, and jam them in there.  Depending on the size of the okra and how tight you pack them in, this will fill 2 or 3 pint jars.
  4. When the brine is boiling, pour the brine over the okra.  Make sure to spoon in the garlic cloves and spices – don’t waste that flavor!  If you don’t have enough brine to cover your okra, add boiling water to the jar so all your jars are filled to the top.
  5. At this point you can either hot water process them so they are shelf-stable, or just put the lids on tight and store in the fridge.  They’ll be good for a couple weeks in there if the brine goes to the top of the container.

Explore, experiment, enjoy! — Dana


To view even more of Dana’s unique recipe, you can visit her at Frugal Girlmet
Pickled Red Beet Eggs

Pickled RB Eggs hand resize

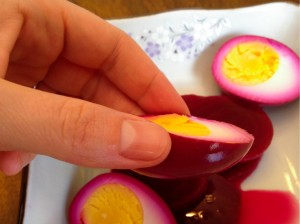
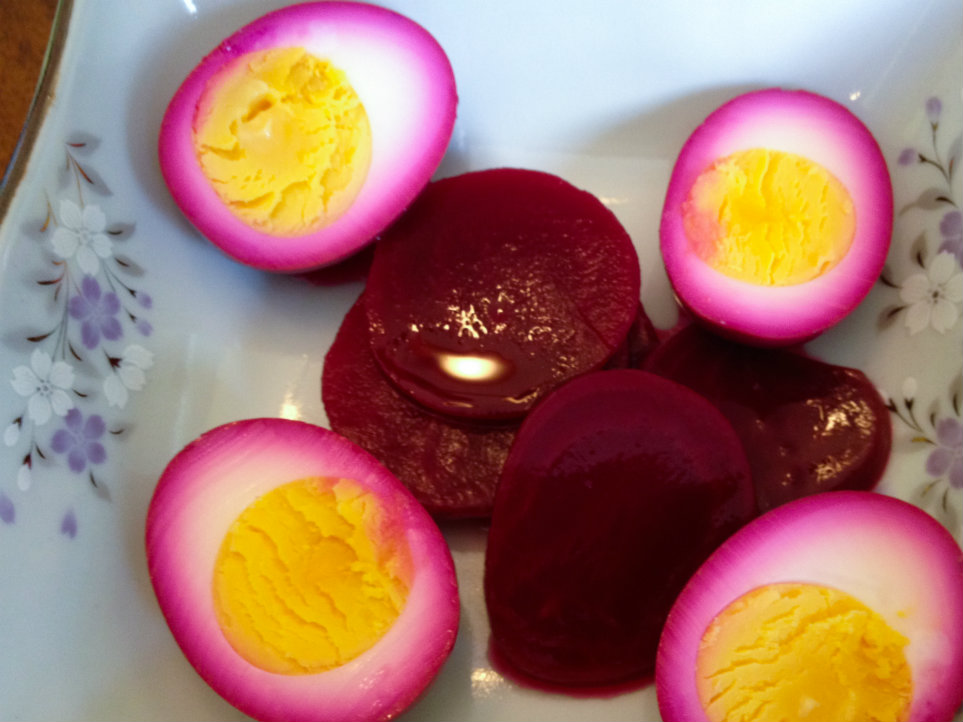
I remember as a kid being very sad one Easter Sunday.  It was because, when I peeled one of the eggs I worked so hard to paint and dye and sticker-ize and bedazzle—all that work—the inside looked just like a plain, un-dyed egg!  (I hope my Mom told me that beauty is only skin deep.)  But later on in the day, I was delighted when my Mom took the big container of Pickled Red Beet Eggs out of the refrigerator! When you cut into one of these purple beauties – surprise! – the color went all the way through to the yolk!

This recipe is a great way to use up those hardboiled eggs.  I’ve found my kids like dyeing them way more than they like eating them, so I am usually guaranteed half a dozen eggs to use in this dish.  This is an old Pennsylvania Dutch recipe that came from my Mom and her mother, in Lancaster County, Pennsylvania.  You can adjust the ratio of vinegar to sugar, but I like how these are sweet-tart and firm.  Some people add very thinly sliced onions to the beet brine, and others add whole cloves.  I like them with just these 4 ingredients.

You’ll want to let these soak for at least 2 days.  I wouldn’t let them sit more than a week, but I really doubt they’ll last that long!  Make sure the eggs and beets are in a deep and narrow container so everything is submerged – if you go shallow and wide, your eggs won’t color evenly and you’ll have to rotate them at least 2 times a day.  So raid the kids’ Easter baskets and start pickling!

Pickled RB Eggs resize

Pickled Red Beet Eggs

Ingredients:

  • 6 eggs
  • 2 cans sliced beets (not pickled beets)
  • 1/3 cup sugar
  • 1/2 cup vinegar (you can use white or apple cider)

Directions:

  1. In a sauce pan, place eggs in one layer.  Fill pan, covering the eggs with an inch of water.  Cook on high until a boil is just reached, then immediately remove from heat and cover with a lid.  Set a timer for 13 minutes.  When the time is up, drain the eggs and fill the pan with ice and water.  Let cool.
  2. Peel the cooled eggs and put them in a deep container with a lid.  Dump the two cans of beets and their juice into the container, followed by the sugar and vinegar.  Swirl around to dissolve.  Store in the refrigerator for at least 2 days, making sure the eggs are submerged (or turning them if they are not.)  Cut eggs in half and serve with beets.

Explore, experiment, enjoy! — Dana


To view even more of Dana’s unique recipe, you can visit her at Frugal Girlmet!