I LOVE Mason Jars….there I said it! It’s off my chest now! 🙂 Mason jars can be so much FUN! I’ve seen them used for organizing pantries, for holding green smoothies, drill holes in the lid to put a straw in and use it as a drinking glass, change jars, cookie jars, pasta jars, and so much more! All of those ideas seemed pretty understandable…. But, then I saw this next idea, and I got excited!
I’m so excited to show you this next project! When I first saw it on Pinterest, I thought “NO WAY….Painted Mason Jars??” But oh my goodness, just wait until you see just how beautiful this project turns out!
So let’s get to work!
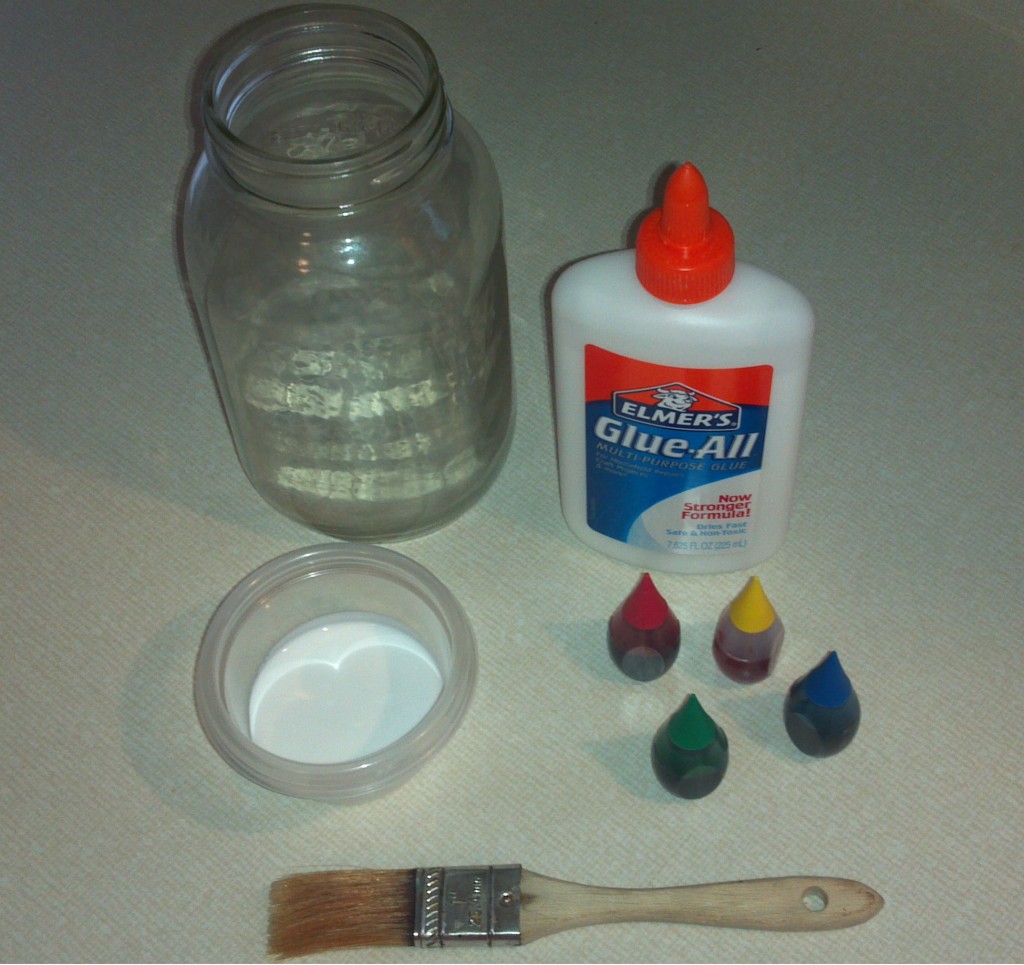
Here is what you will need for this project: 
1 clear glass Mason Jar
½ cup of Elmer’s Glue
5 -10 drops of your favorite food coloring (depending on how dark you want the color)
1-inch paint brush
Directions:
Stir the glue and food coloring together until well blended. Grab your favorite 1-inch paint brush and then start painting the glue onto the jar. After the whole jar is covered, set the jar aside and allow drying, and then watch what happens!
The fun part of this project is that you are not limited to just one color! Once the jar has dried with the first color, mix up more “paint” using a different food color. Using a smaller brush, you can take this 2nd color and draw all kinds of squiggly lines, or geometric designs, or circles, or whatever you want onto the jar. Once again, after you’ve painted the jar, set aside to allow drying. If you want to add a 3rd color…you know what to do now!
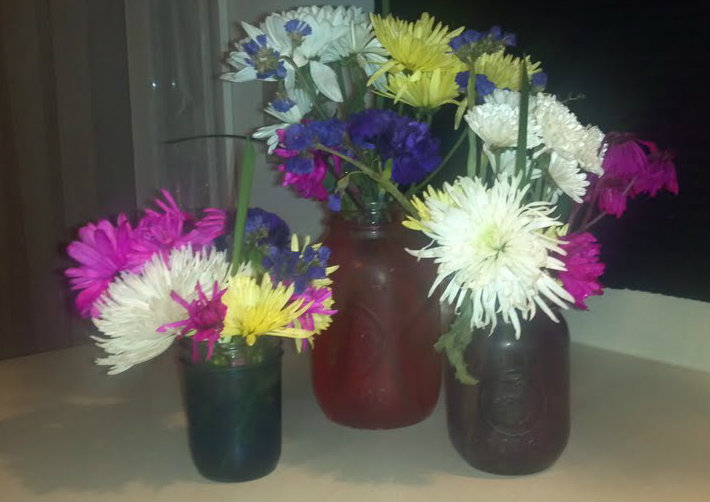
Then to finalize this project, find some amazingly beautiful flowers and viola…you have a perfect homemade vase to hold your beautiful flowers…or whatever else you want to use these jars for. I love the flowers because, well, I just love fresh flowers, and the jars and flowers together make for a beautiful centerpiece. If you want, you can use three different jar sizes…make them all different colors and then use as a centerpiece on your table!
Now that you know what you can do with JARS, don’t throw away your old jars. Save those mayonnaise or pickle jars, and turn them into something beautiful. I’m sure a friend would love to receive one of these amazingly beautiful jars filled with flowers or candy, or … or … or. The possibilities are endless!
If you have been following my blog for any length of time, you know that I like projects that are simple! You can’t get much simpler than this for a beautiful set of jars or a centerpiece!
I’d love to see YOUR projects! You can email your pictures to me at Christi@girlfriendscoffeehour.com.
Happy Painting!
Christi
_________________________
*Cleaning Tip 1: Wash your brush out with water as soon as you are finished painting your jar.
**Cleaning Tip 2: As your jars are drying, you will see some of the glue slide down the jar, onto the countertop or whatever you are placing the jars on to dry. USE PAPER TOWELS TO WIPE THIS UP. Otherwise, whatever you use will get stained with the food coloring. (Don’t ask me how I know this!!) 🙂


